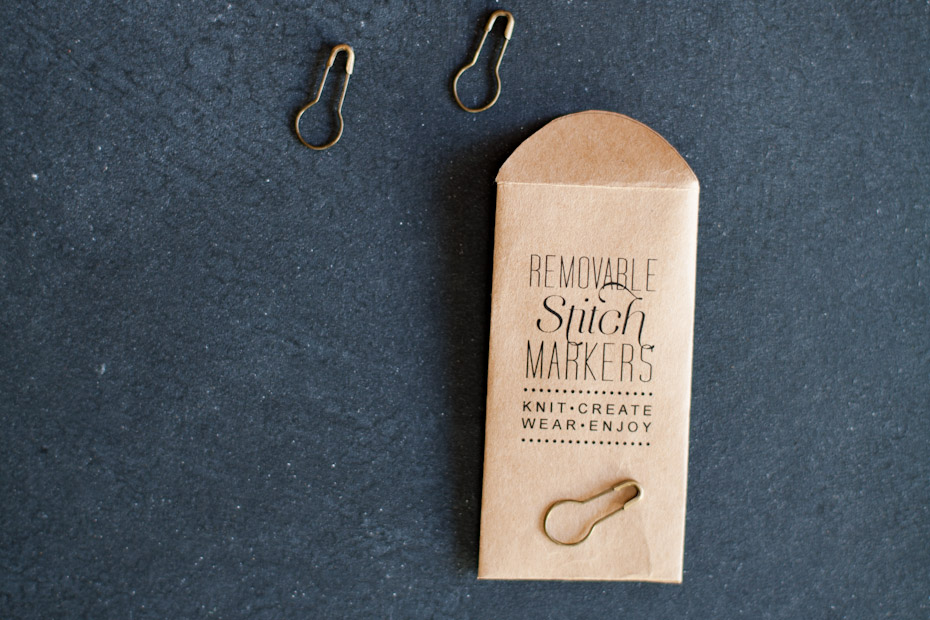
I have never been a big user of stitch markers, until recently when I have been working on larger projects that involve colorwork or more intricate stitch work. If I ever needed any I would simply make tiny yarn rings out of another color and use those. The difficulty with yarn stitch markers is they aren’t removable and they are easy to loose in your work. I often found myself knitting them in and having to cut them out and then make new ones. One day I used paperclips and they worked great! They were removable and served their purpose. I have stepped up the quality once again with these little safety pins I found on ebay. I bought 100 for $3 or so and they work great. I don’t know how large of needles they will work up to probably a US size 9 (5.5mm) maybe larger. Anyway I am giving them as gifts to a few knitter friends and I wanted to make some cute packaging for them.
I created a tiny envelope template and thought I would share it for free. You can fill this envelope with gold colored paperclips (very fancy), or you can purchase these safety pins online, or you can fill it with any other type of removable stitch marker you wish to fashion for your friends. It is a bit more time consuming than purchasing envelopes but they are really cute and tiny. You can refer back to my DIY: Brown Paper Label for the particulars of printing on paper from an old Trader Joe’s bag or any paper grocery bag. I used the same principle for this project. Click on the image below to download the envelope as a PDF.
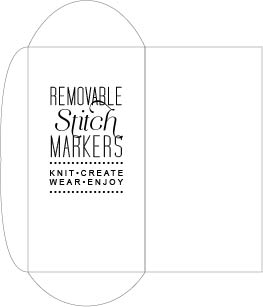
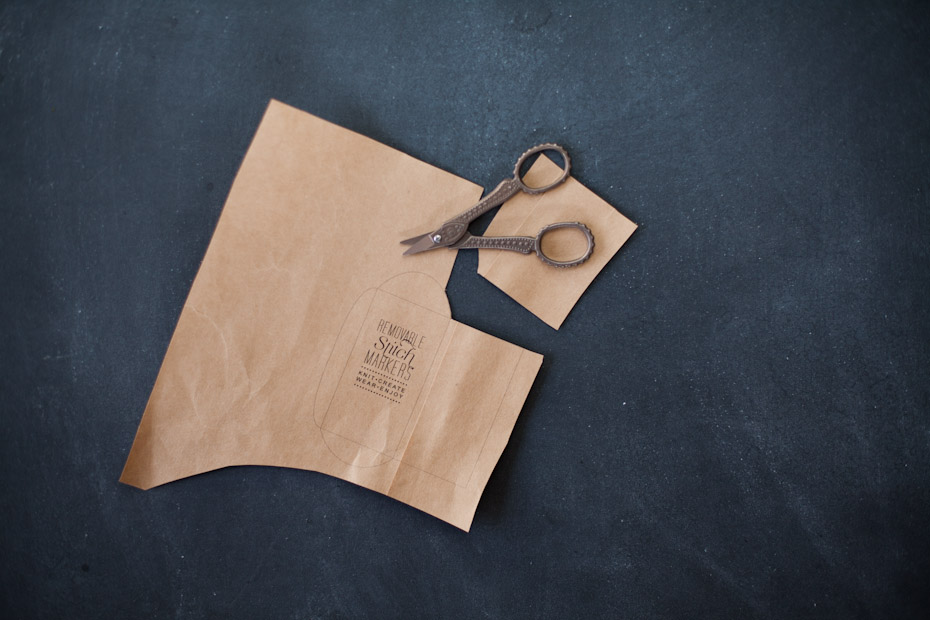
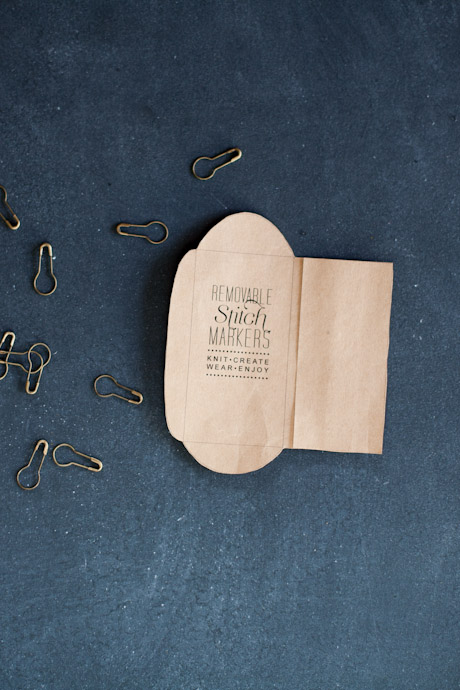
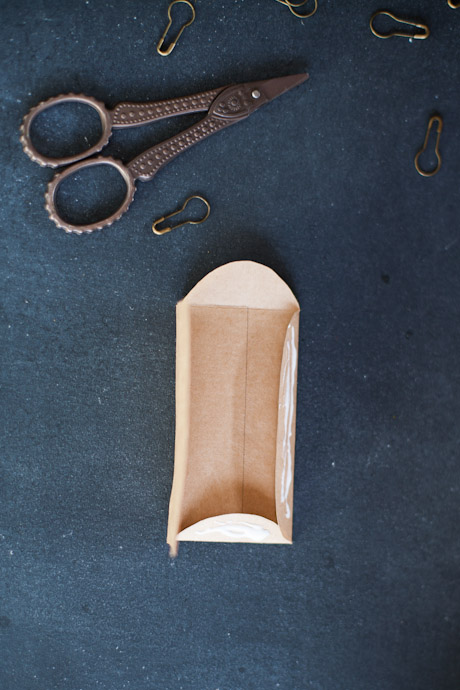 Print the template on your 8.5 by 11 sheet of brown paper. Cut out the template and fold on the lines. Then glue the bottom and smaller side tab. Then fold over the larger tab leaving the top flap open.
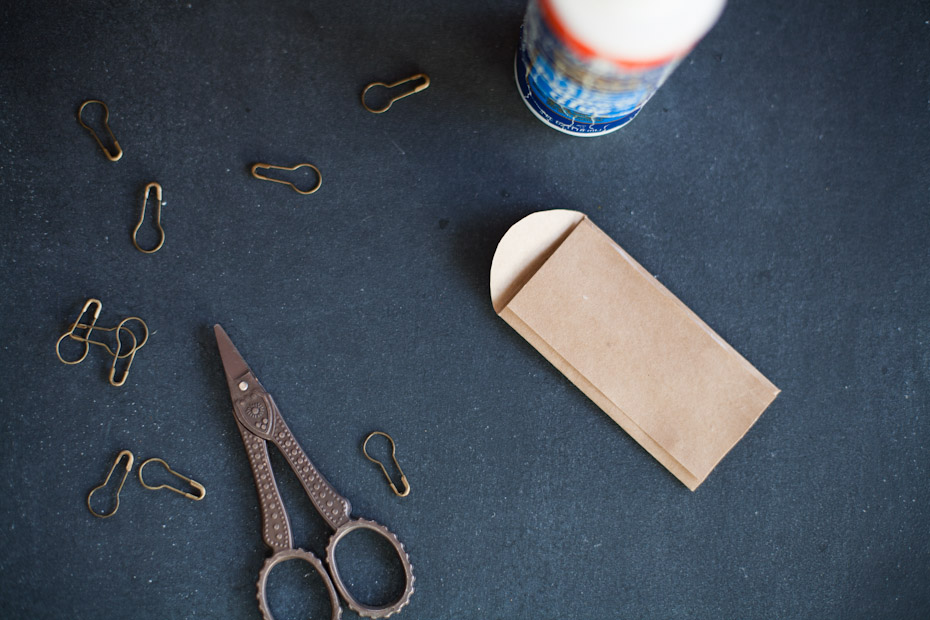
Now you can stuff your envelope with stitch markers and seal it. You can use a tiny piece of double stick tape to seal the top or you can glue it shut when you have put the stitch markers in it. Either way this is a great way to package stitch markers for a gift.
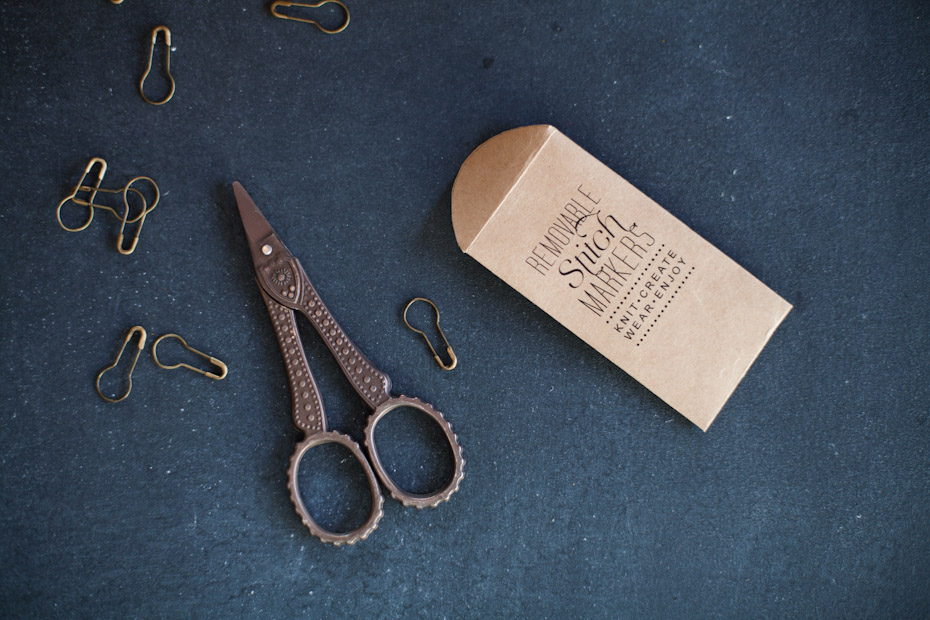
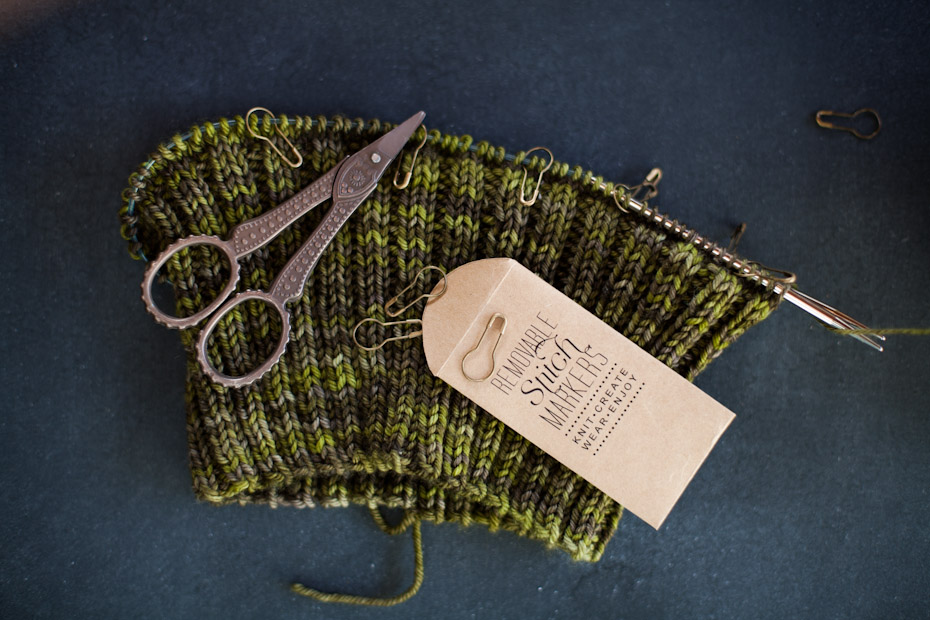
I used these cute coil-less safety pins that I purchased on ebay. You can find them HERE. They are fantastic. I don’t know if they are as practical as some of the ring stitch markers but they are removable and look nice. My knitting sits around a lot so it is important to me that it looks nice as it sits neglected on my dresser. Here is a hat pattern I am working on, I am using Malabrigo Arroyo in two colors. It is such great yarn. I will post pictures of the finished design as soon as its ready.
]]>
buy now
As I was getting ready to post this pattern I started looking back to see when my last pattern release was…it has been over a year. So that begs the question, what on earth have I been doing for the last year? I had a baby, which is the best excuse…right? Anyway, I am finally back to it.
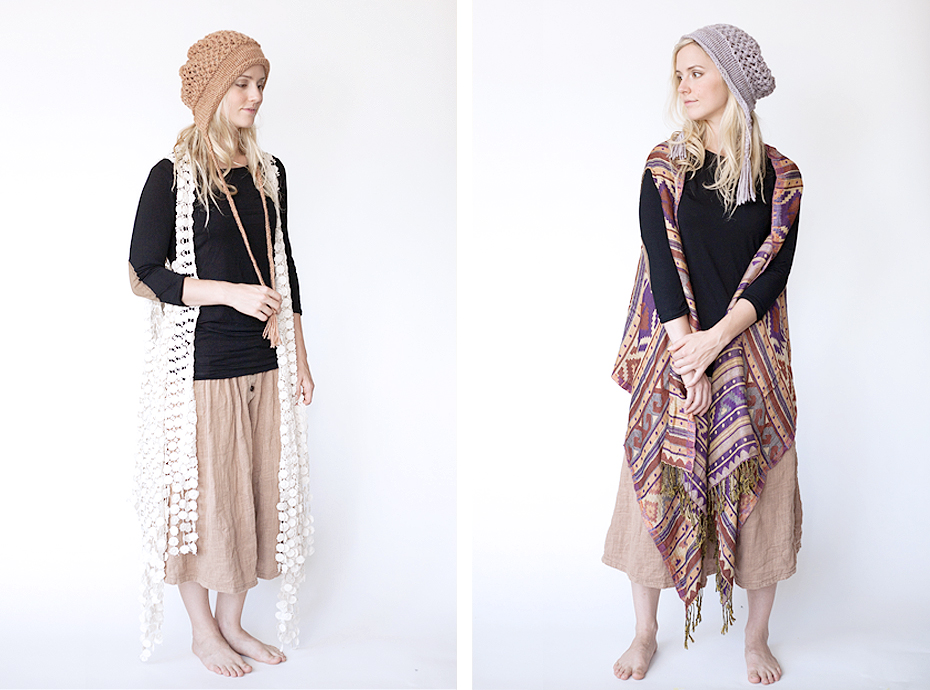
So with no further delay here is my newest knitting pattern…the Abigail Hood. This adorable hood feels as though it has jumped from the page of your favorite Austen classic. It fits comfortably over long hair or short and covers the ears for a little extra warmth. The loose construction of the body of the hat allows air flow for warmer weather. Enjoy the larger size for a looser look or the medium for the more fitted feel.
NOTE ON YARN: These hats were all knit up in Malabrigo Twist. This yarn is AMAZING! I absolutely love it. It is 8ply, heavy worsted, 100% marino wool. Basically incredibly soft and squishy and it stretches beautifully. You can use another heavy worsted or aran weight yarn but to achieve the closest look to the pictures, pick up a skein of Malabrigo Twist at your friendly local yarn shop. Colorways pictured are Applewood, zinc, and purple mystery.
There are three sizes included in this pattern.
Large: fits a regular adult head
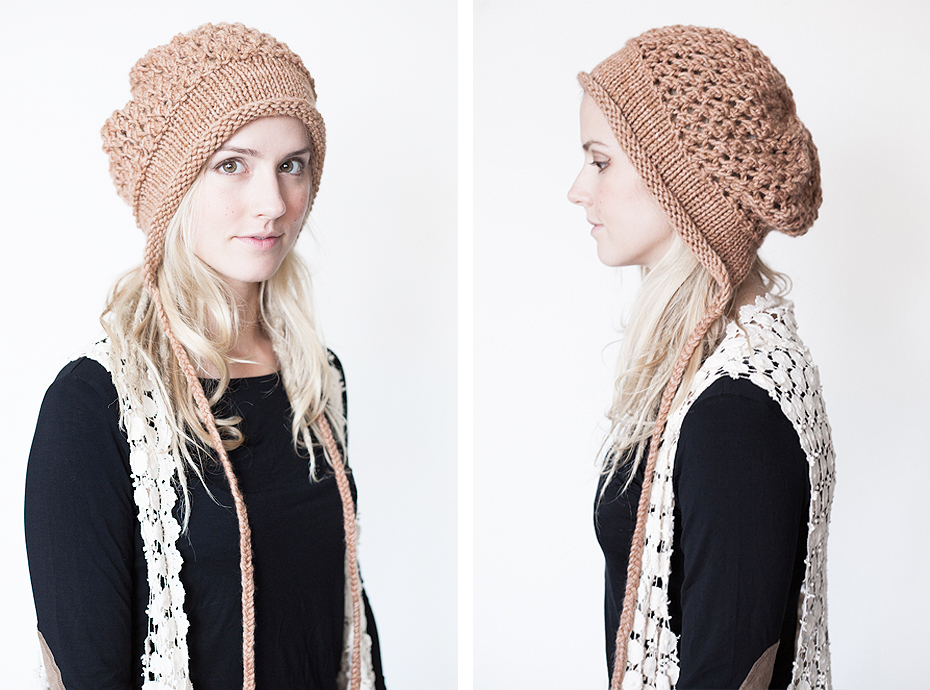
Medium: fits a child/ teen/ small adult
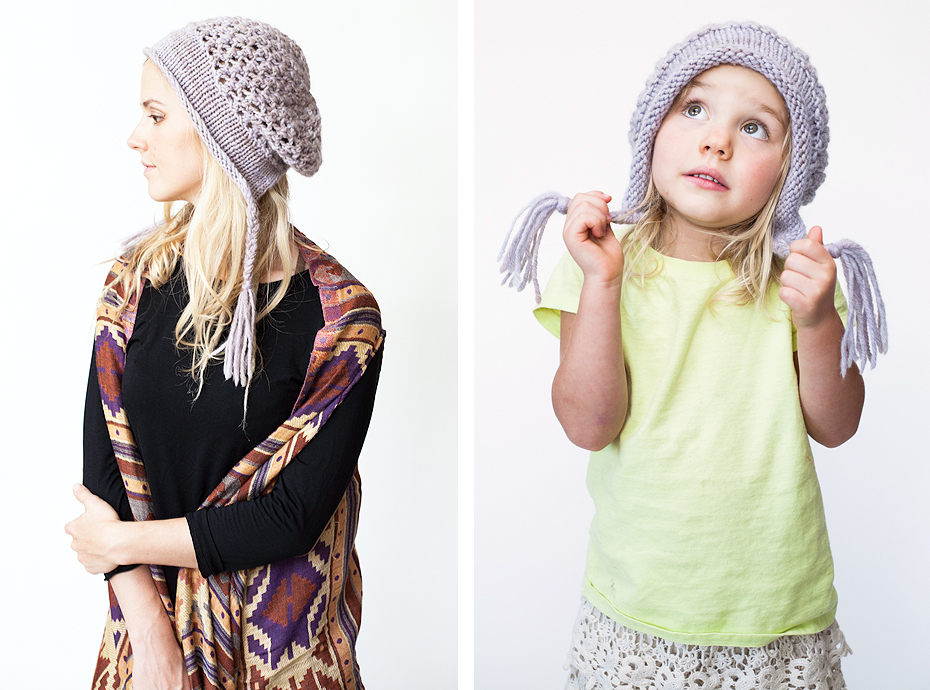
Small: fits a baby/ toddler/ small child
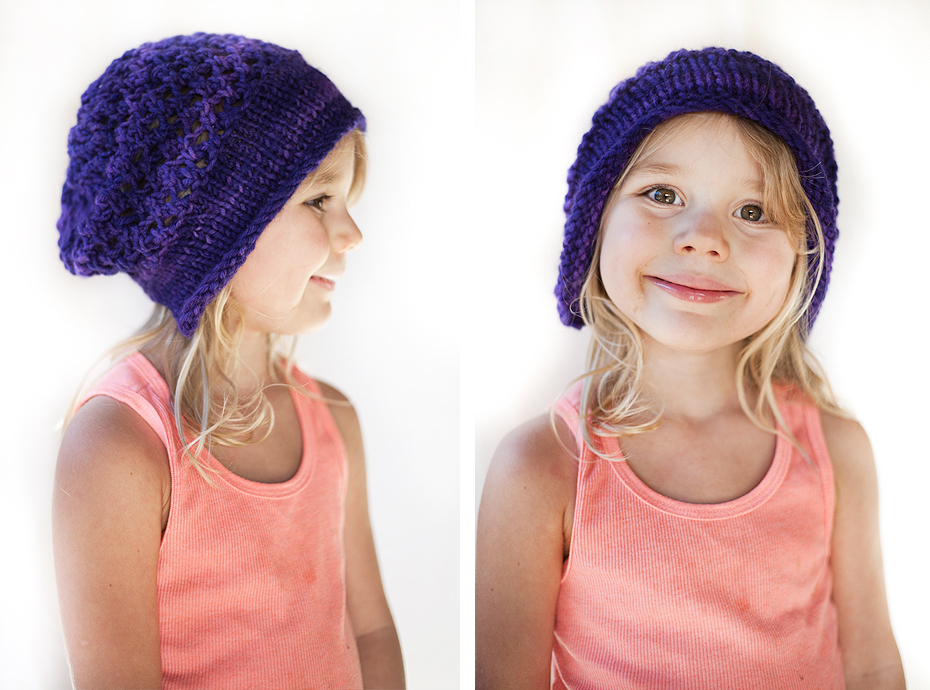
]]>
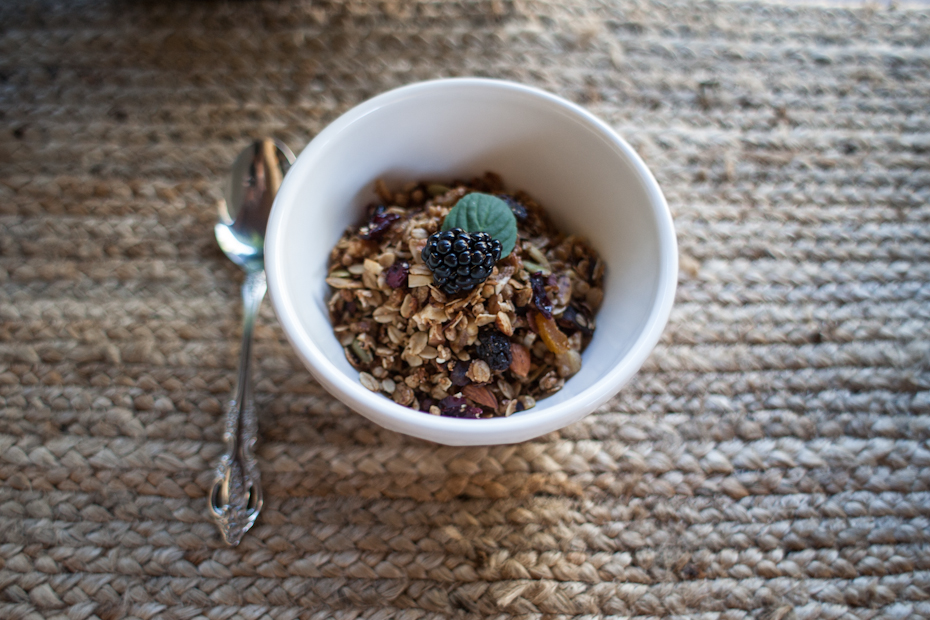
Basic Ingredients:
6 cups gluten-free oats: Oats are one of the most commonly contaminated grains. If you have an issue with gluten you will feel it when you eat oats that are not certified gluten free. This is because oats and wheat are processed on the same equipment. I get my gluten-free oats from Azure Standard but you can find it at most health stores.
- 1 cup Coconut Oil: Coconut oil is amazing! However it is important to get organic virgin coconut oil. If you are trying to retain the health benefits of foods the less processing and pesticides the better.
- 1 cup Honey: Obviously organic raw local honey is the best but it is very expensive, the granola is wonderful no matter what type of honey you use.
- 1 Tbs Cinnamon
- 1/2 tsp Salt
Optional Delicious Extras:
(If you have celiac’s disease you may need to get the gluten free version of some or all of these ingredients.)
- 1/2 cup shredded coconut
- 1 tsp Raw Cacao Powder
- 1/2 tsp cloves
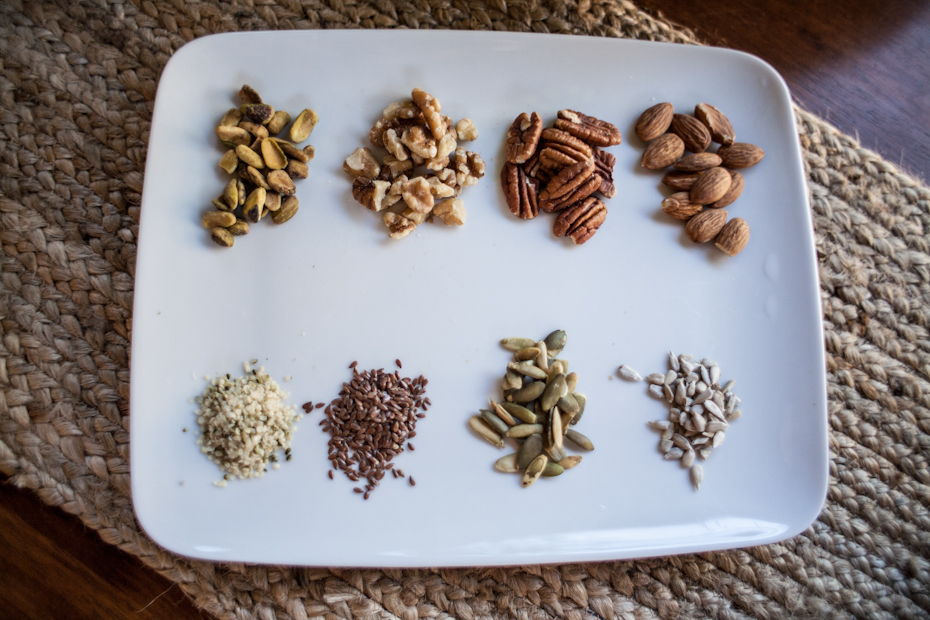
- 1 1/2 cup almonds
- 1 cup walnuts
- 1 cup pecans
- 1/2 cup raw pepita
- 1/4 cup flax seeds
- 1/4 cup hemp hearts
- 1/2 cup sunflower seeds
Ingredients to be added after the granola is finished baking:
- 1/2 cup dried cranberries
- 1/2 cup pistachio hearts
- 1/2 cup cut up dried apricots
- 1/2 cup dried blueberries
Directions:
preheat oven to 350°
In a 13 x 9 inch baking pan mix the oats, cinnamon, (cloves, Cacao, nuts, seeds, coconut) and salt. Slowly melt the honey and coconut oil in a pan and pour them over the oats. Mix everything together until all the ingredients look evenly coated with the honey and oil. Once you have done this place pan in the oven. Cook for 15-20 minutes. Pull out the pan and stir the granola. Place the pan back in the oven and cook for an additional 20 minutes stirring every ten minutes. If the granola turns golden brown before the end of the time limit pull it out early. Set out and stir in any dried fruit ingredients. Then let it cool thoroughly. Feel free to snack on the granola during this time to check if is wonderful or not.
Once the granola has cooled make yourself a bowl and put the rest in an air tight container or a Ziploc. It keeps for a long time but my family always finishes a batch by the end of a couple of days.
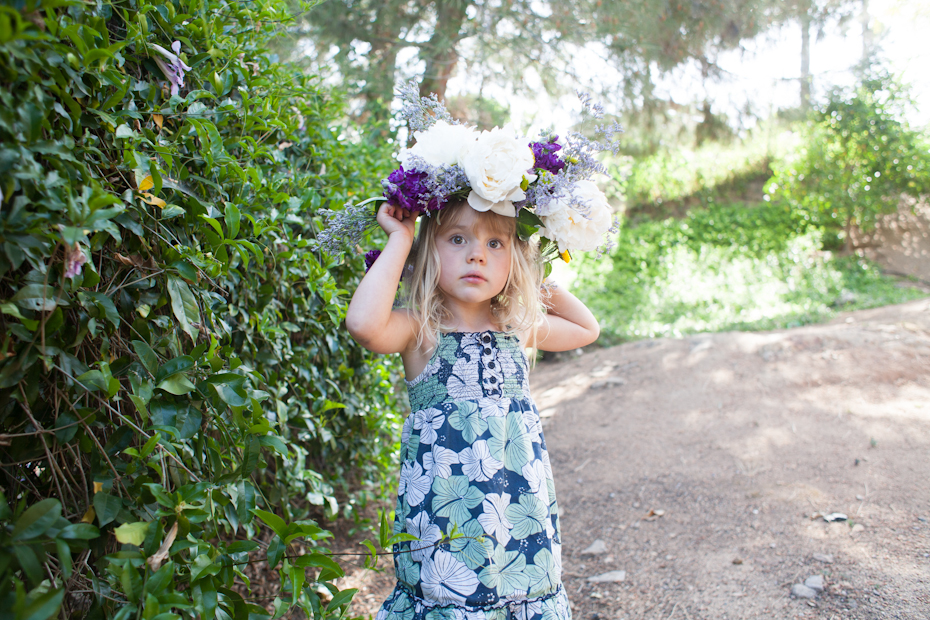
The crown was way too large for Fiona but I needed to set up the shot so she wore it for a moment.
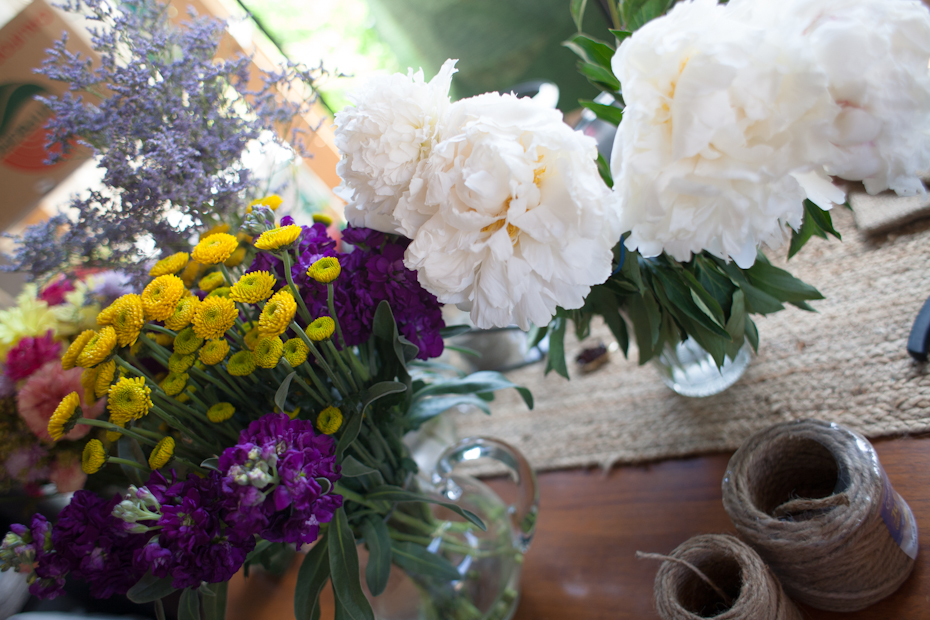
For this crown I used the following flowers:
Peony – by far one of my favorite flowers.
Mums – another favorite. These have slender stems and are great for braiding.
Stock – I used Purple Stock.
Emille – I had never seen this flower until I went to a farmers market. I love it and wish it was readily available at my local Trader Joe’s like the rest of the flowers.
I used jute also for this crown, it is helpful to have something to tie of the ends and to secure heavier flowers with.
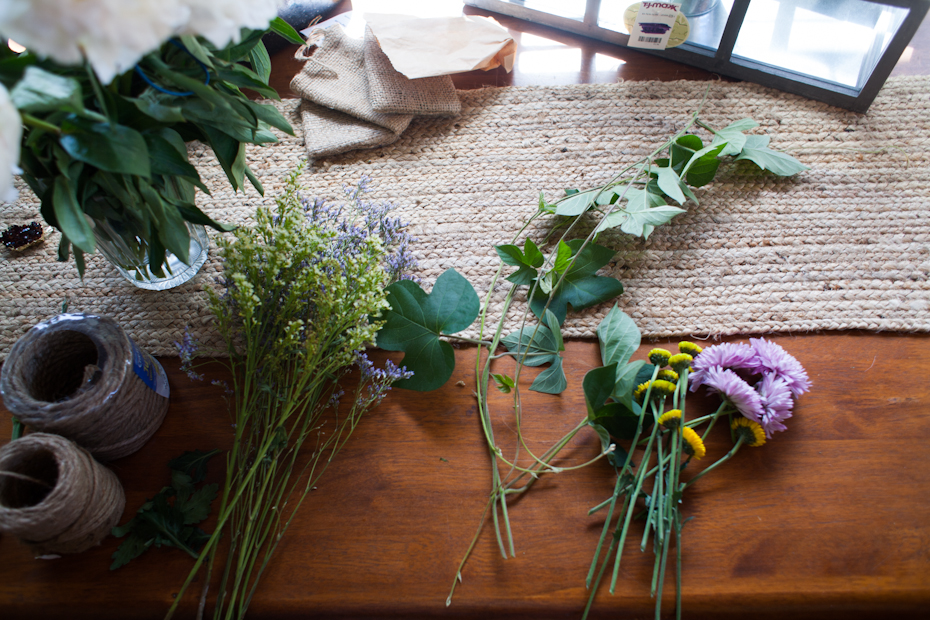
Trim the ends of the flowers. Remove the leaves so you have bare stems to work with.
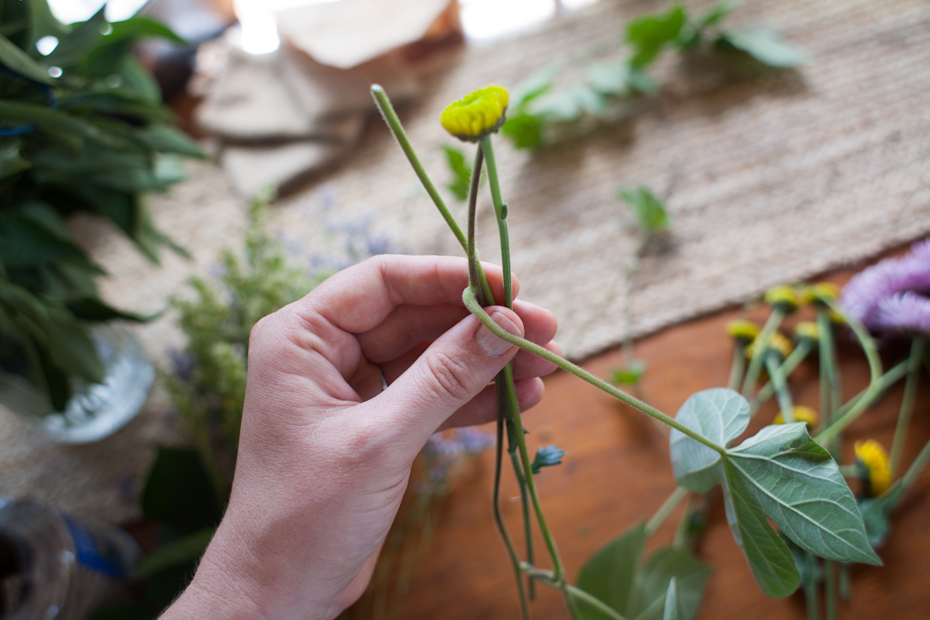
Hold three stems together. With the flowers at the top. I had a few vines from my yard which I added in.
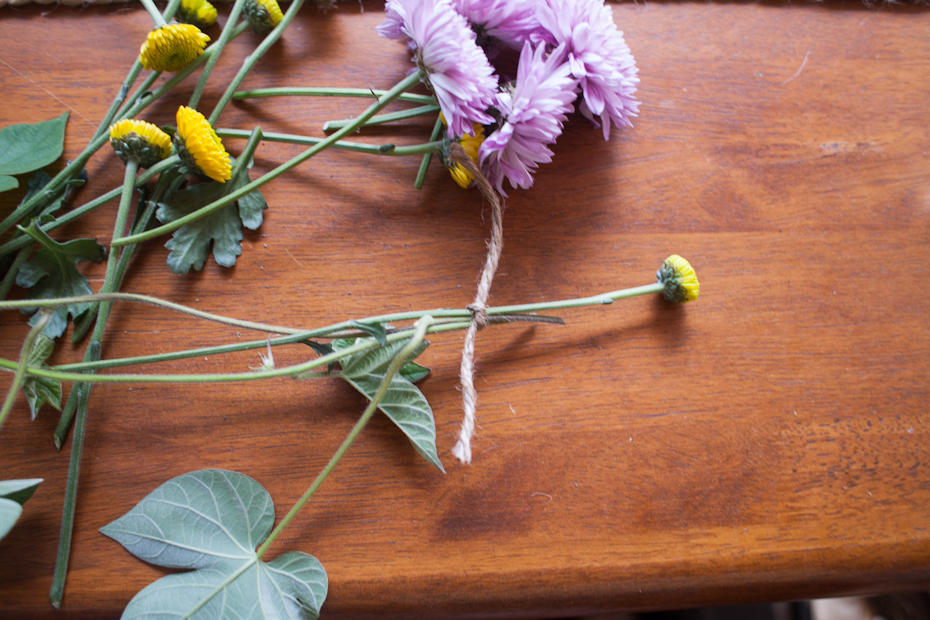
Tie the three stems together so you can start braiding. I have made flower crowns without tying the ends of the stems together, this just makes it easier. Begin braiding the stems and as you do add in flowers, its very similar to french braiding.
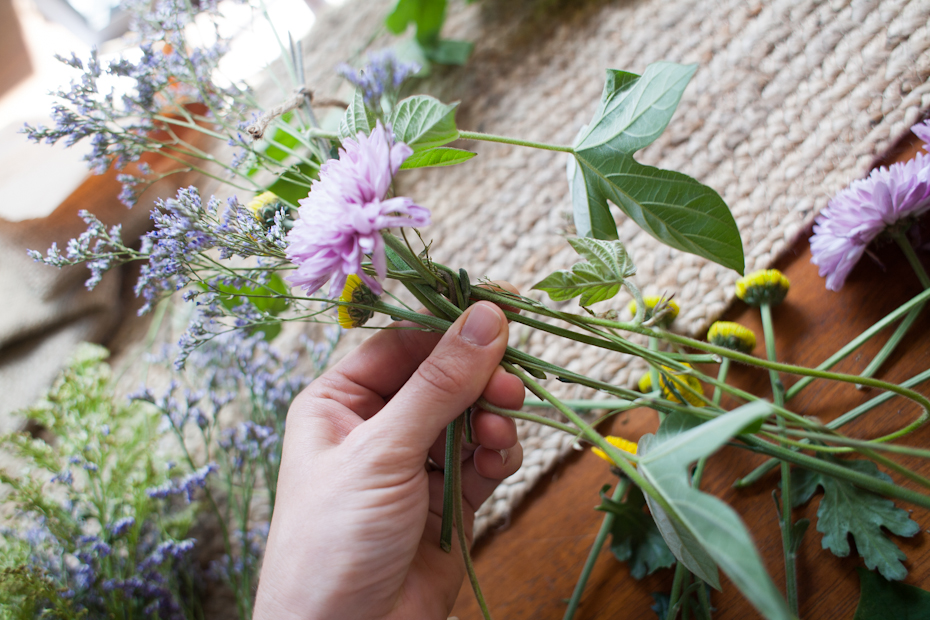
If you end up with too many stems and it gets hard to braid just cut off the stems that have been worked in the most leaving the newer stems to continue your braid.
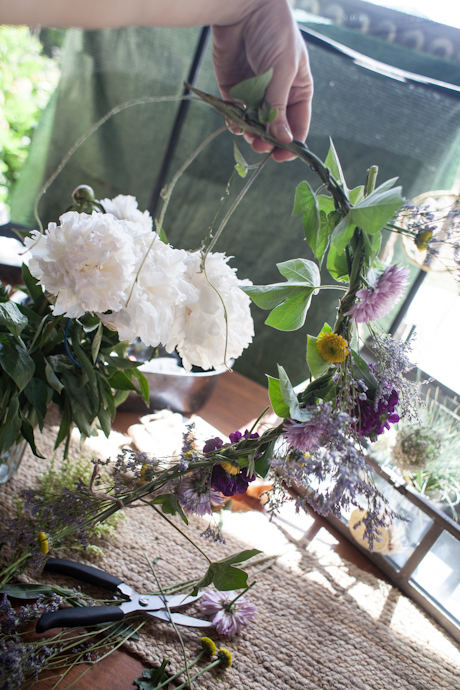
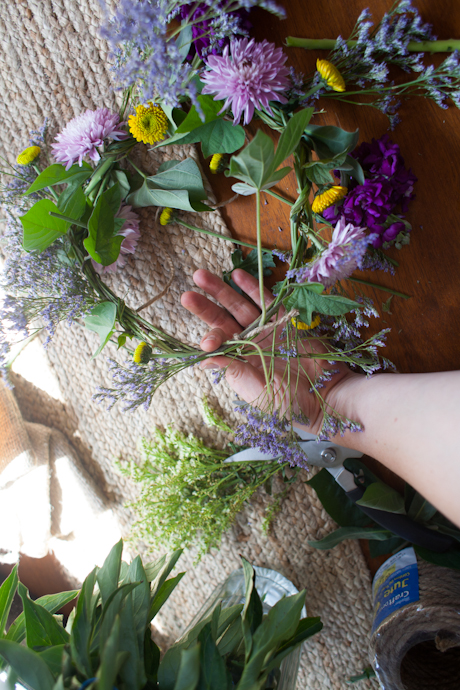
When your crown reaches the desired length tie it off with a four inch length of jute cord. Don’t stress about getting all the flowers in during this part. I weave in extra flowers after the crown is braided. Larger flowers like peonies need to be cut down until their stems measure 2-3 inches and then you can weave them into the braid and secure them with more jute.
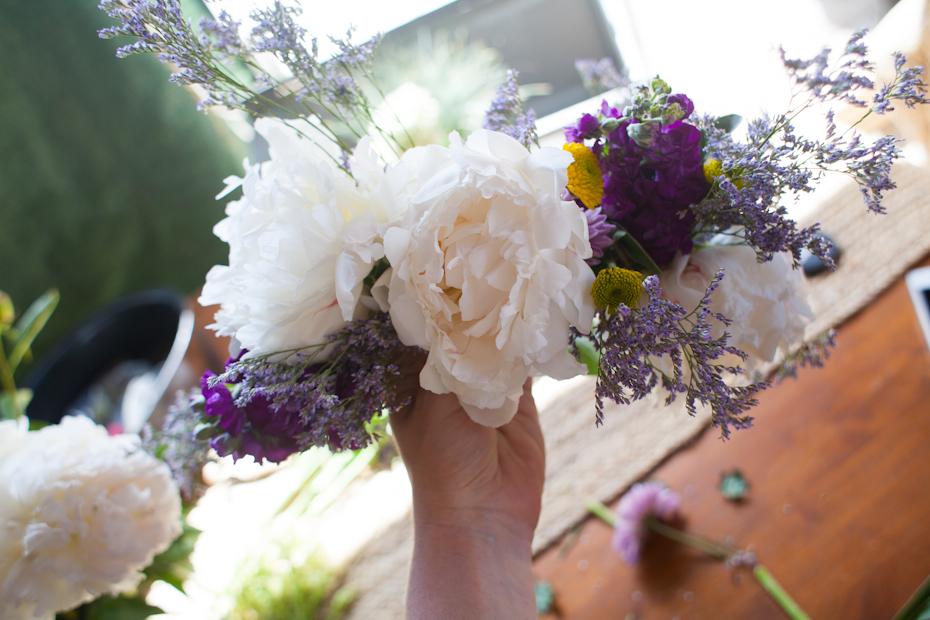
play with it until it is as full as you want it to be. This crown was massive and probably would not work great for wearing out and about but it was great for photography.
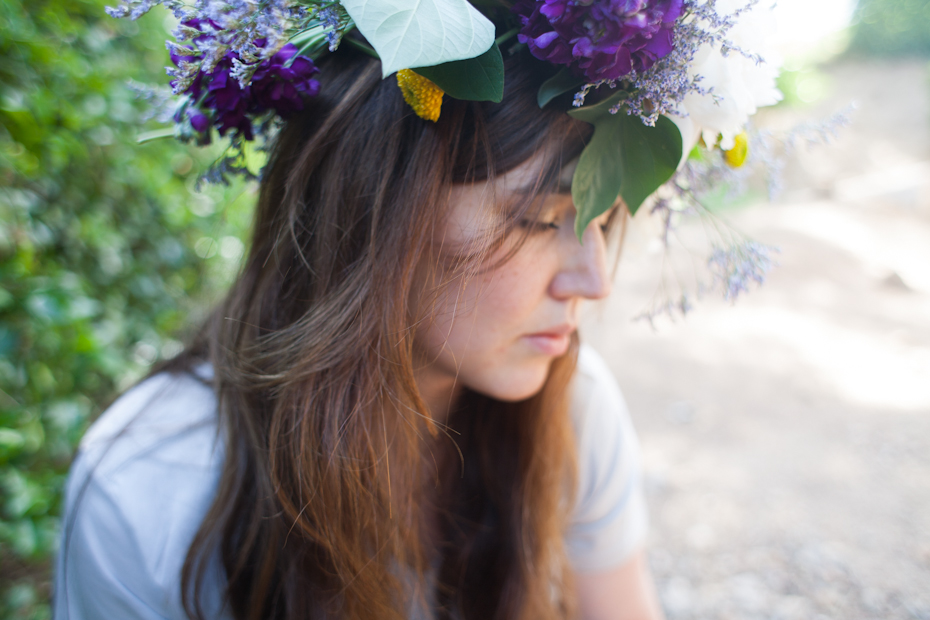
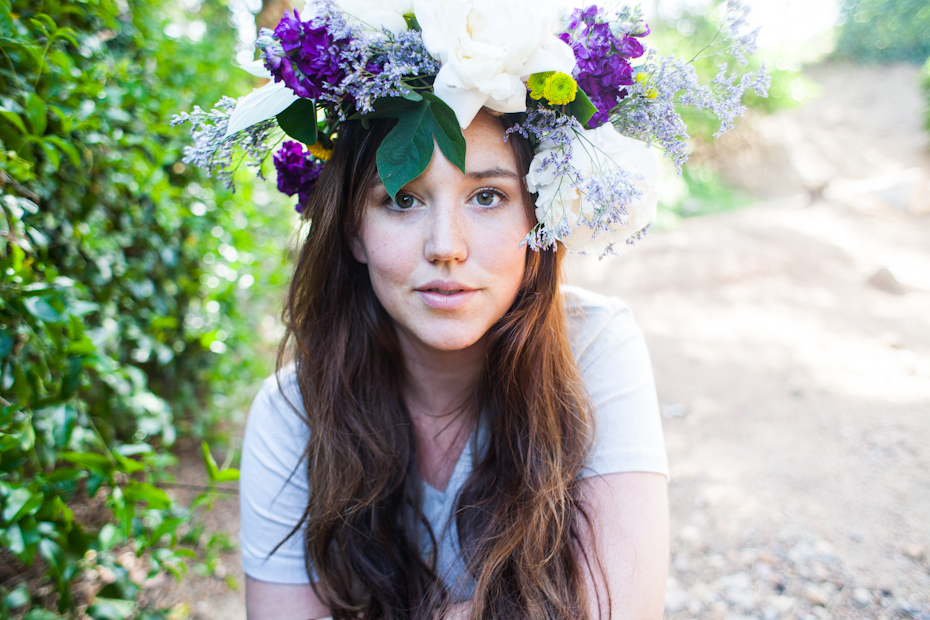
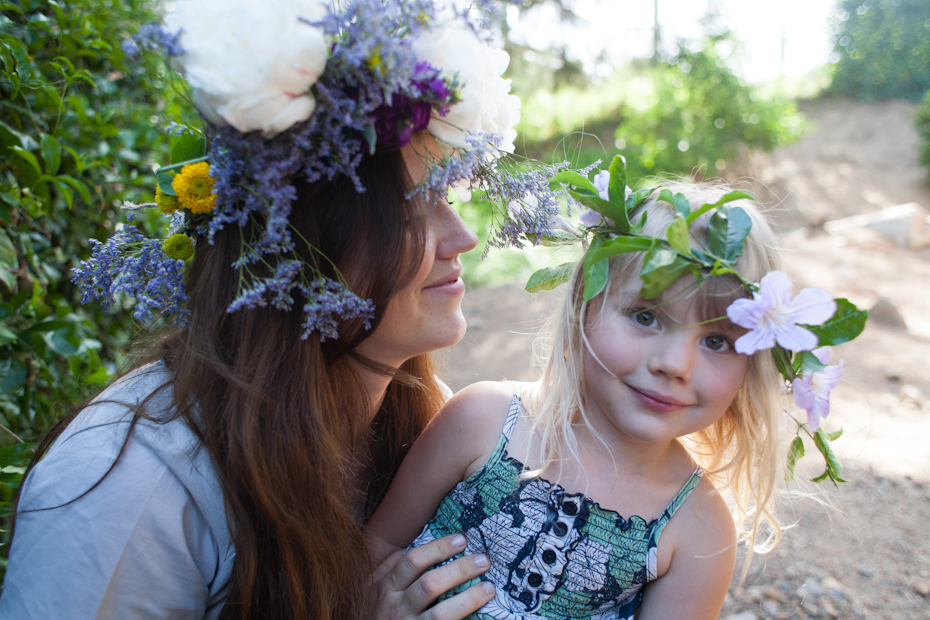
My favorite part about this shoot was that my kids pushed their way in and I got some great shots with me and the twins. I need to take more photos with my kids!
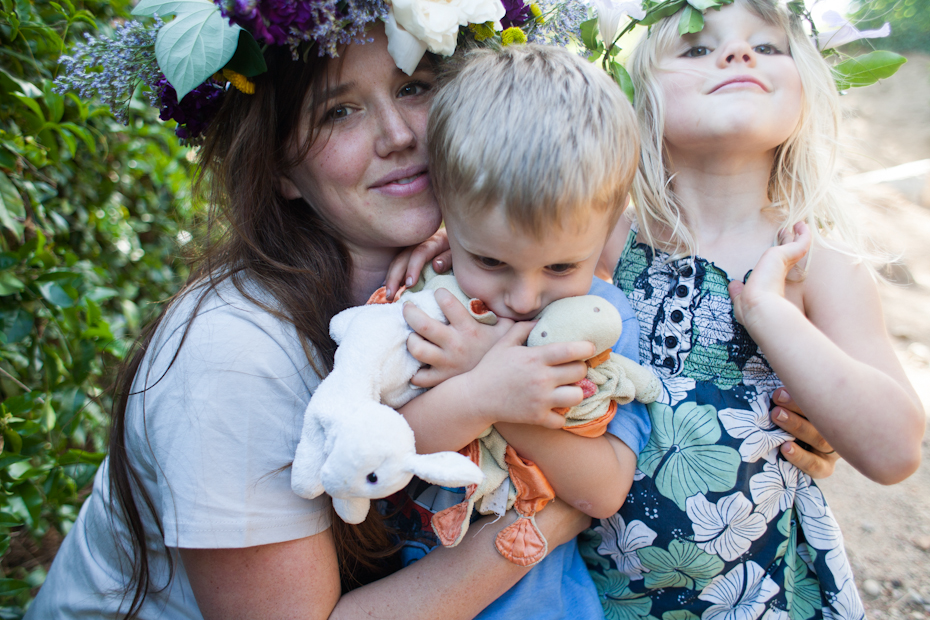
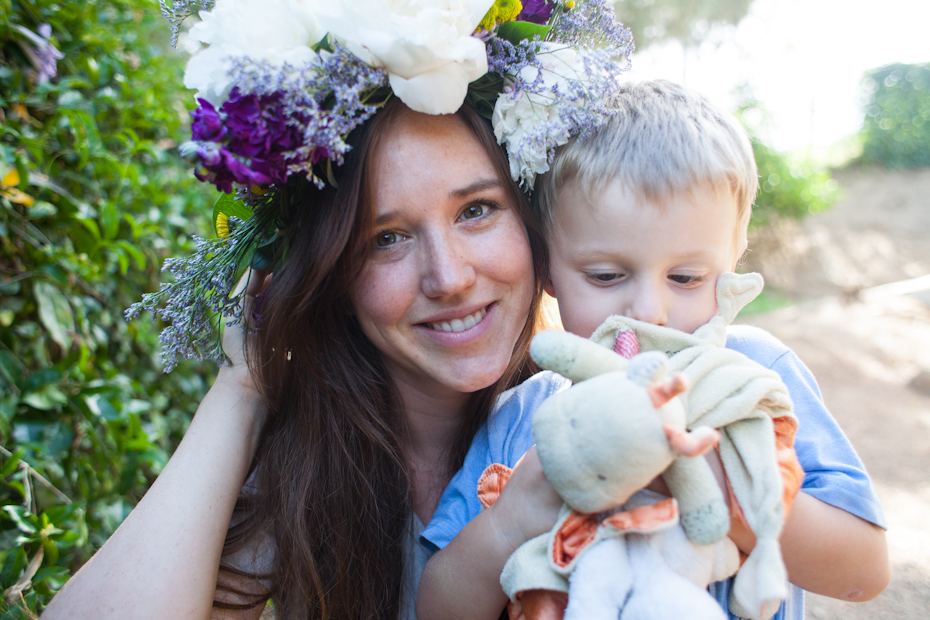
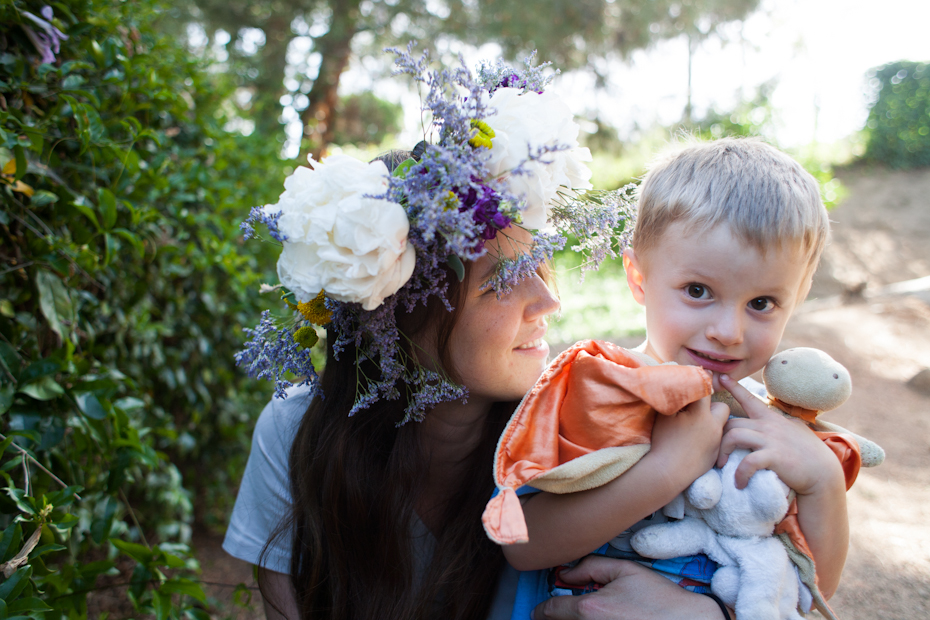
I adore my children…
]]>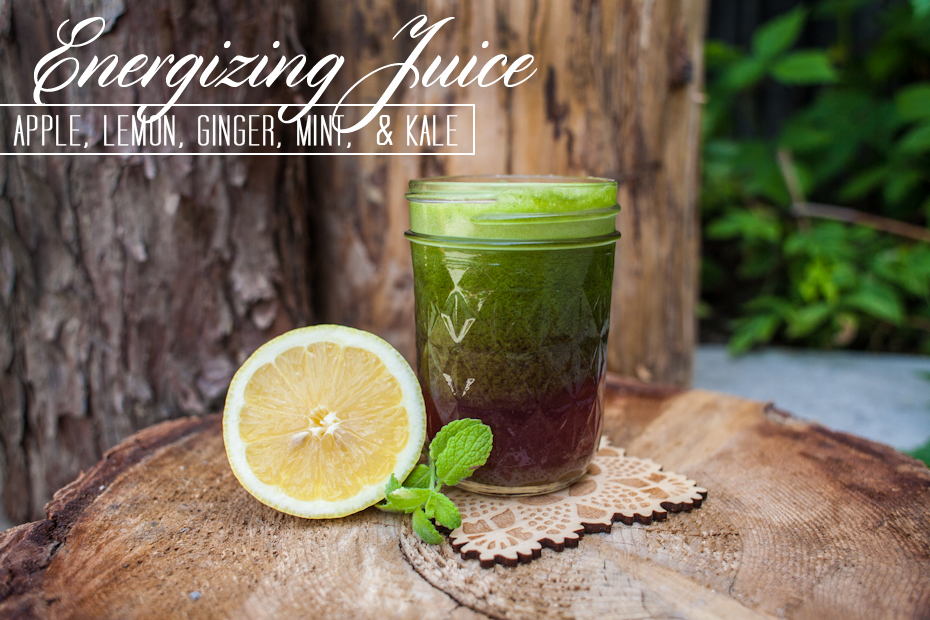
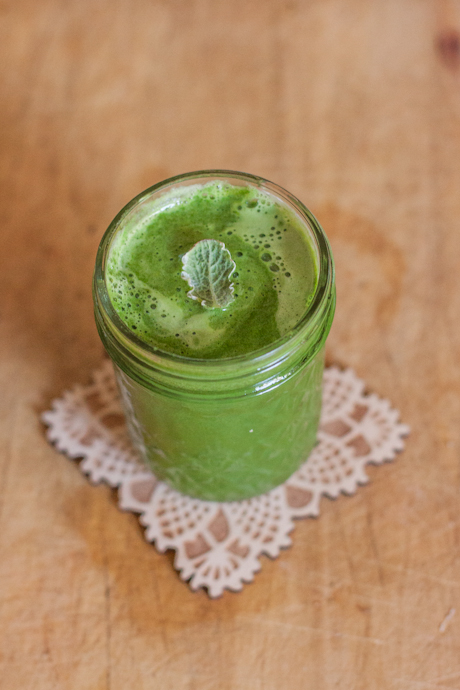
A couple of years ago I purchased a Jack LaLanne Juicer. I find that when I have juice regularly I feel so much better. I thought I would share one of my favorite juice recipes. You can add different amounts of each item depending on how sweet, tart, or spicy you want your juice to be. Not only is this juice packed with nutrients, it is energizing and detoxifying.
Energizing Juice:
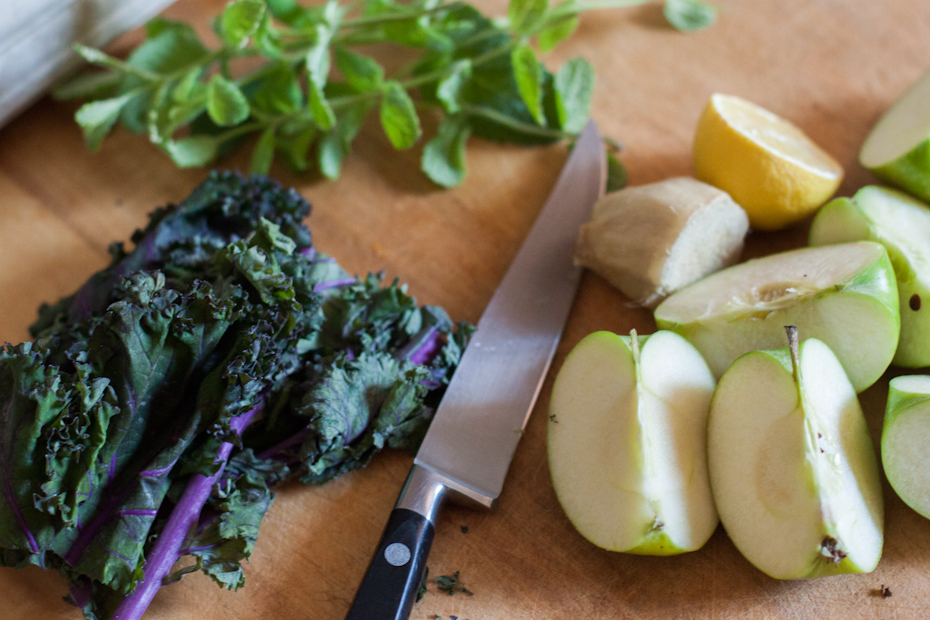
Peeled Ginger: 1/2 inch to 1 inch slice (I peel my ginger with a spoon, it is very effective)
Apple: 2 medium sized Granny Smith apples
Lemon: 1/2 medium lemon (juice the peel also there are many nutrients that are found in lemon peel)
Mint: 2-4 stems of mint (pineapple mint pictured)
Kale: 2-4 leaves (purple kale pictured)
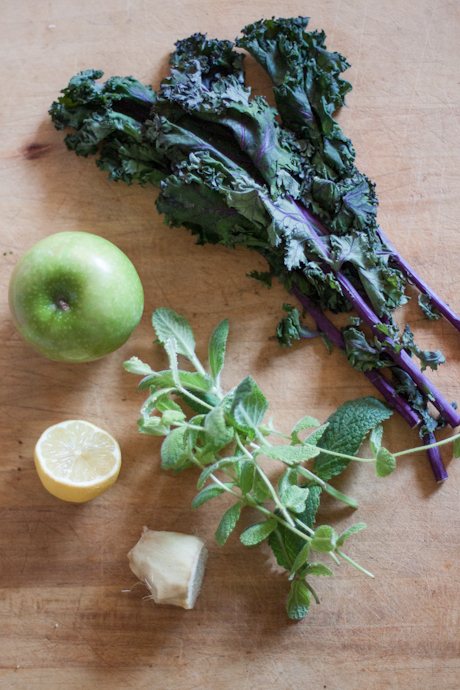
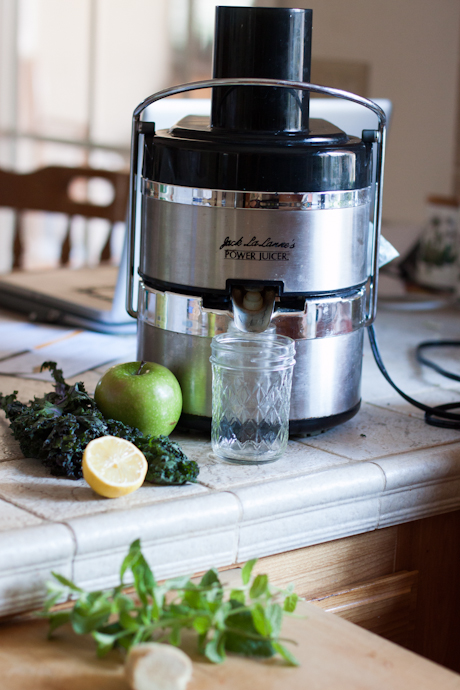
Chop up the kale and the apples into manageable pieces and start juicing.
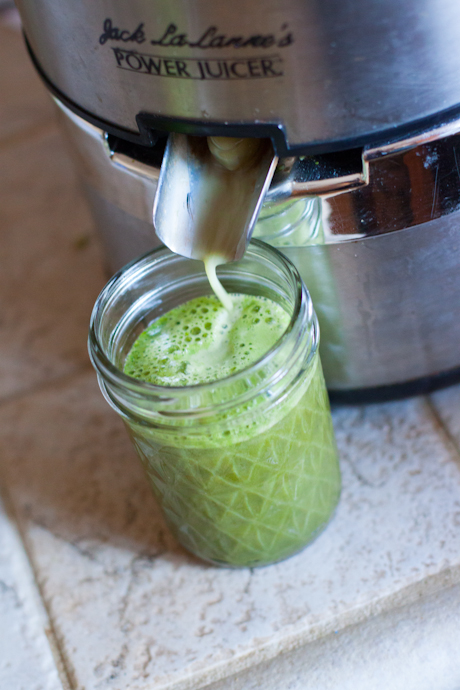
I find that I get the best results when I sandwich the kale and mint between a few slices of apple. Add a piece of apple into your juicer, don’t feed it all the way through, then add your kale followed by another apple slice. This allows the kale and mint to be more thoroughly juiced.
If you would like to know more about the nutritional properties of each food in this juice you can check out the links below.
Ginger is great for digestion, helps with inflammation, it has also been said to have an antioxidant effect.
Granny Smith apples are high in Vitamin C, help regulate blood sugar, they are high in potassium, and help with your digestive tract.
Lemons are amazing! They detoxify you, are high in Vitamin C, stimulate the liver, and strengthen blood vessels.
Mint detoxifies your skin, aids in digestion, and aids in respiration. (I originally had 3-5 stems in the recipe but my skin broke out after having that much mint. Now I know it was due to the detoxifying effect mint has on your skin. Go easy and watch for detoxifying symptoms, breaking out headache, gas. They will go away after a week but if they are severe drink less of the juice)
Kale can help lower cholesterol, it has Vitamin B6, Vitamin C, Vitamin A, Vitamin K, and is rich in Antioxidents.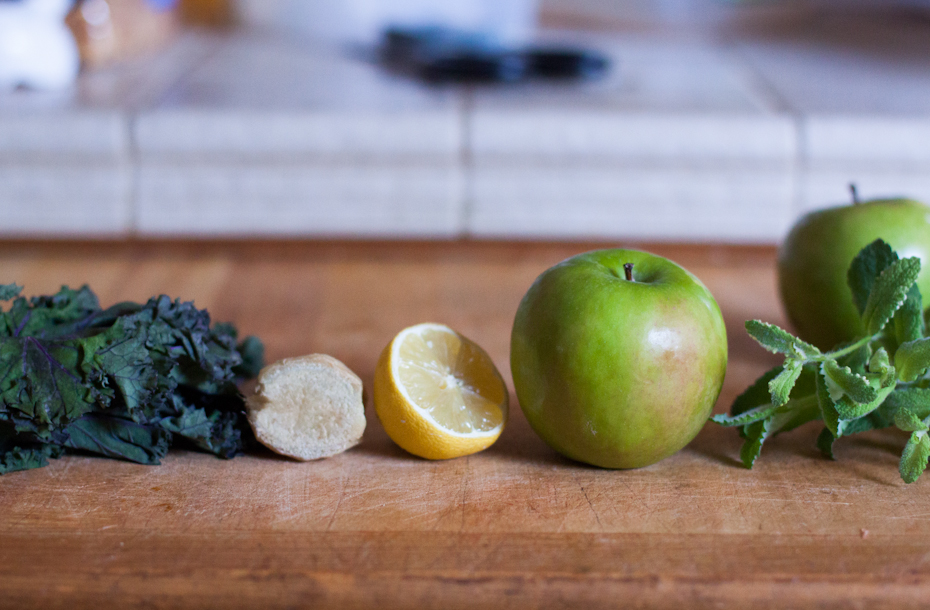
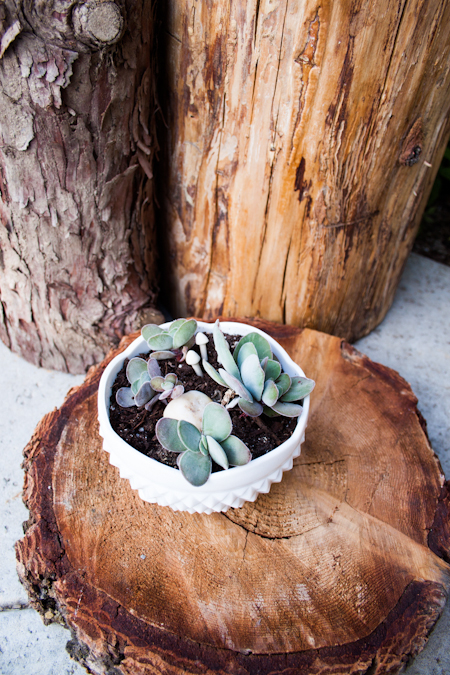
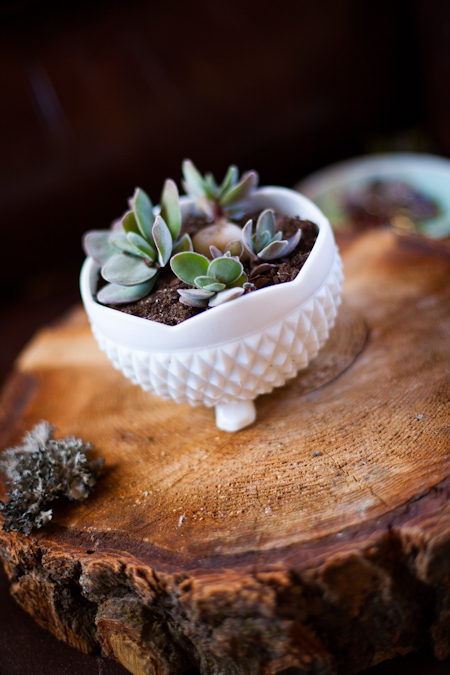
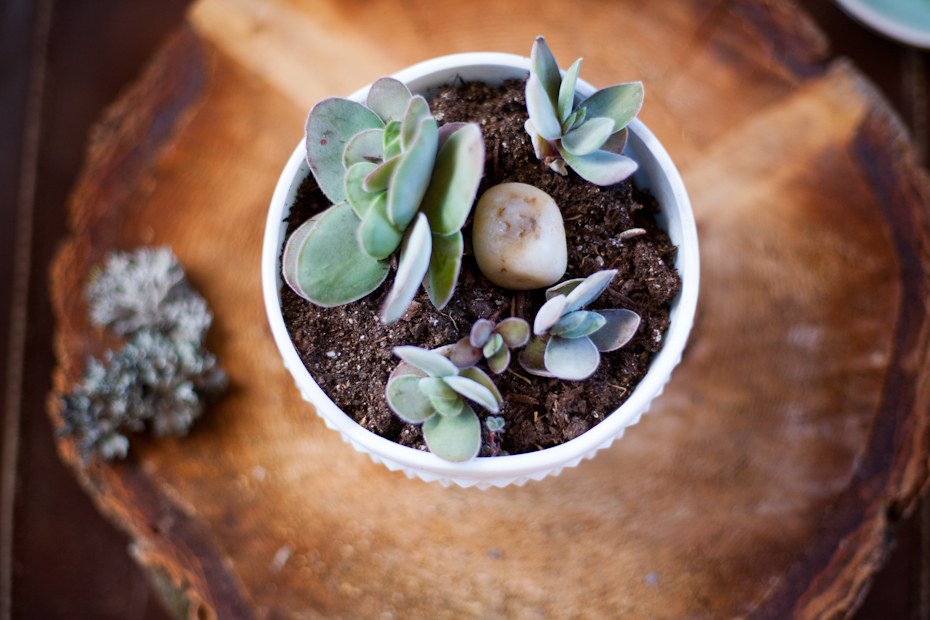
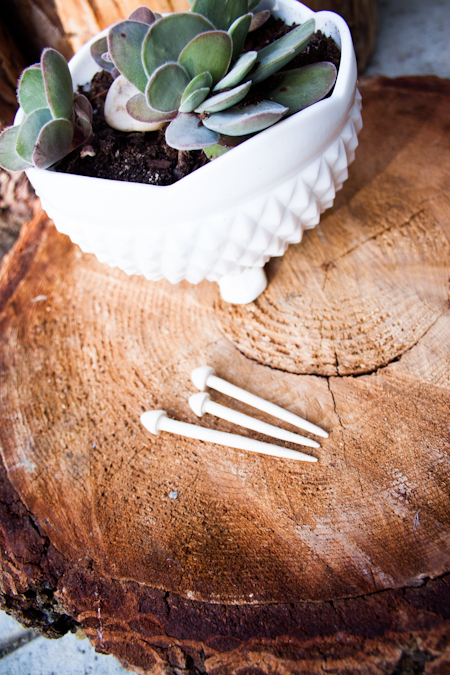
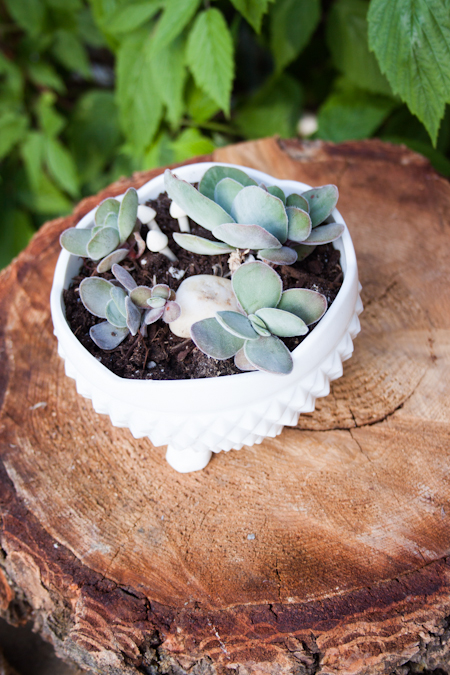
I found these tiny ceramic decorative mushrooms on Etsy. Rebekka, creates these “Dainty Ceramic Mushrooms” and they are perfect for potted plants and terrariums.
All of this rambling is the product of my experience as one who both creates and loves to teach. I am thrilled to share what I have learned with others. There is something freeing in being able to create or make something.
I recently got back into making jewelry. I love it. Knitting is also wonderful but being as it is 80 degrees outside already I have decided to make jewelry by day and knit by night (when I can find time with four kids!).
One easy way to make your own jewelry is to buy a chain (gold, brass, silver, or mixed metal) and then hunt for a pendant. Right now druzy are coming in.
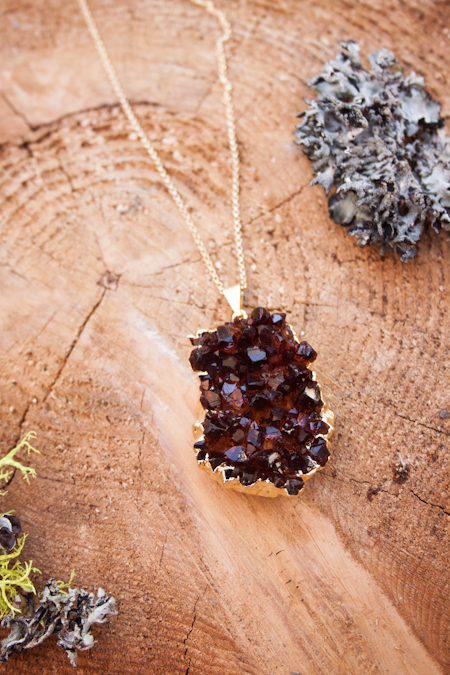

White Druzy Necklace (Please note the pendant in this listing is half an inch by three quarters of an inch, very small but beautiful)
There are also Druzy necklaces for sale at stores like Urban Outfitters and Free People but they are not showing a picture of the necklace you will receive so it is a little risky.
Another option is to search for a druzy pendant and buy a chain separately. I bought a bunch wholesale and I am selling what I have (with chain 40-45 dollars, and without chain 20-25 dollars). The nice thing about buying the pendant from another source and putting it on a chain you like is you know exactly what you are getting (make sure to read descriptions carefully!). If you look at the measurements and double check that you understand what size you are getting it can result in you being able to pick the pendant that you like.
Shops that sell druzy pendants:
If you are looking for an inexpensive gold like chain option here is where you can purchase a few. These are the types of chain that could eventually turn your skin green so be aware. It is much better than a gunmetal base. The convenient thing is they are really inexpensive so you can get a $60 necklace for $25-$30 dollars.
Gold Colored Brass Finished Chain
If you want a necklace with at least a little real gold on it you can get a gold plated chain. These are a little more expensive than the brass chains but are still affordable. The gold will wear off, however. The chains I am selling are 32 inches in length and are double plated with 24K gold. They will last a little longer but I purchased them through a wholesaler. Here are some options for you.
Gold Plated Over Silver Finished Chain
Gold Plated Over Brass Finished Chain
The next step up is gold filled chain. This chain is much more expensive. Many jewelry designers use gold filled chain which is similar to plated only it has a much higher gold content. This makes the chain much more expensive. I offer a gold filled chain in 24 inches with a 3 inch extender. This chain is very light weight but beautiful and looks great with the agate pendants. Here are some resources for gold filled finished chains.
Gold Filled Finished Chain (Fire Mountain Gems)
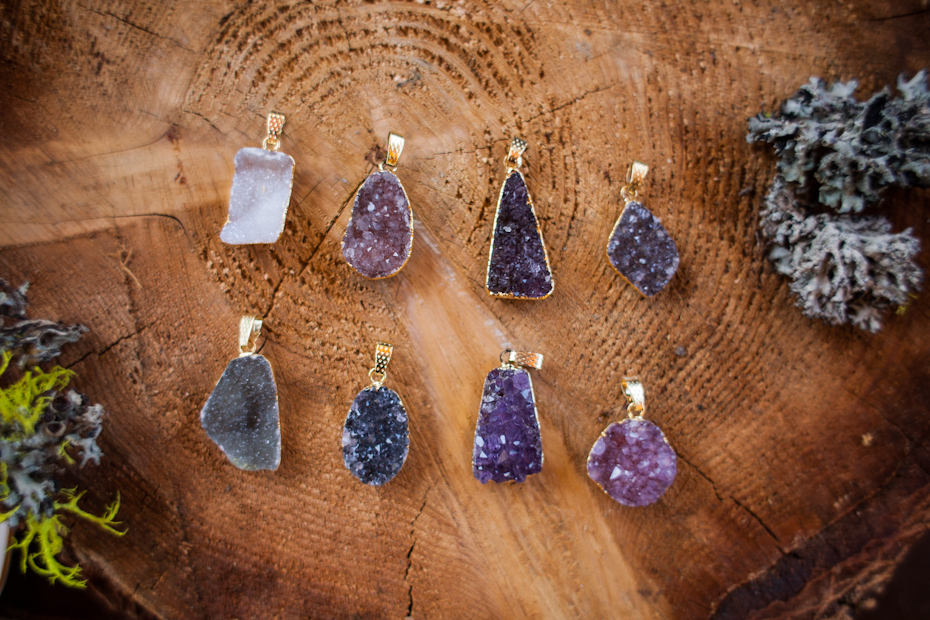
Agate Pendants
$25 dollars (pendant only)
$40 dollars (with a 32″ 24k gold double plated rolo chain) limited supply
($5 shipping within US)
EMAIL ME if you are interested in purchasing one and I can make a custom listing. I can also send you exact sizing for each pendant, these range from 1 -1.5 inch in length and .5 inch in width.
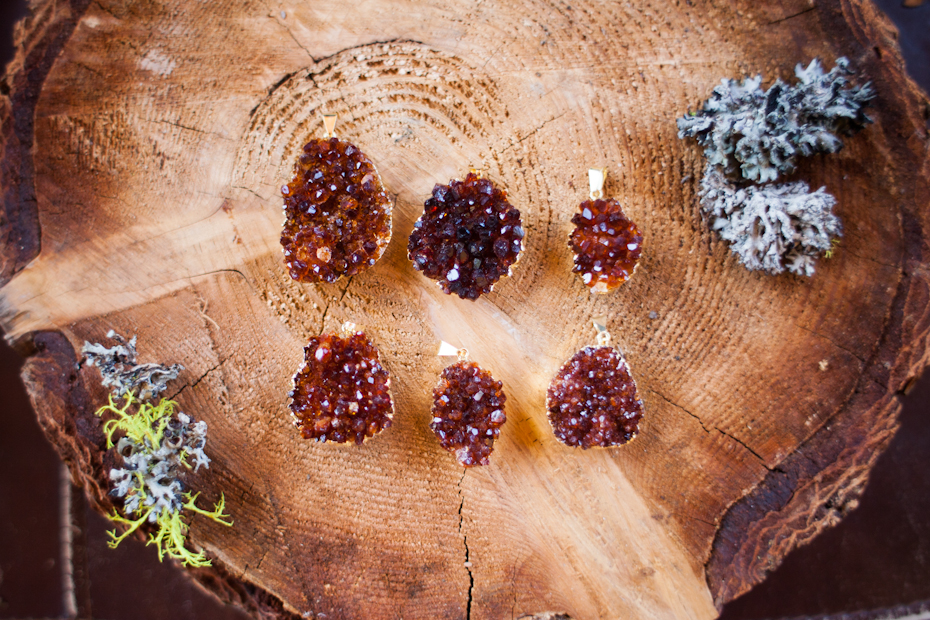
Citrine Druzy Pendants: these are beautiful and very large from 1-2.5 inches in length and 1-2 inches in width. They are gold plated with large crystal points.
$30 dollars (pendant only)
$45 dollars (with a 32″ 24k gold double plated rolo chain) limited supply
($5 shipping within US)
EMAIL ME if you are interested in purchasing one and I can make a custom listing. I can also send you exact sizing for each pendant.
]]>
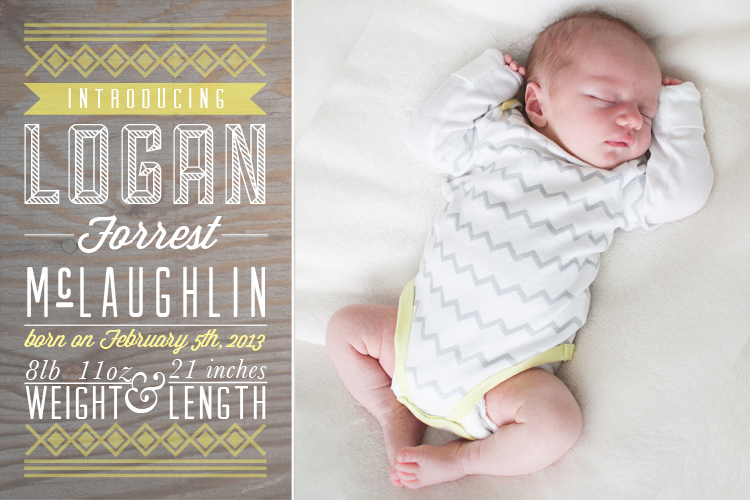 Front.
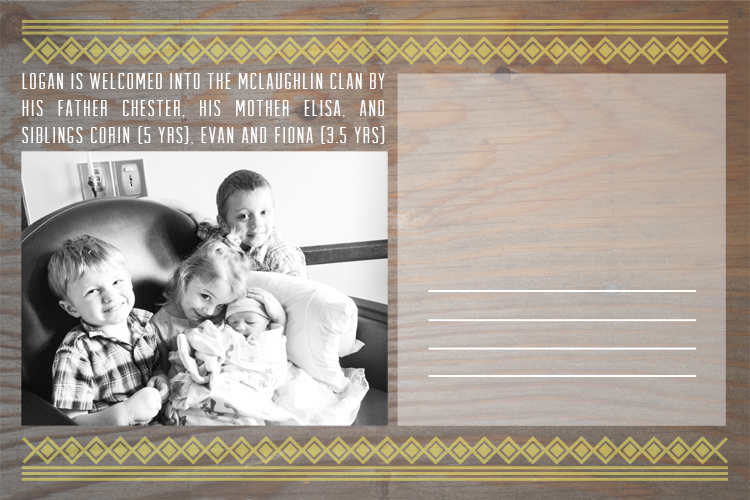 Back.
Back.
I so enjoyed designing this piece and I hope to have it printed eventually. It seems my life is a list of things that I hope to do, one I will never complete, I suppose. Regardless I adore Logan just as much as my other sweet children. I am a blessed.
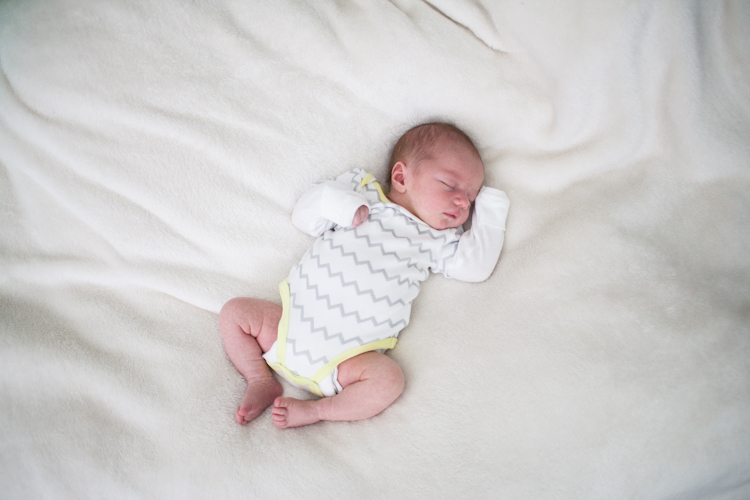
Here are some more pictures of Logan. He has started smiling since I took these photos so I need to take some more photos soon.
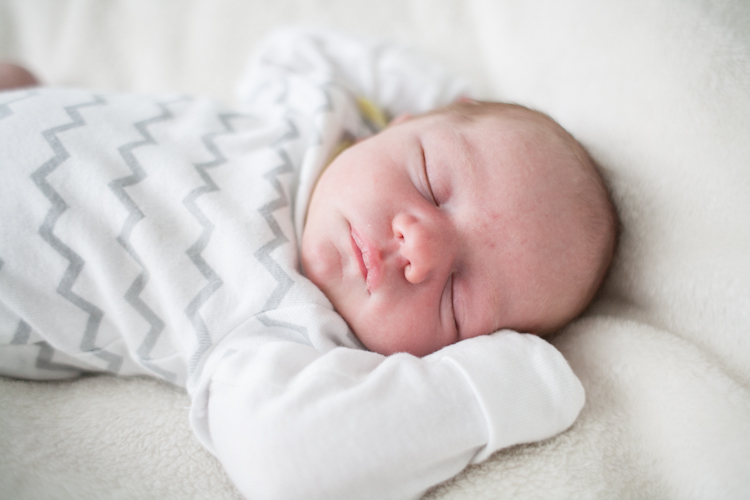

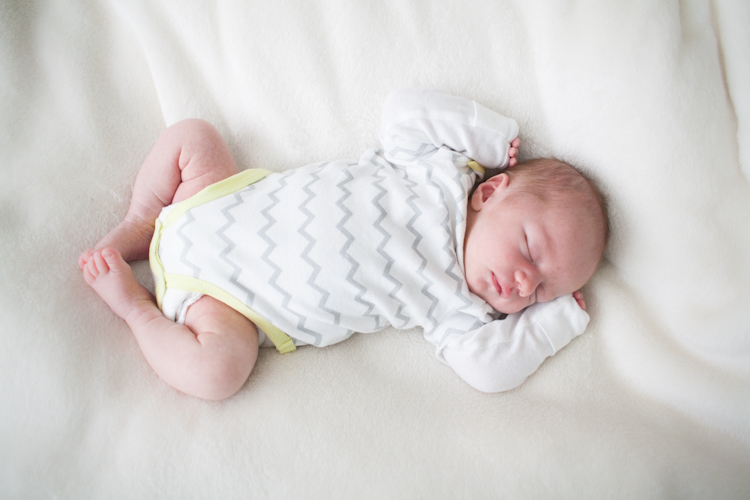

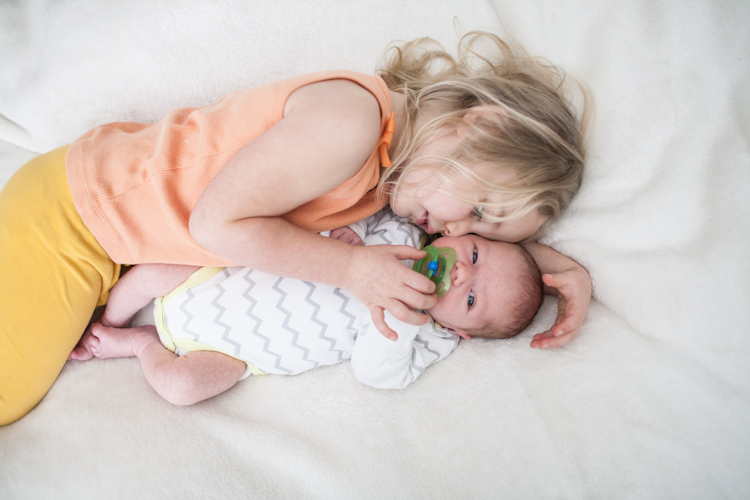 Logan with his big sister Fiona. If you are trying to get good pictures of your children what you need more than a expensive gear, is good lighting. I took these in my bedroom.
]]>
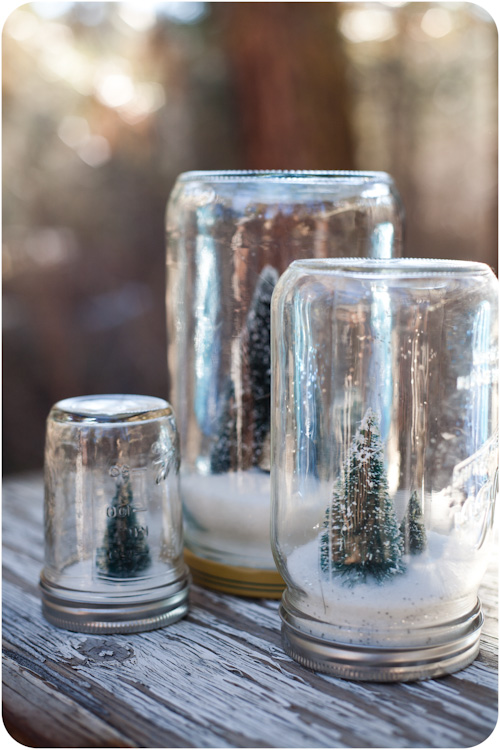
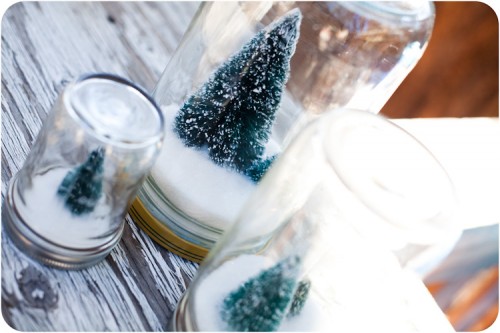
Thanksgiving is over, the official time to fill your home with wintery sights and scents is here. Most of my friends have their acts together and have the house fully decorated and full of holiday cheer. I have the issue every year that we don’t spend Christmas at home. We usually spend it with the grandparents. I love any decorating ideas that will not get dried out after a week of neglect. This year I saw Anthropologie decorated their stores with Christmas scenes in mason jars. Here is a little DIY if you want to try it yourself.
Materials Needed:
1. Fake Snow (I used baking sugar and clear glitter mixed)
2. Mason Jar
3. Glue Gun
4. Tiny Tree (I found a 20 pack of tiny christmas trees at JoAnn’s in the section with the tiny villages)
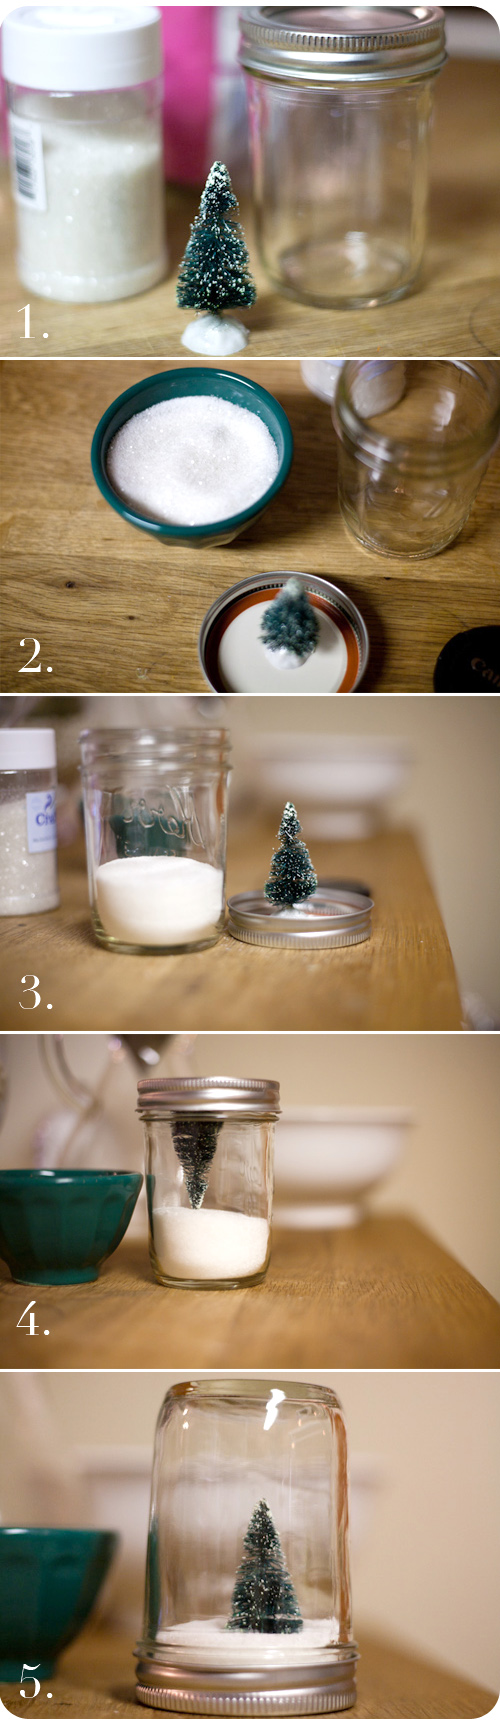
Here are pictures to show you what to do. Basically you glue the tree to the inside of the lid and put the fake snow inside the jar. Put the lid on and flip it over…really…so easy.
I made lots of little winter scenes in different sizes and stacked them on my mantle. I love the end result and I hope you will too.
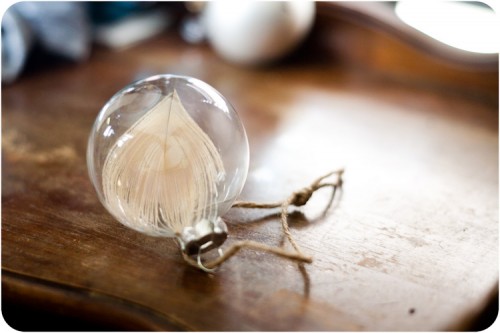
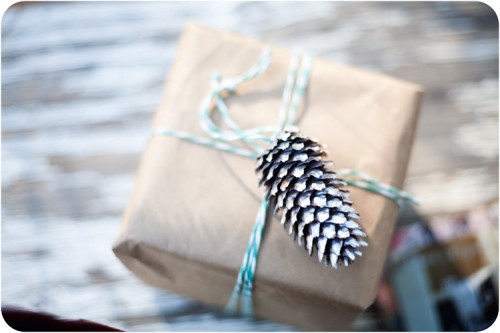
Here are a few more DIYs for the holidays. I did a lot this year but I haven’t had any time to post new ideas. So until I get them up maybe some of these are new to you.
Happy Thanksgiving! I hope you all had a lovely holiday, mine was low key and wonderful. I am so thankful for so many things.
It has been months since I have posted anything to my blog. I have had many reasons and with the holidays passing I felt a need to give an update and get my rear in gear with my posts. My lack of presence has not been due to a lack of creating, quite the contrary, I have been in creative overload for the last five months. After moving down from Hume, CA to my home town of San Diego, my family and I began the arduous task of opening a second coffee shop location. Our second Kaffee Meister location has been open for two and a half months. It has been a very rich and rewarding experience, it has also been one of the most exhausting periods of my life.
On top of starting a new business I have been making a new life, yup, pregnant. I am 30 weeks pregnant with my fourth child. This is probably the main reason for my exhaustion lately. All this to say I have had a lot on my plate lately. Busyness and exhaustion aside I am making it a point to get back to posting regularly. So this post will be a mix of some of the things I have been working on.
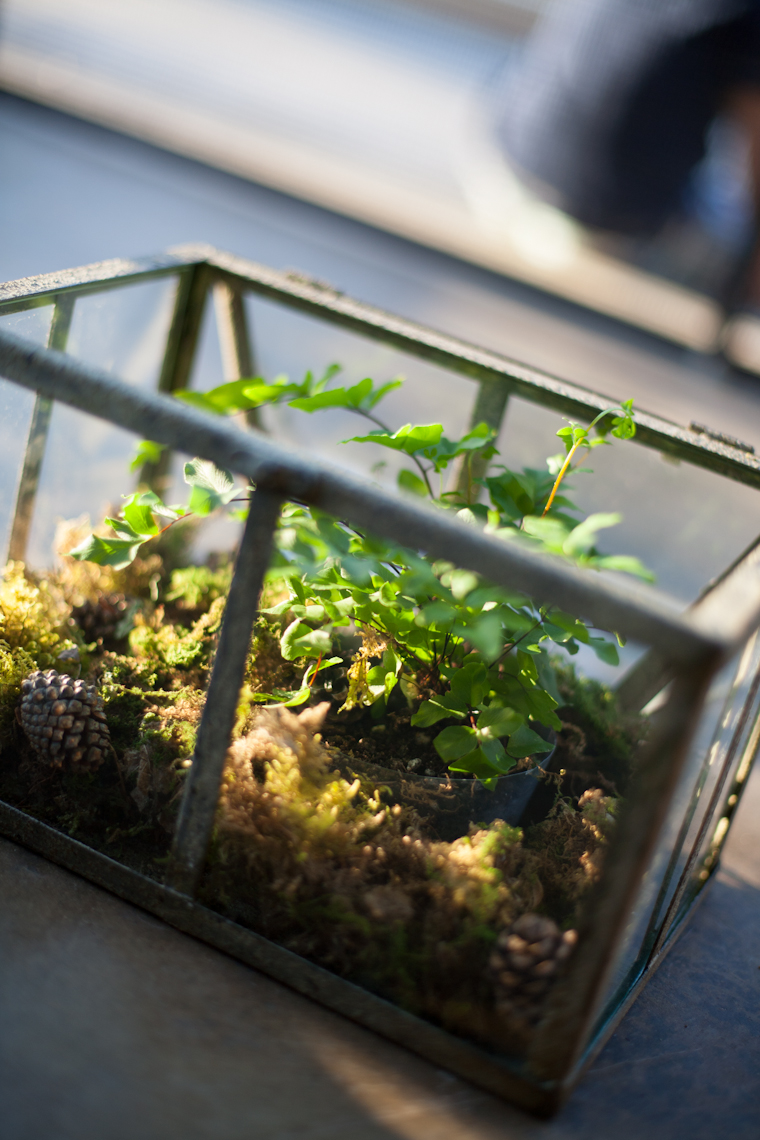
Fern Terrariums
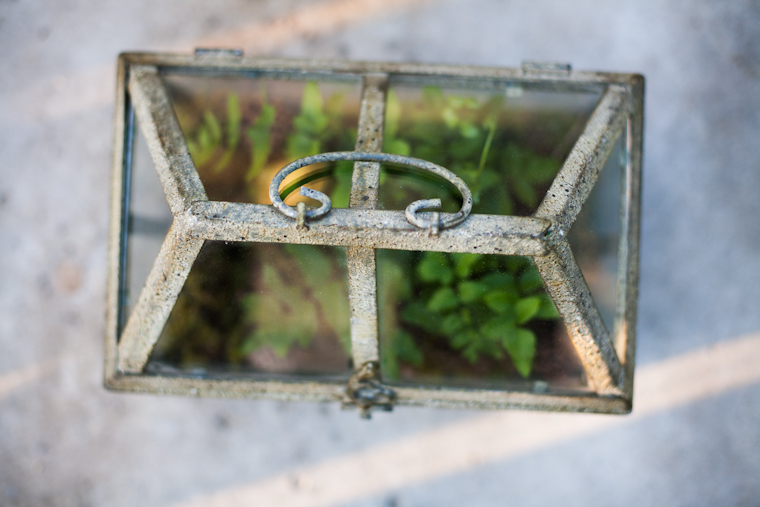
I took my terrarium obsession to a new level this year. Ferns used to surround me in my mountain home and now I have found a way to add the green in my life inside my home. I used living moss from Home Depot and kept the ferns potted in the case where they were in a non watertight container.
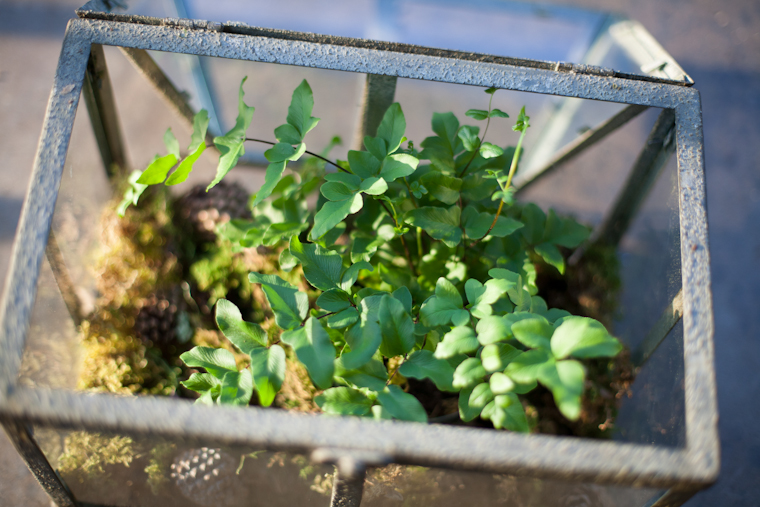
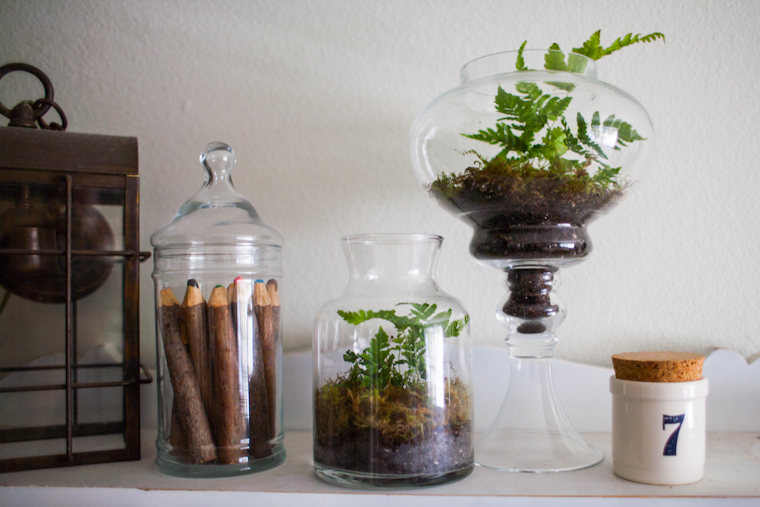
I also planted some ferns in apothecary jars. I kept the lids off and planted the ferns directly into the glass containers. I then covered the soil around the ferns with some moss. I water them every other day or whenever the soil feels dry. They are doing great so far.
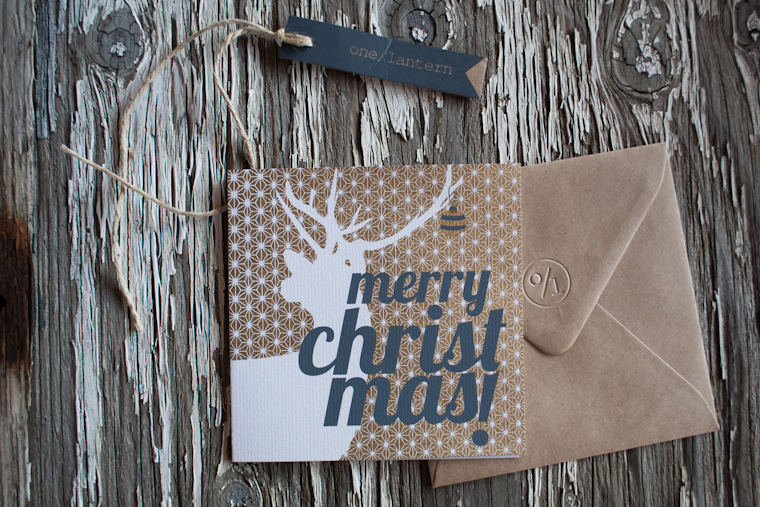
I also have been curating/designing some fun merchandise for the coffee shop. I have found lots of unique items and will be sharing them in posts to come. Here is a couple of images of some greeting cards I found. They were created by Tamara Hirn an artist based out of Australia. I have many of her designs available in the shop, here are a few examples of her holiday cards. You can find the rest of her work here.
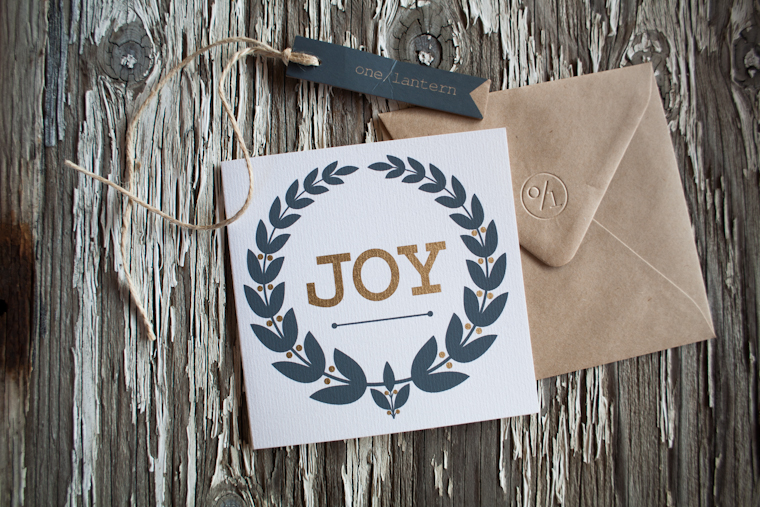
Joy Greeting Card: $6.00
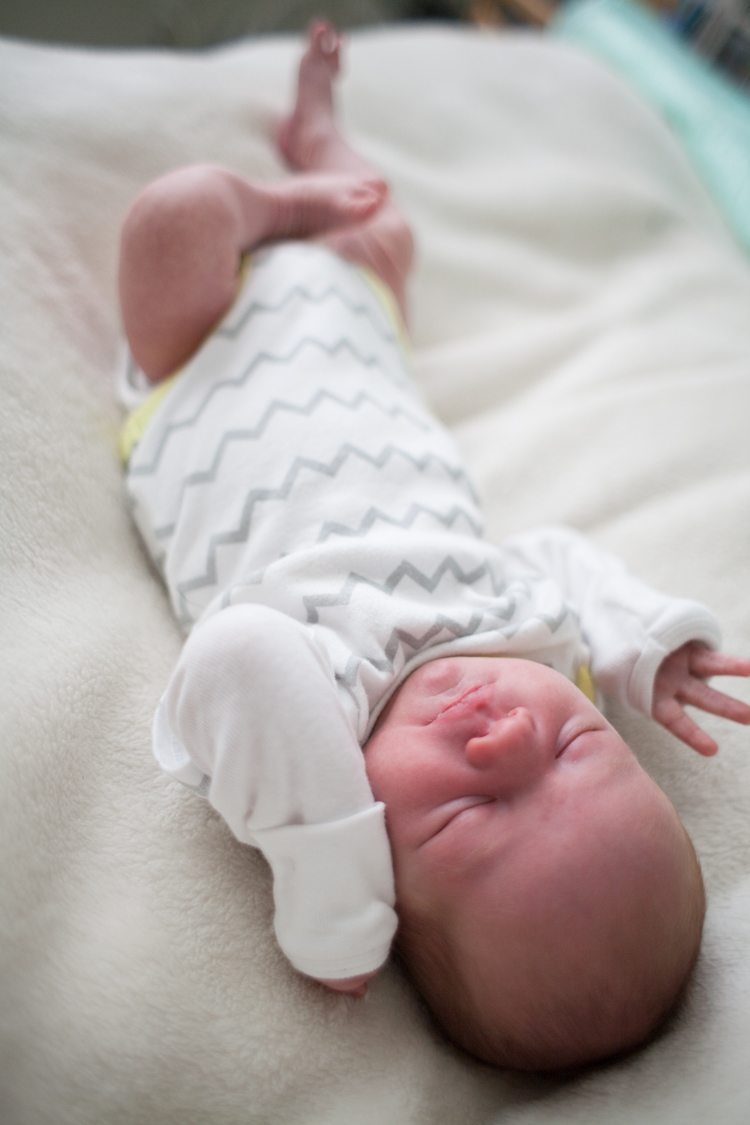
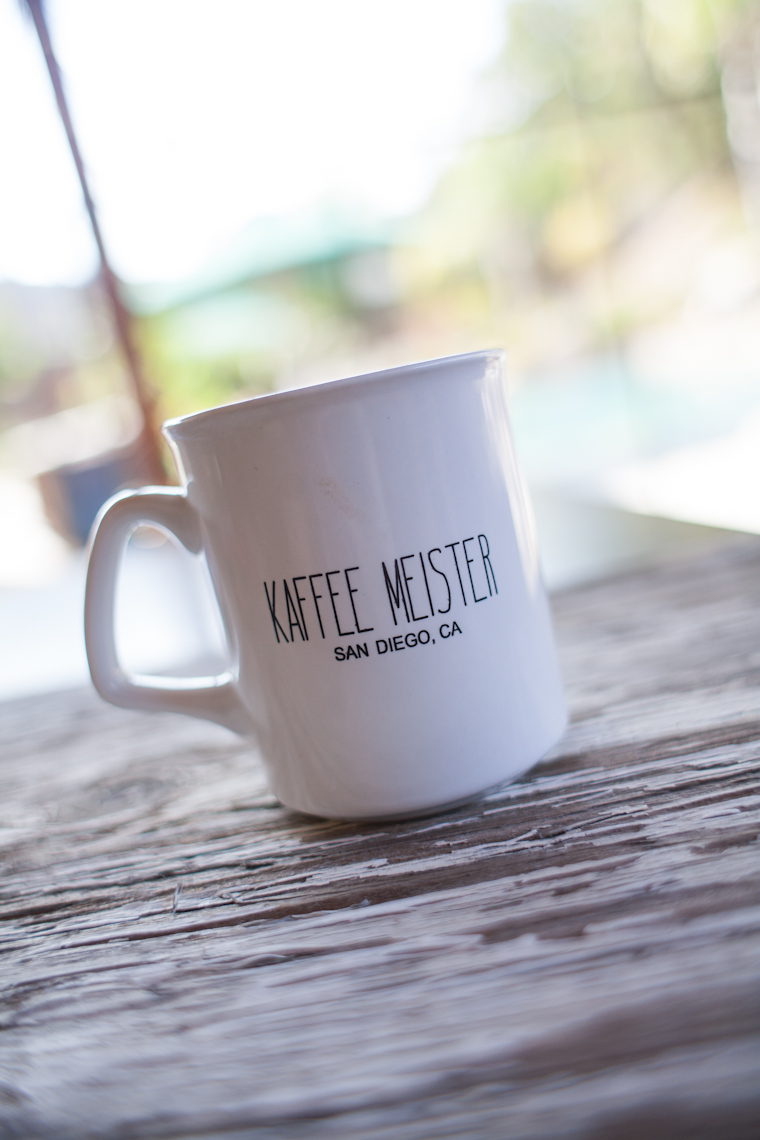
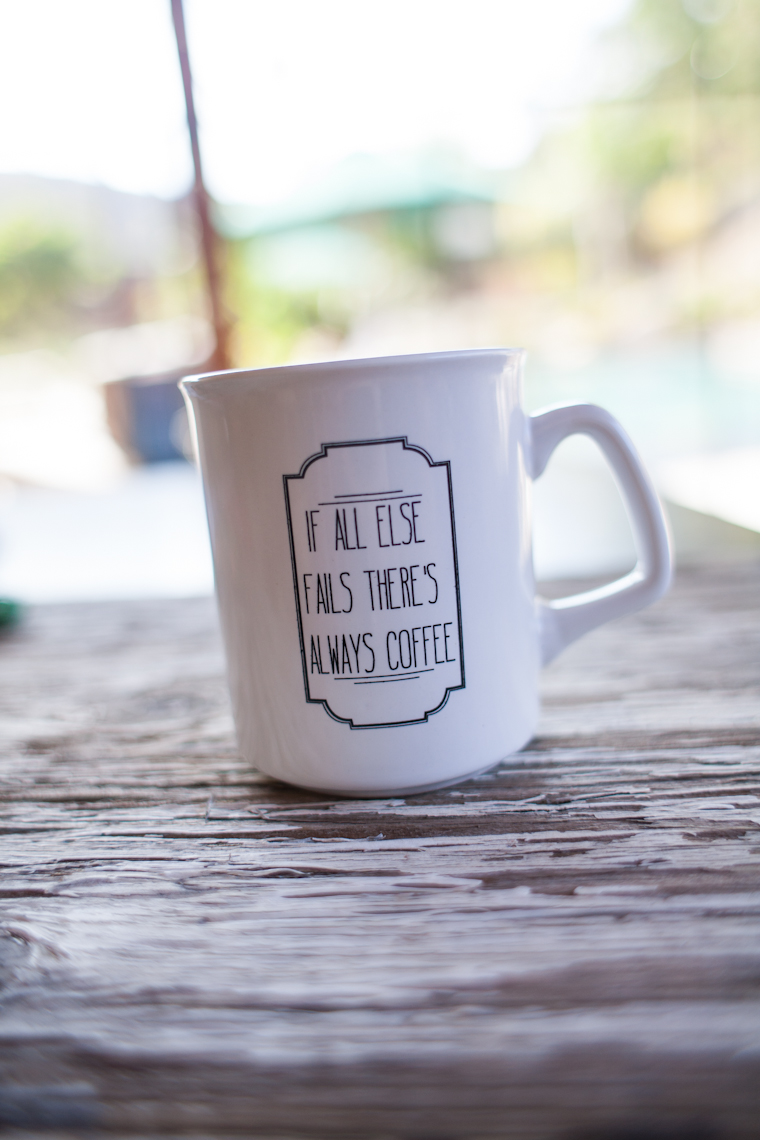
I have been doing more graphic design with all the promo for the coffee shop. I designed my first coffee mug it was a very exciting endevour. If you would like to purchase one just shoot me an email, all prices exclude shipping charges. The front is simple and names the coffee shop and its location. The back has the quote “If all else fails there’s always coffee” which I have to admit is my personal mantra. The mug costs $6.00 not counting shipping, if you love them and live close to either of our Kaffee Meister locations come by and pick one up!
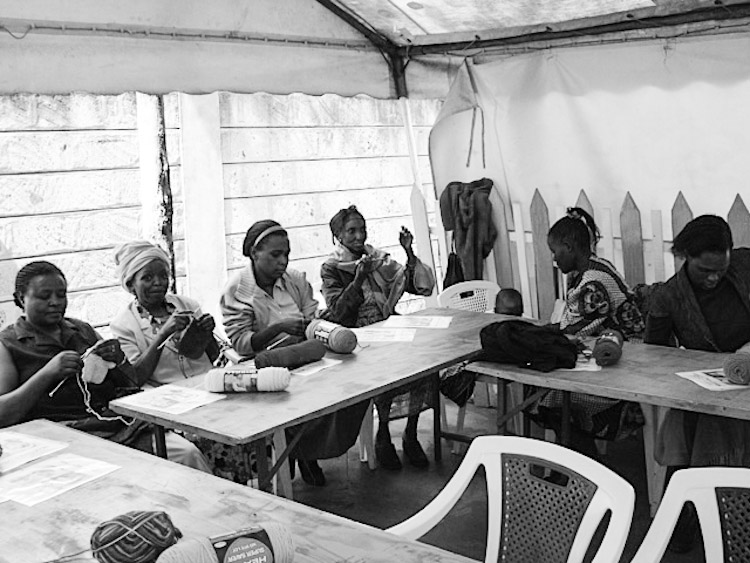
“Hi Elisa,
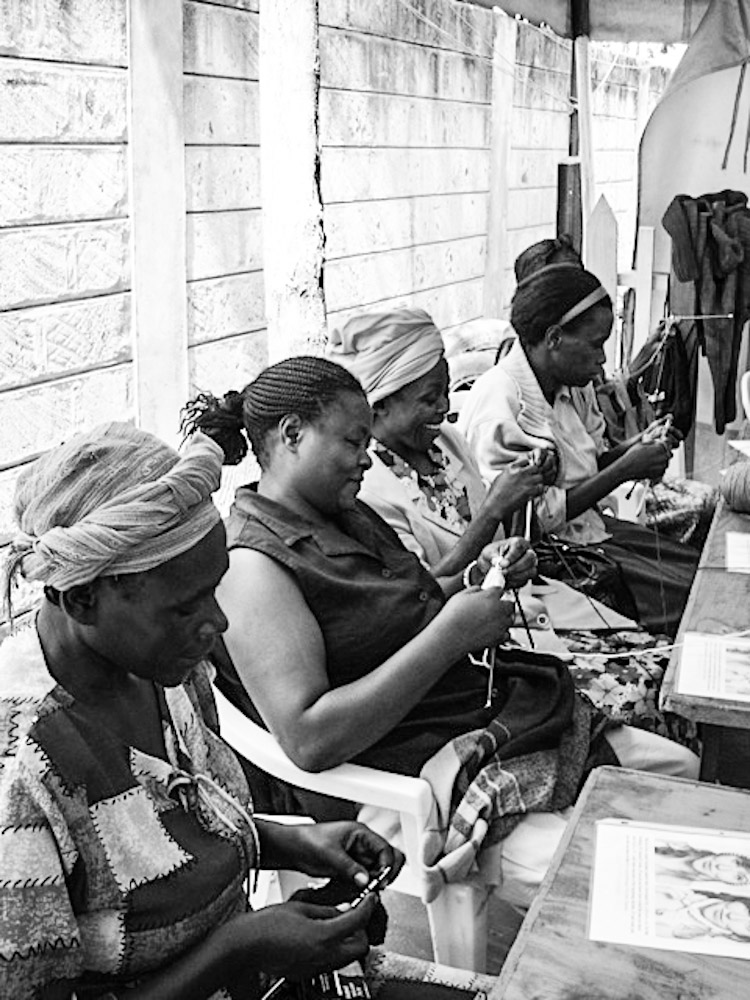
I am the I.N. Network employee who took the team to Kenya in June. Knitting is a new passion of mine and I thought it was so very funny when the leadership in Kenya asked if we could bring some new ideas for ‘woolen products’ to teach to the ladies who meet to do crafts. These women are called ‘women of Grace’ and meet once a week to create small items (knitting, crocheting, soap making,etc) to sell as a means of support for their families. Their stories are varied but I heard them referred to has the HIV/AIDS women and as widows. Many are former commercial sex workers who have been trapped in the horror of the worst sort of poverty. All were mothers and wanted the hope of a different life. “
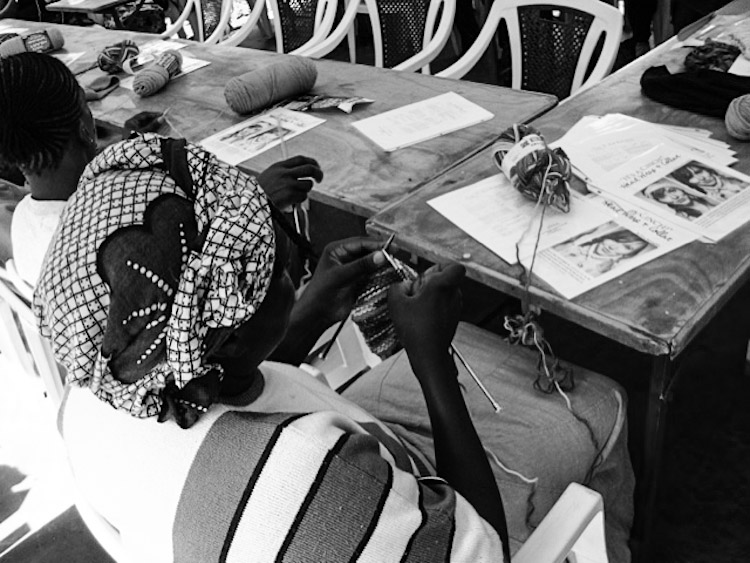
“I did a tiny bit of requesting for help and received more yarn, needles and ideas than I could possibly imagine.”“All of a sudden my house in Wisconsin was filled with knitting supplies from Michigan, Seattle Washington and beyond as women wanted to participate in the collecting of blessing. I made copies of your pattern for the ladies in Kenya, packed up and got on the plane for Nairobi. “
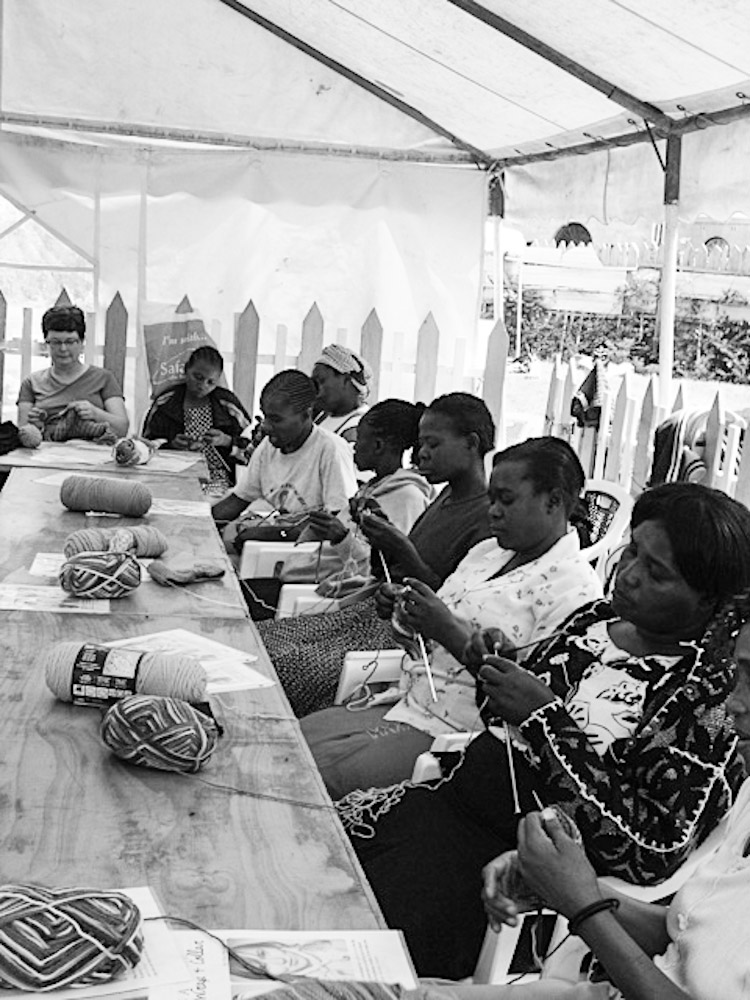
“I hoped to begin with knitting on day #2 as we had also brought some sewing/craft kits that the volunteers at Living Threads ministry.had put together for us to use. BUT, No! New yarn was the excitement of the day for these 25 members of the Women of Grace. They gathered in a tent set up on the grounds and began to tackle the headband pattern immediately. There was not a lot of English spoken, so your pictures were perfect for explaining how to sew them together and also how to make the ‘cinch’ pattern. As Margit shared, there was one very frail woman who was struggling with the concept of knitting. I could tell that she was not getting along very quickly and needed extra help. I was concerned that Ann would be discouraged. When I went around the circle to help her again, I asked if she was understanding any of it. The smile back at me was stunning. She told me in perfect English, “I am so happy!”“A bit of yarn, a pair of needles, a clean tent with friends. Even a break for morning tea time.Yes, Ann, I am so happy too. To have met you, to have seen your joy, to have caught a glimpse of God’s grace in sending some practical love across the globe to a dear beloved woman of Grace. “
Not all those who wander are lost;
The old that is strong does not wither,
Deep roots are not reached by the frost.”
J. R. R. Tolkien
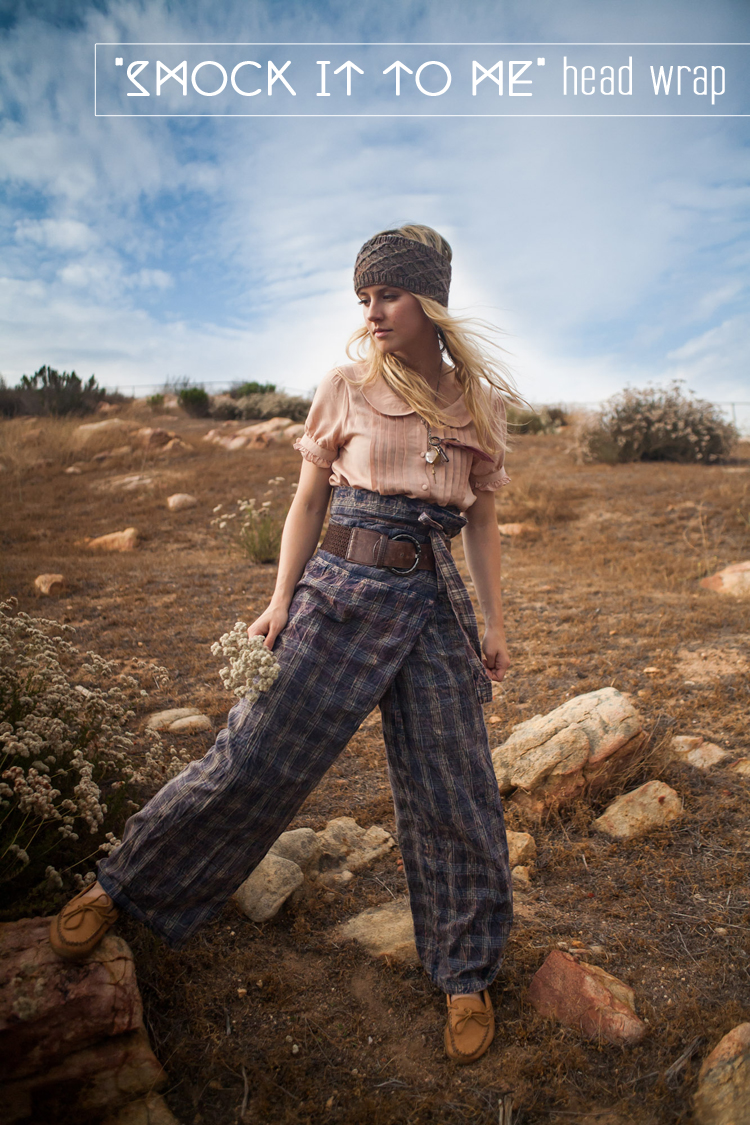
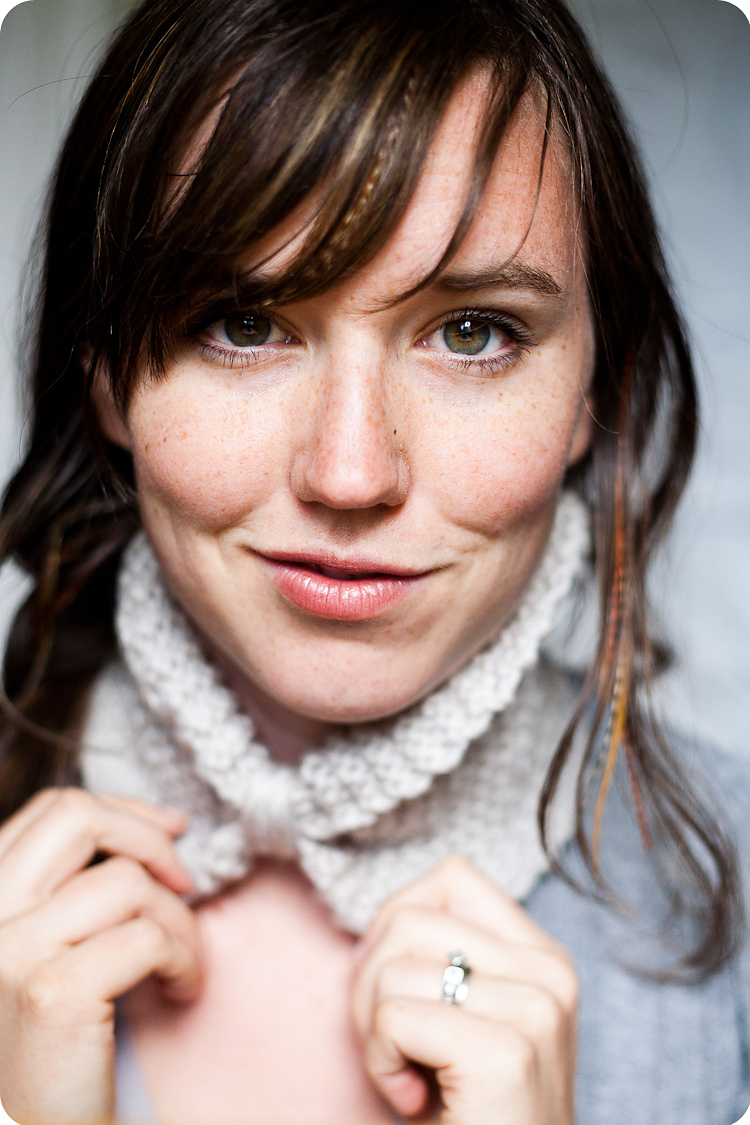
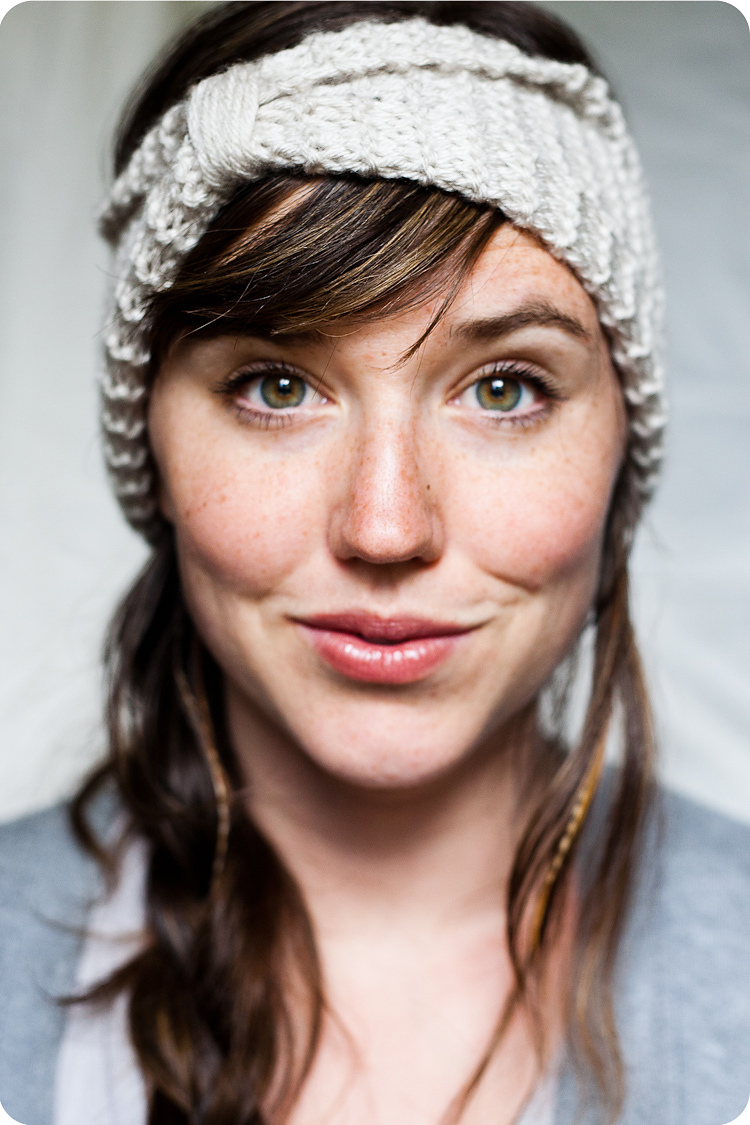
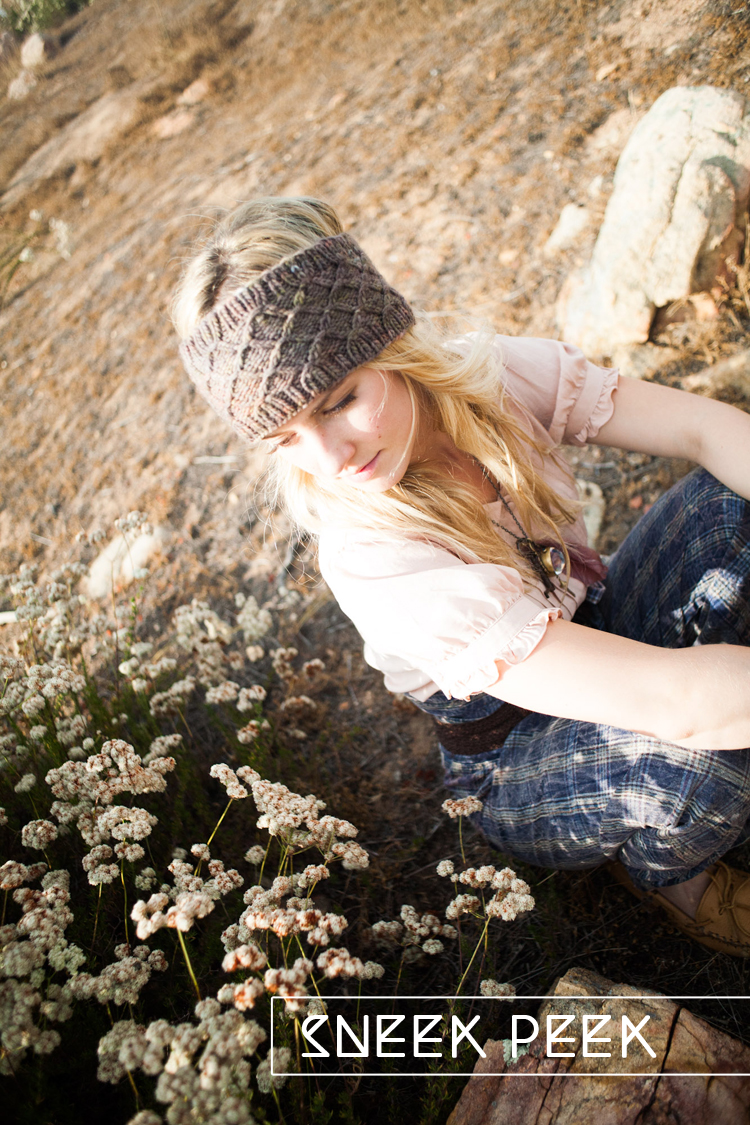
Created for the bohemian traveler this head wrap is versatile and easy to make. Due to the small size of this project you can knit it on a train or double-decker bus. You can keep the finished head wrap in your purse for the surprise storm or cold spell. It is reversible just in case you aren’t in the mood for the pattern, just turn it inside out for a fresh look.
For this design I used Merino Silk Worsted by Skein Yarns.
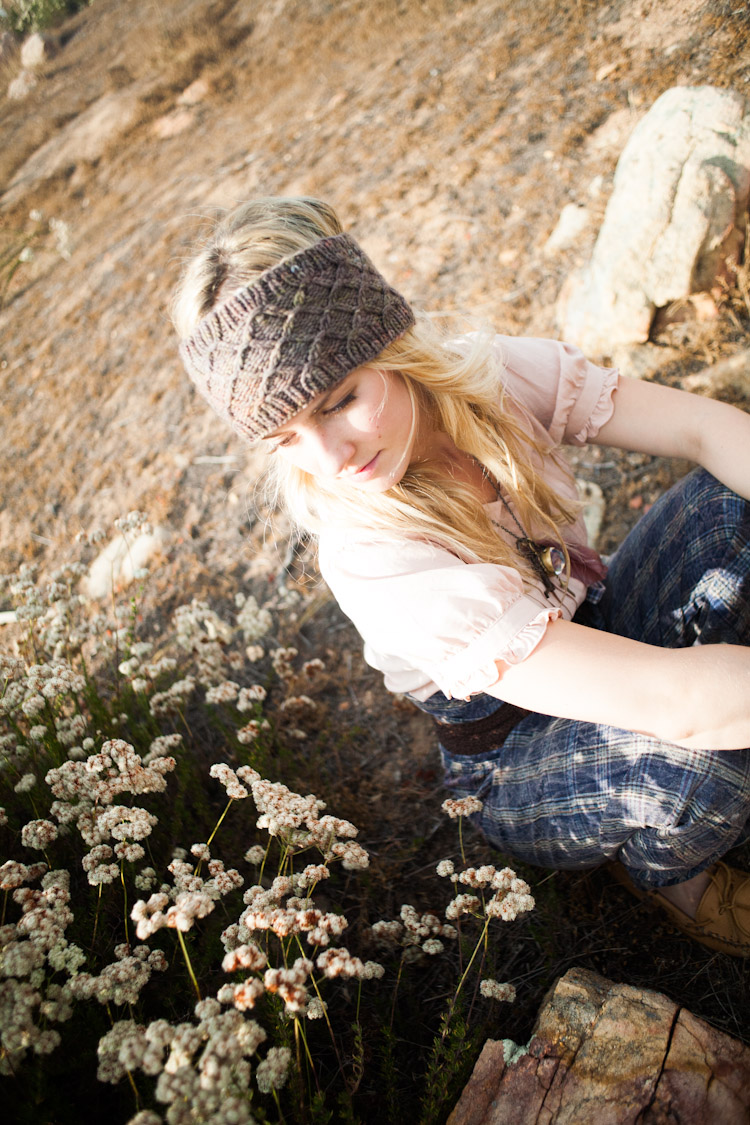
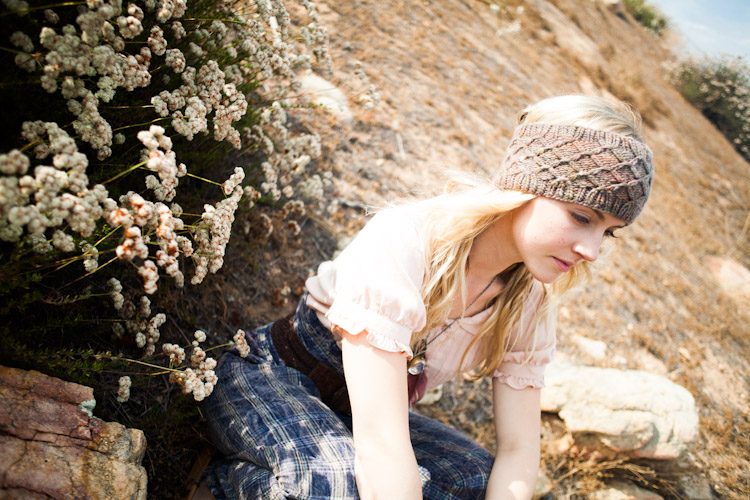
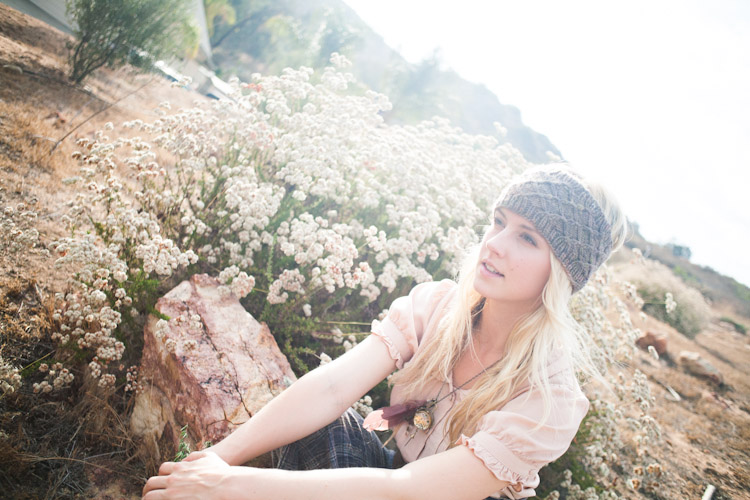
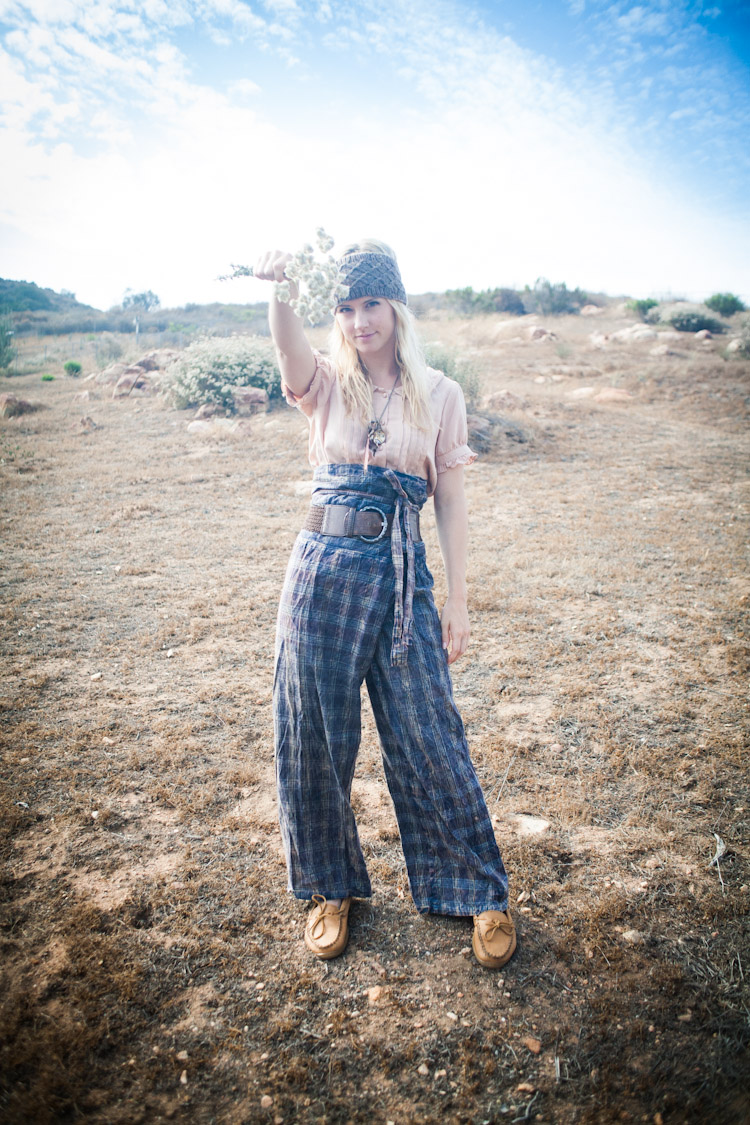
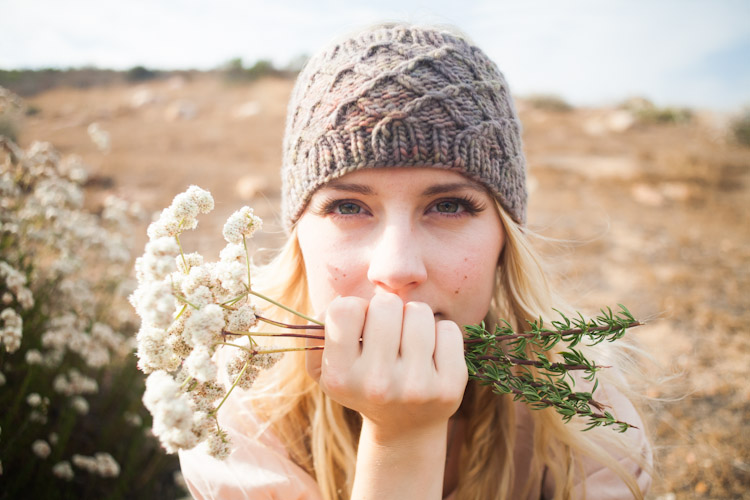
Photography: Elisa McLaughlin
Model: Natalie Emmons
]]>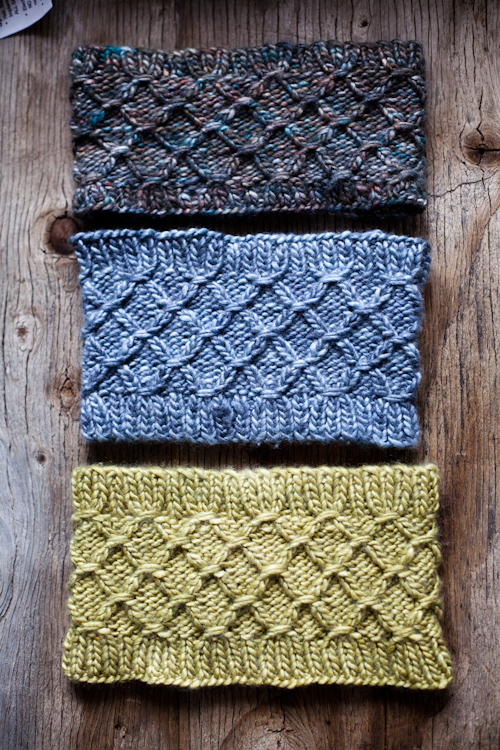
Colorways from Top Down 1. Inkstone 2. Pastel Sky 3. Wild Apple
I also knit this head wrap up in Spartan Merino Worsted which Skein does not offer for sale any more but is very similar (slightly heavier gauge) to Malabrigo Merino Worsted. I used this head wrap in my pattern photos because it best fit the look of the photo shoot.
I asked Kristin (the fiber artist who started Skein) if she would be willing to do a short interview. She has been such an inspiration to me through her brilliant color ways I thought it would be fun to know just a little bit more about where her inspiration comes from. She also was kind enough to send me a few pictures.
Q: How did you get started in dying yarns?
Skein: It began as a fun thing to try with some Kool Aid, then I started buying a few professional fiber dyes to experiment with and before I knew it, dying yarn became a full blown hobby and now it’s my full time job. So it really began as a curiosity and I loved it, so I never stopped.
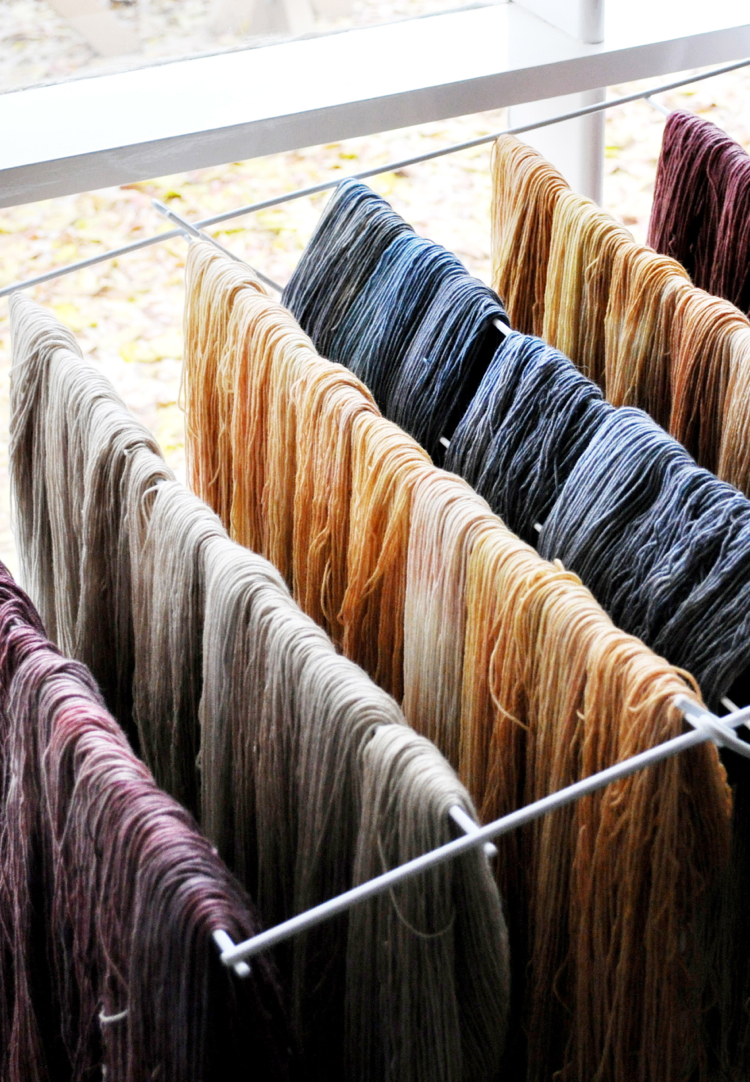
Q: Where do you find inspiration for your colourways?
Skein: Everywhere!
Q: What would you say is the most rewarding part of what you do?
Skein: Being a part of the fiber/knitting community. It’s wonderful how many people I’ve met from all over the world, everyone is really supportive and there are so many creative people, I find it very inspiring!
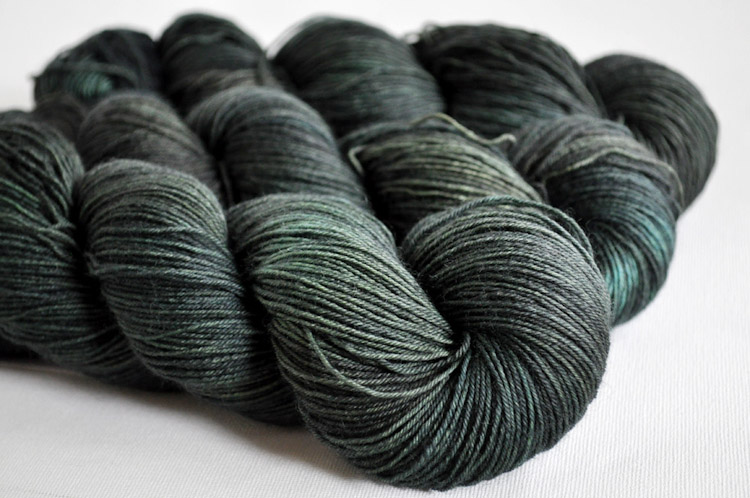
Q: How does your experience as a knitter effect what you create?
Skein: I would say quite a bit. When I first started dying yarn I wanted my variegated yarns to knit up into a fabric with ‘dappled’ colours and minimal pooling so I came up with a way to apply the dyes to get this effect. I’ve never really thought about it until now but I guess when I’m creating new colourways, I like to think how the colours will knit up and then decide how to apply the dyes.
Here are a few more photos that are all from Skein Yarns website.
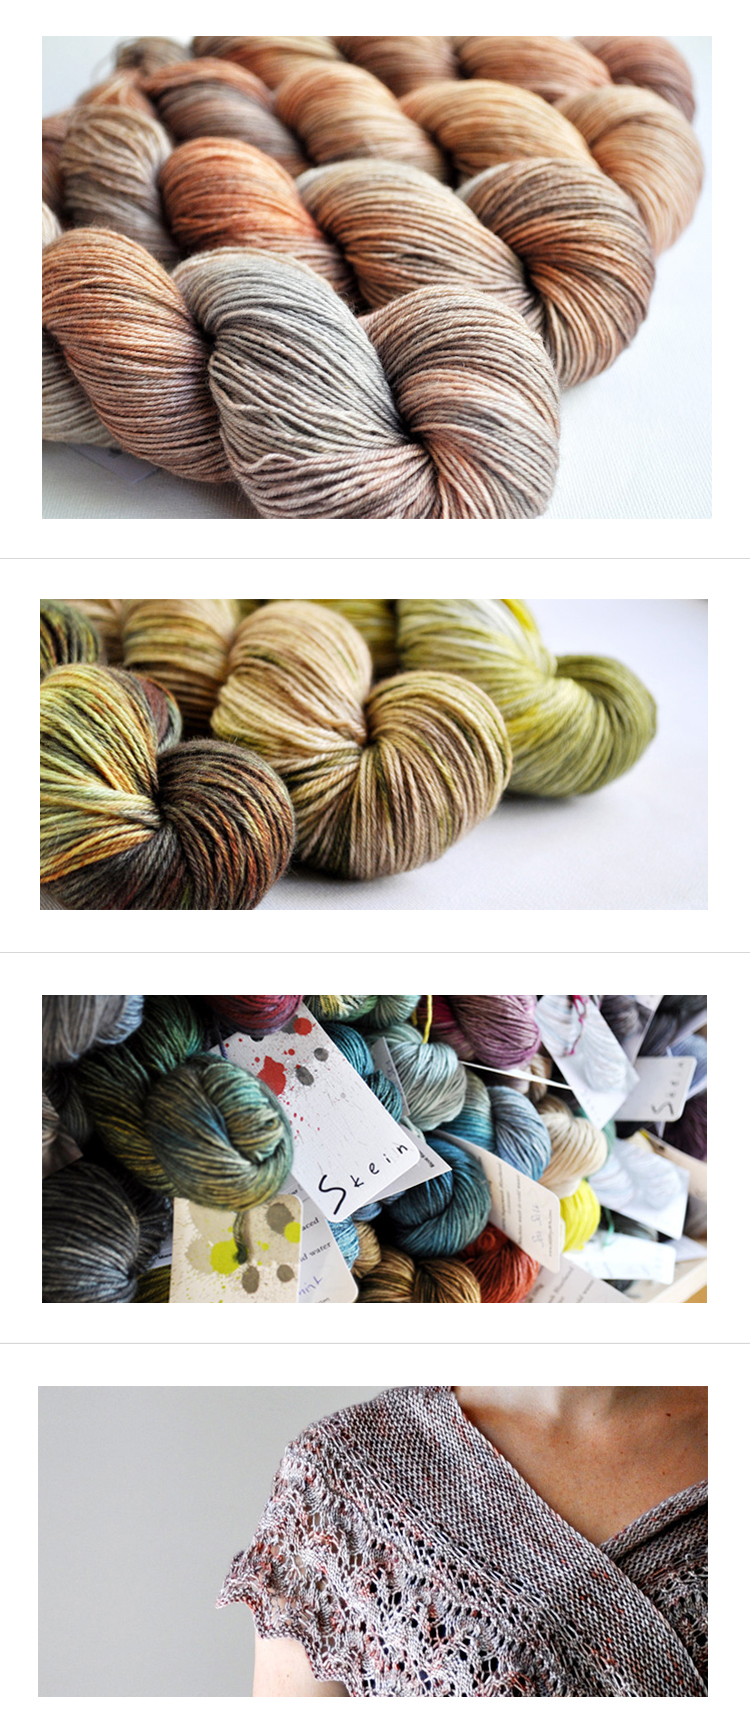
The last of the photos is a of a beautiful pattern Botanical Garden Shawl by Kristen that is available for sale in the Skein Yarns Shop for $5.00. I love it!
Still putting the finishing touches on the “Smock it to Me” Head Wrap, it should be live tonight. Don’t forget to check your inbox for the pattern release email (going out tomorrow morning) which will include a coupon that is good for any or all of my patterns.
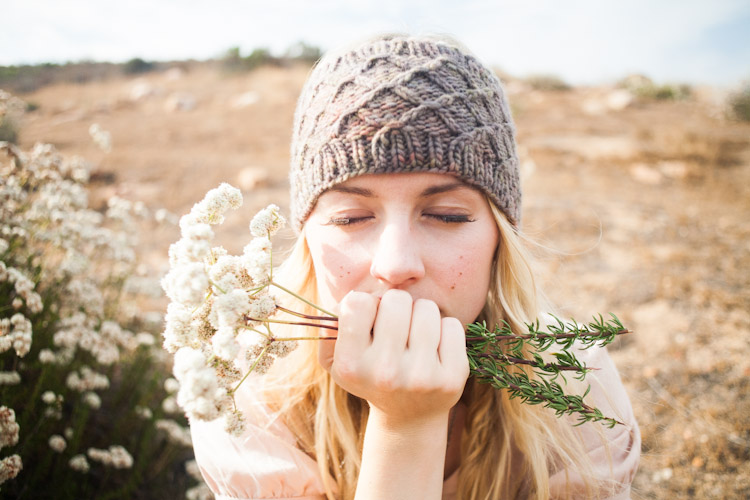

My sister is in town for a short time so we have been having fun. I was so pleased to be able to have her model this design instead of having to model it myself.
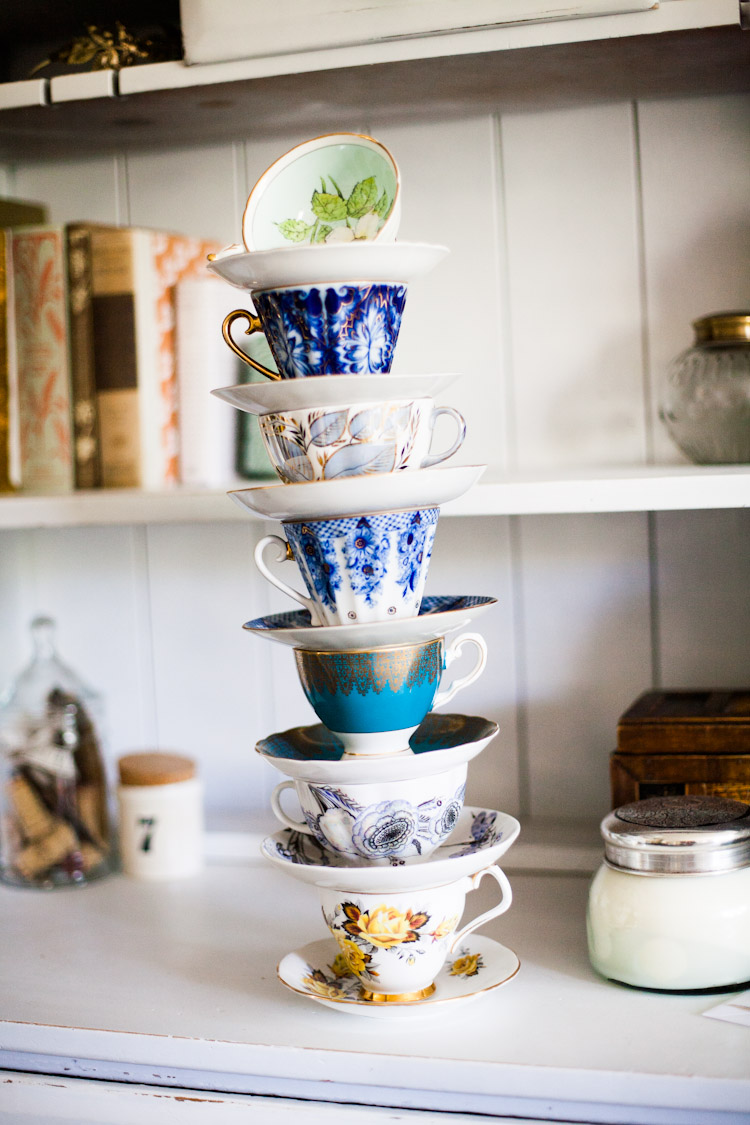
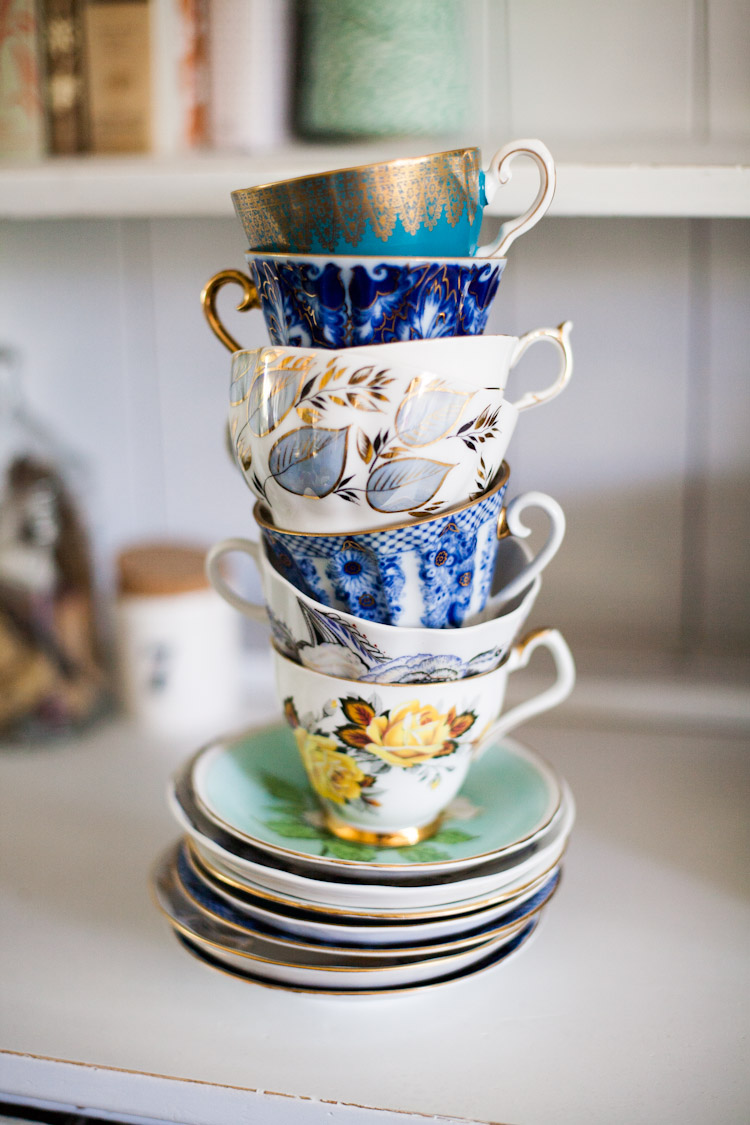
I love my tea cups and I really love taking photos of them. I love them so much I decided to stack them up and take pictures of them. This is just one of the weird ideas I have come up with while trying to find fun things to photograph. It was quite a task stacking all these tea cups. I am very thankful they didn’t fall over.
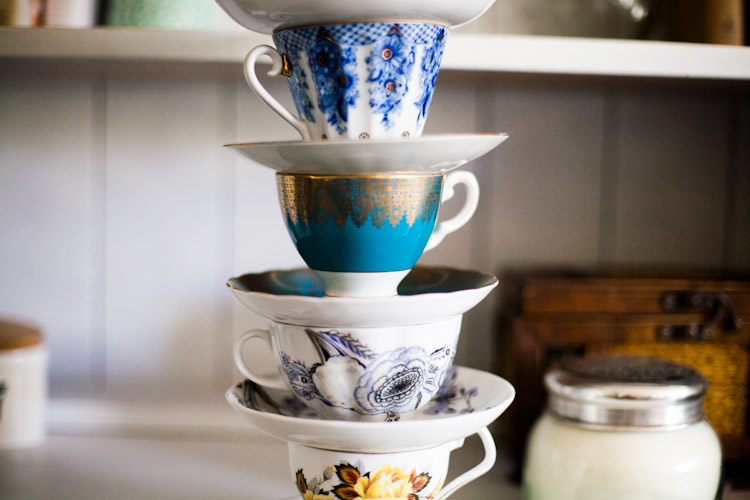
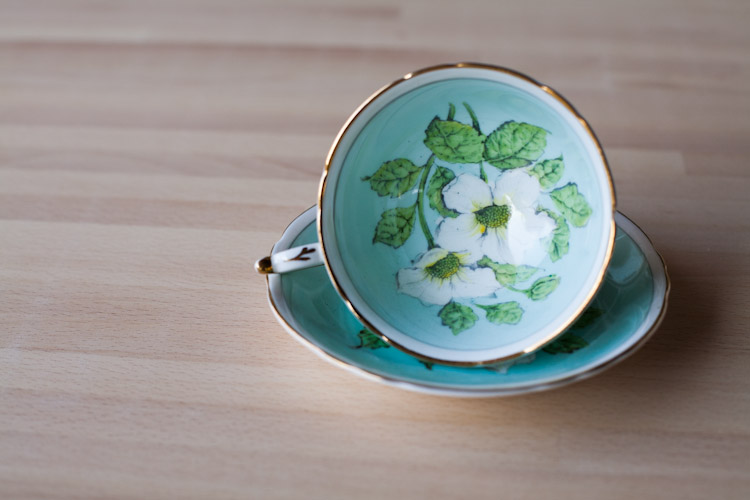
This is one of my favorite tea cup and saucer sets. It is Paragon Bone China. I haven’t figured out what the pattern is but I love the color and pattern.
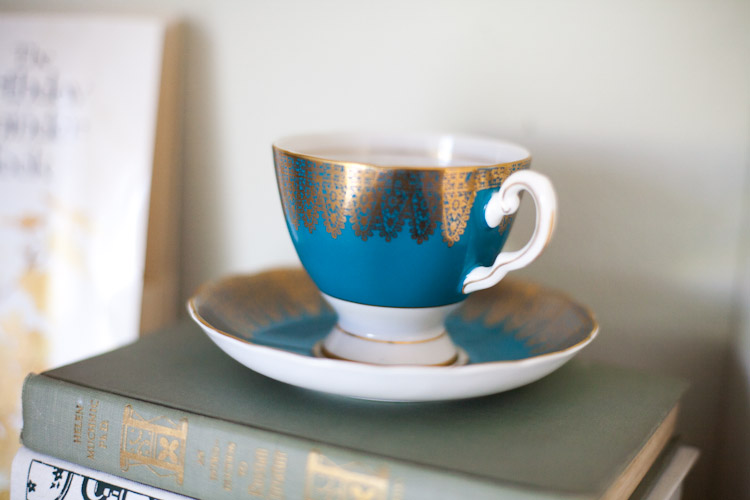
This is another one that I love. It is Royal Tuscan Bone China.
]]>
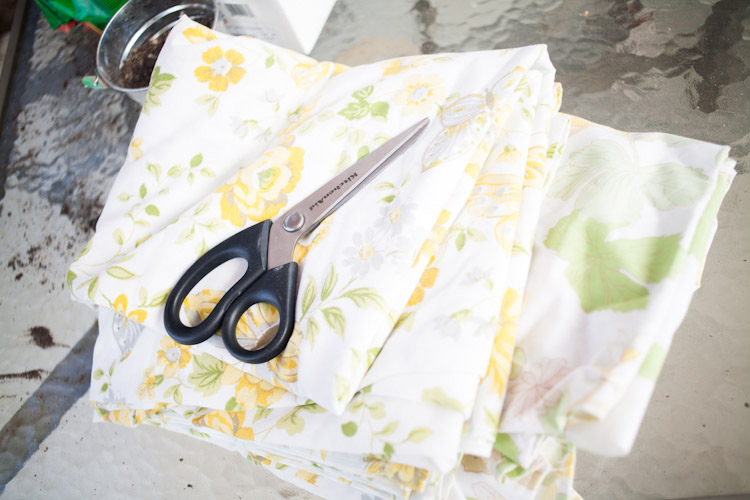
I used vintage sheets for the fabric also a few yards of some fabric I picked up at Joann’s Fabrics.
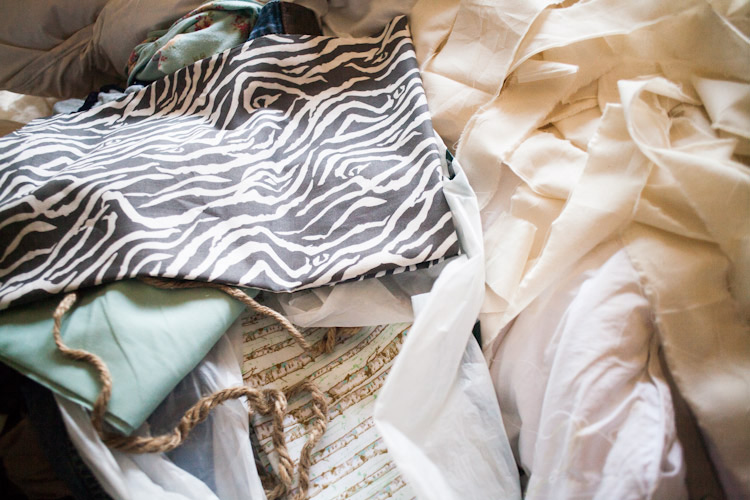
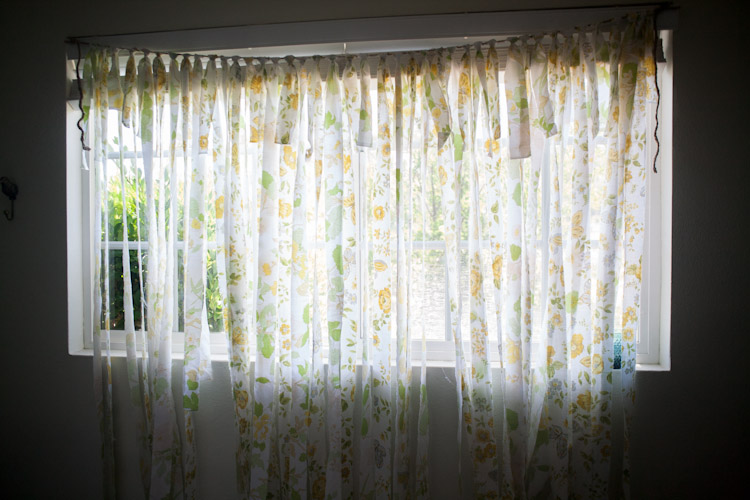
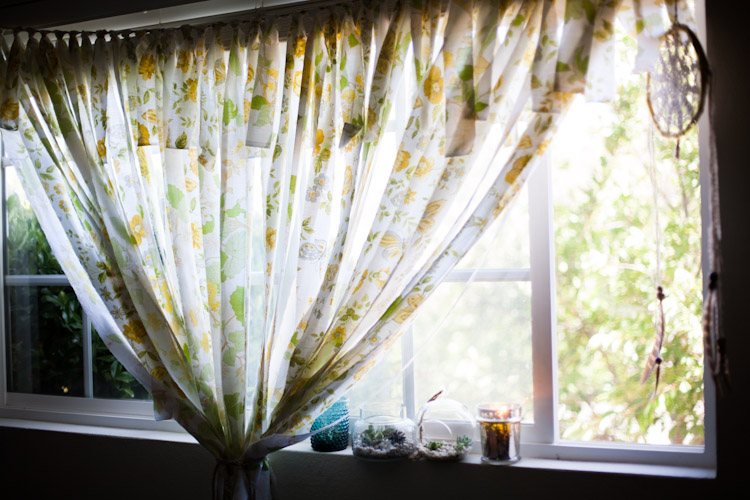
I cut a small incision and ripped two inch segments of the fabric. Then I used jute rope and tied the strips of fabric to the rope. The sheets I used to make curtains for my room. The length was essential. If you are doing a long banner without using sheets be sure to purchase the length you want. If you want them to be two yards long purchase two and a half yards of each fabric pattern you want to use.
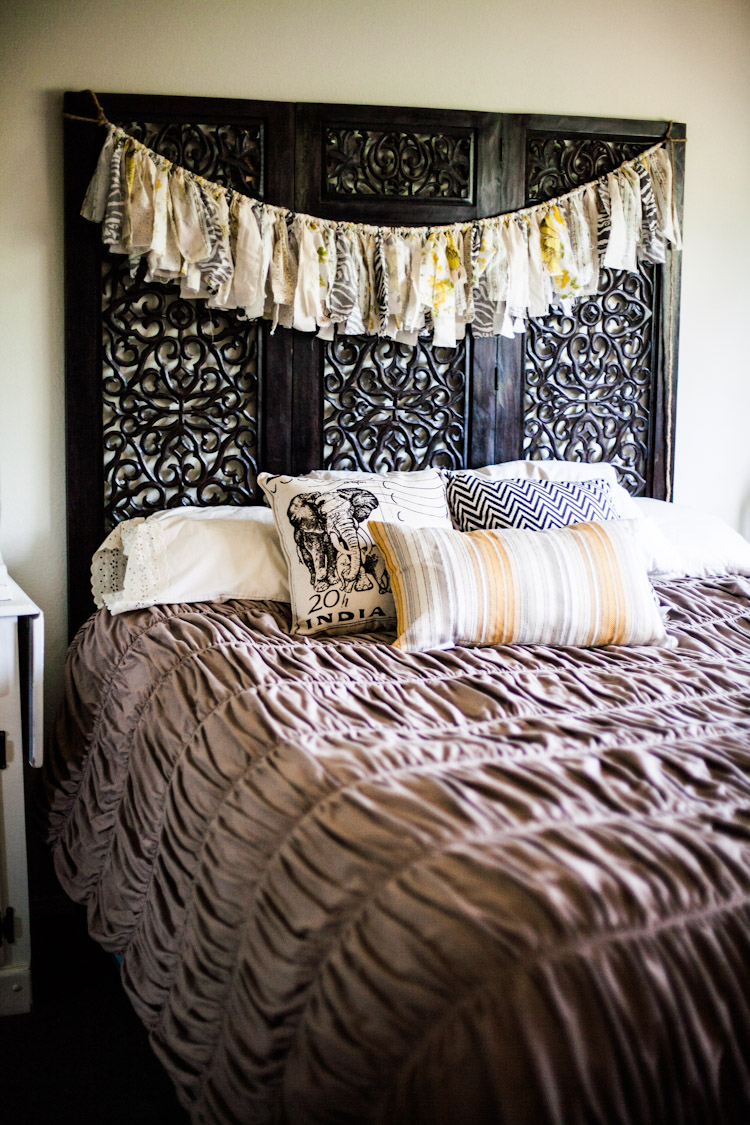
I also made a shorter banner to drape across my headboard. My headboard is a room divider made in India. It is so beautiful but a lot taller than normal headboards. I like how the fabric banner broke it up a bit.
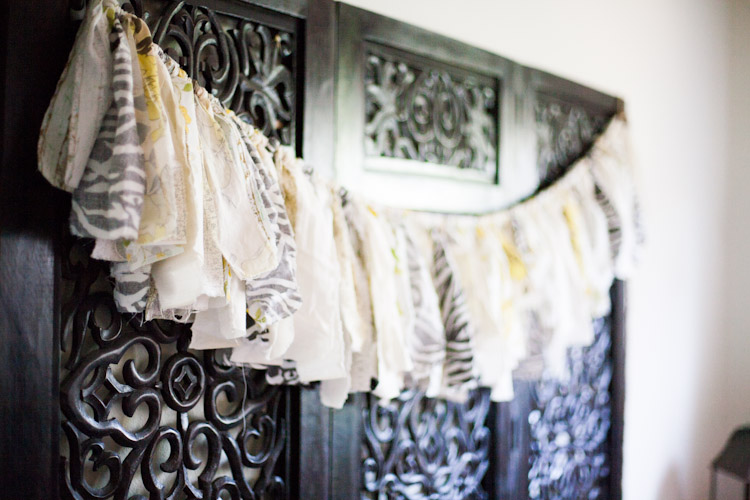
For this banner I left the strips 12-16 inches long and tied them so each side is even. I mixed patterns and solids.
This process was very easy. If you need a little extra help you can always checkout this DIY also.
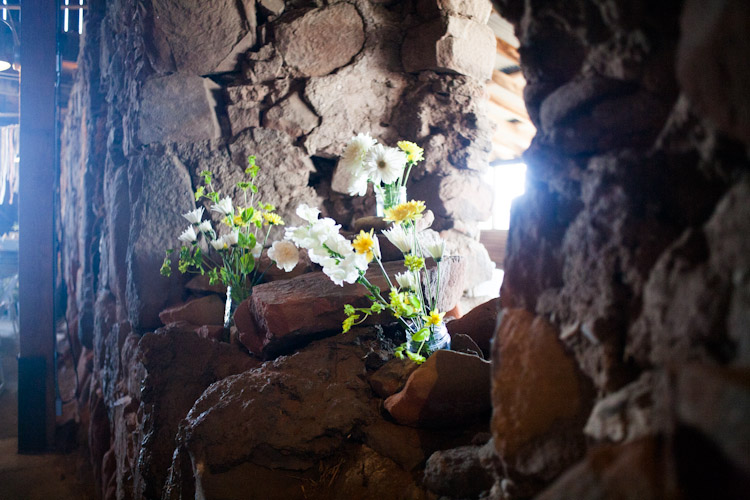
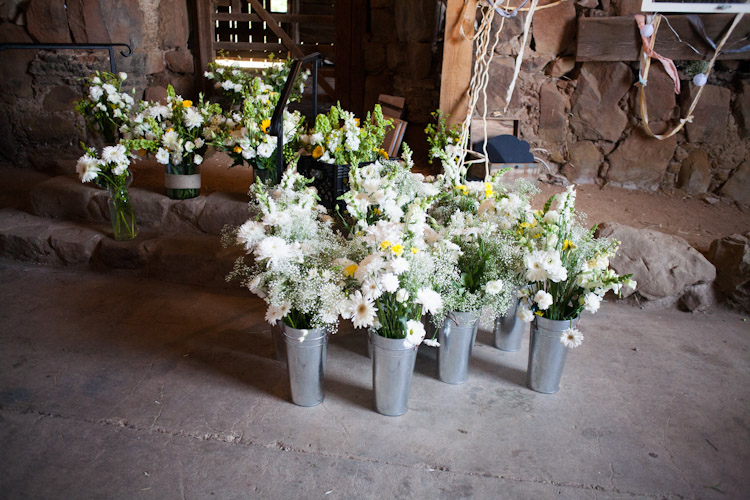
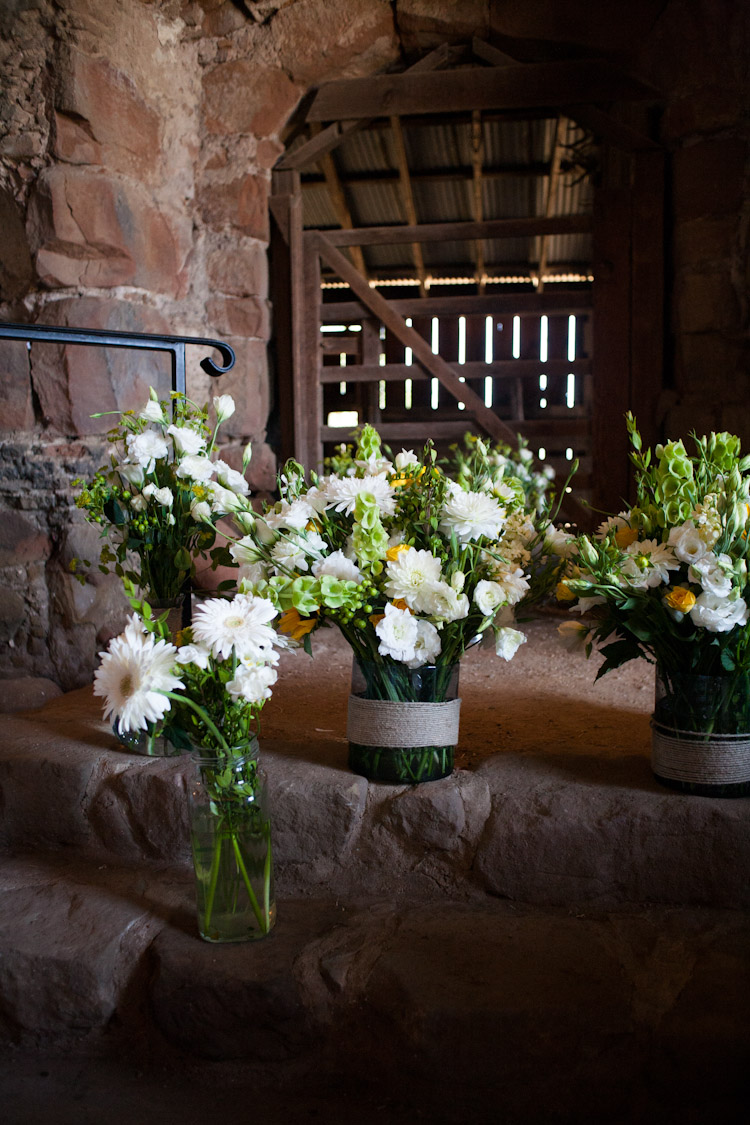
]]>Both Karley and Lauri are so creative. The result was a wedding that left me inspired. I took some photos of the reception decorations and some of the bridesmaids and flowers. Enjoy the inspiration!
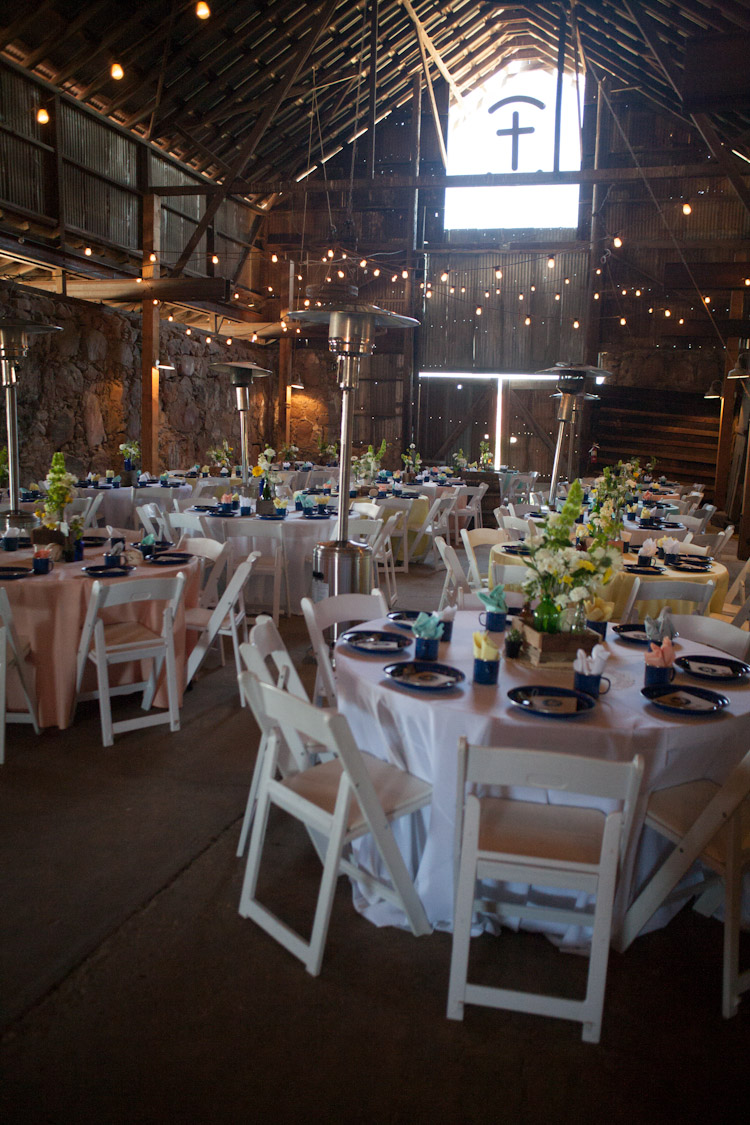
I was in the wedding and helped with flowers and decorations so I didn’t get to take as many photos as I usually would at a wedding. The reception and ceremony both took place at the spectacular Santa Margarita Ranch in Santa Margarita, California.
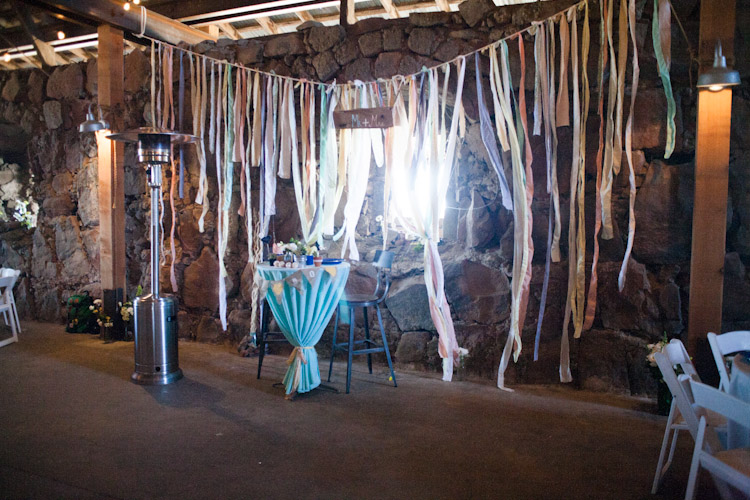
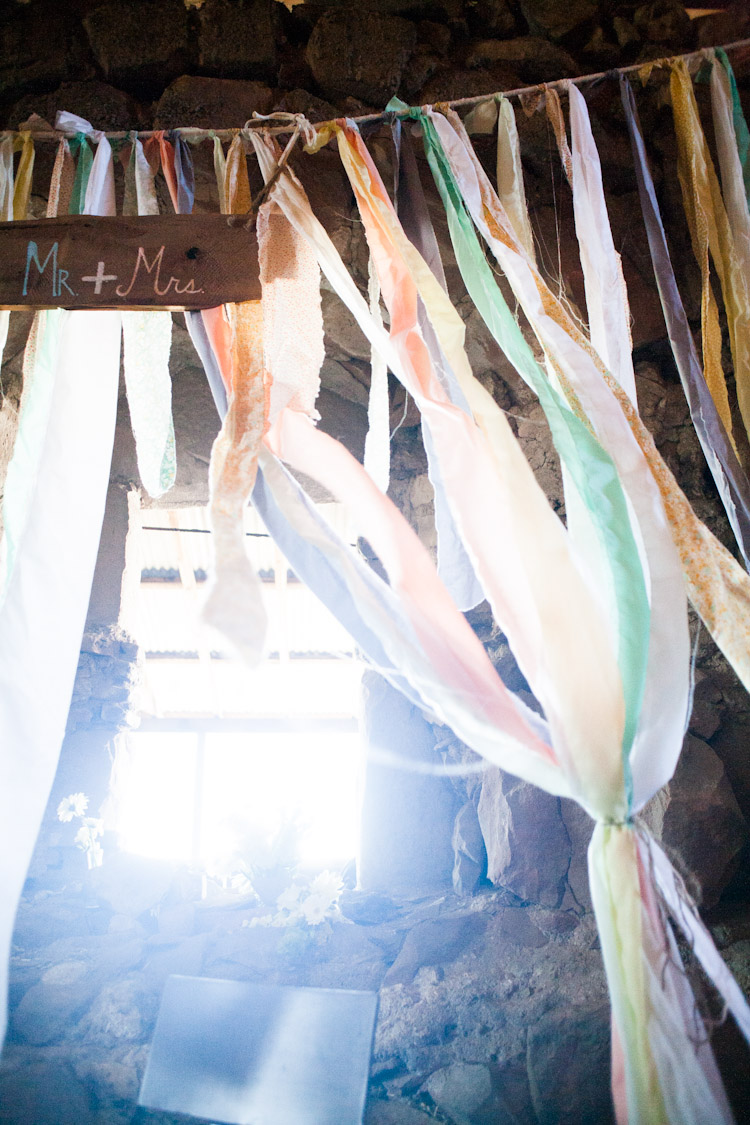
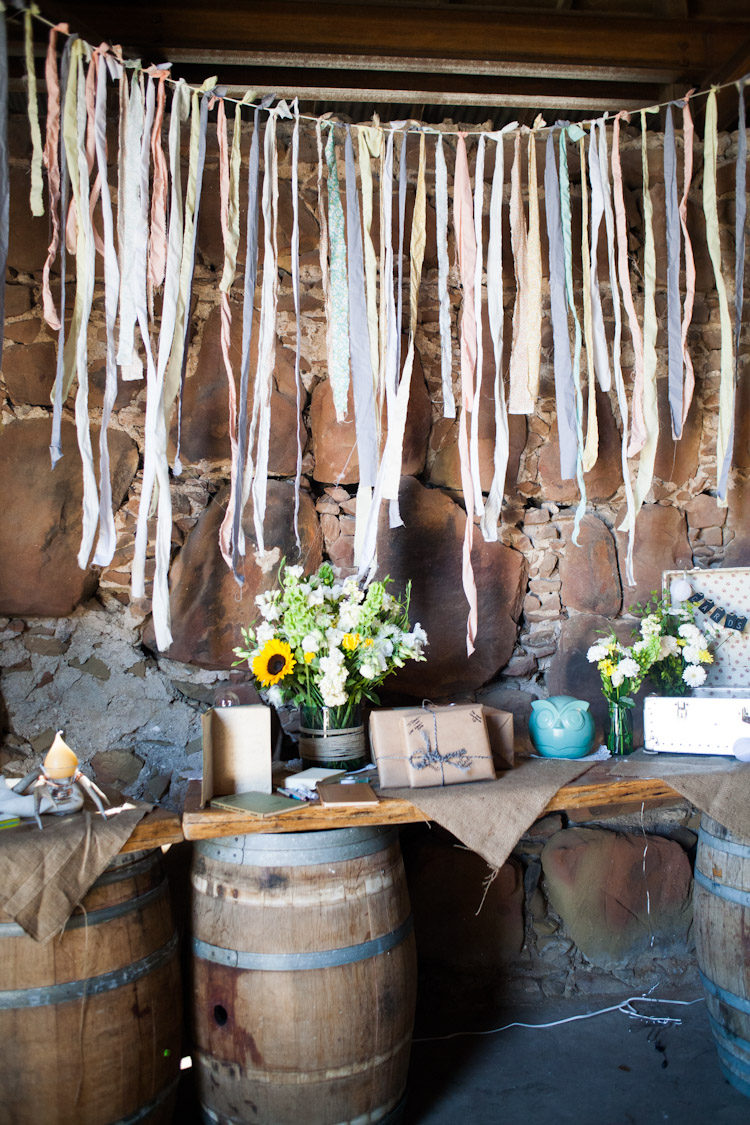
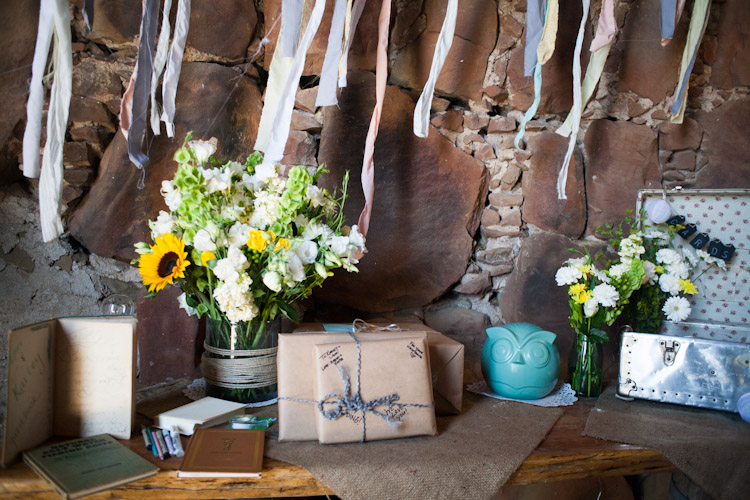
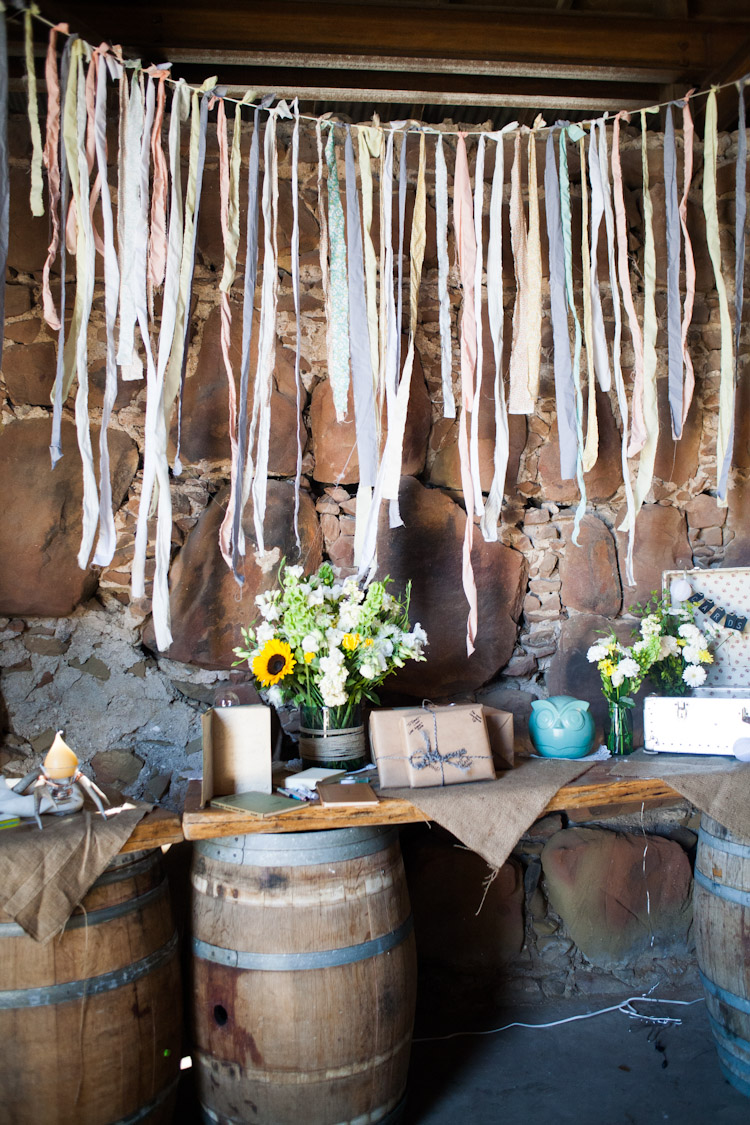
They made several fabric banners that were used to decorate parts of the barn. I loved the one they had behind the bridal table.
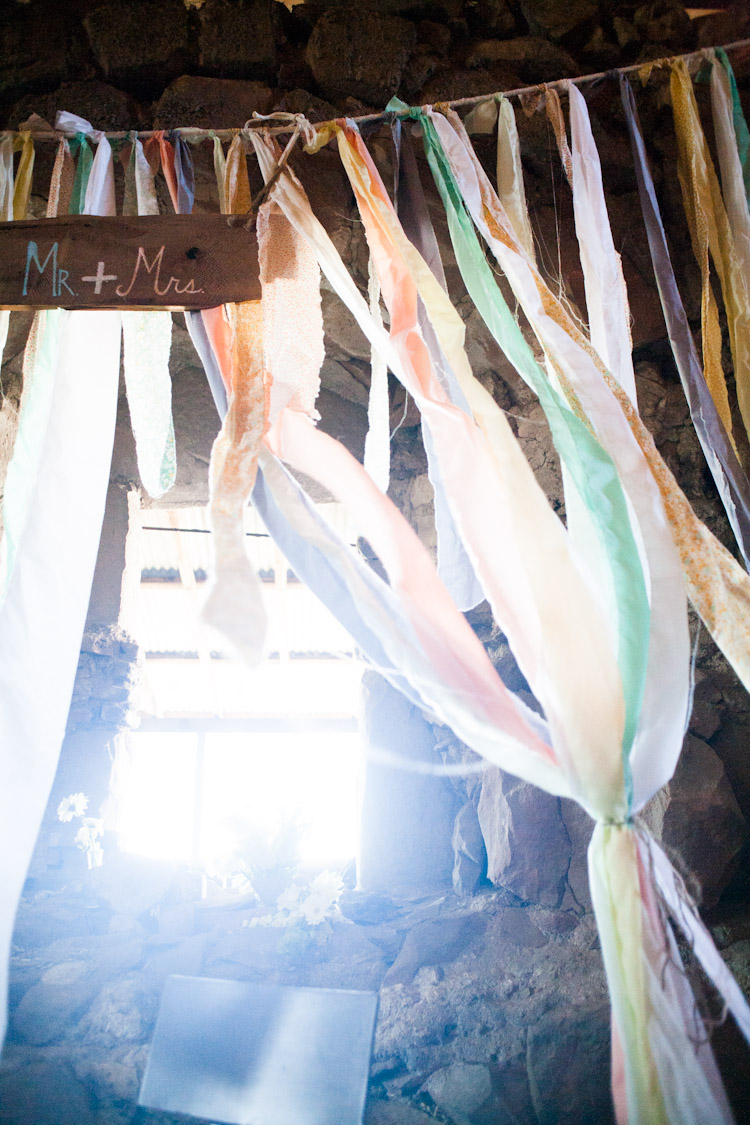
There were so many unique personal touches. I think that may be one of my favorite parts of going to a wedding. Seeing what is unique to the bride and groom.
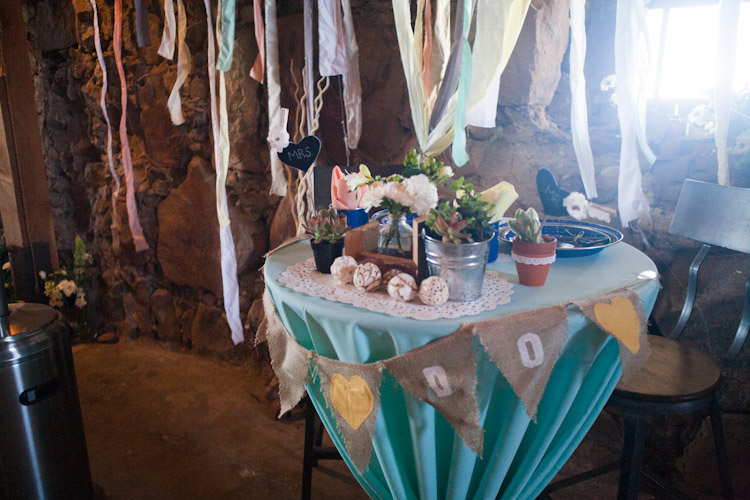
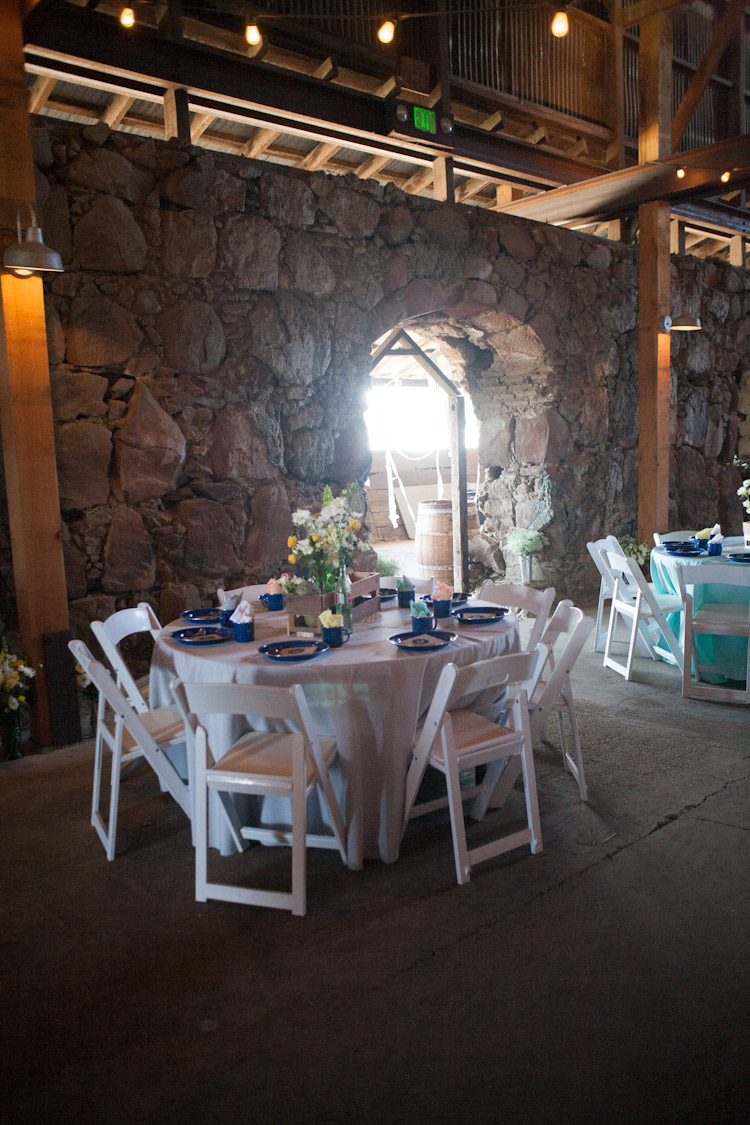
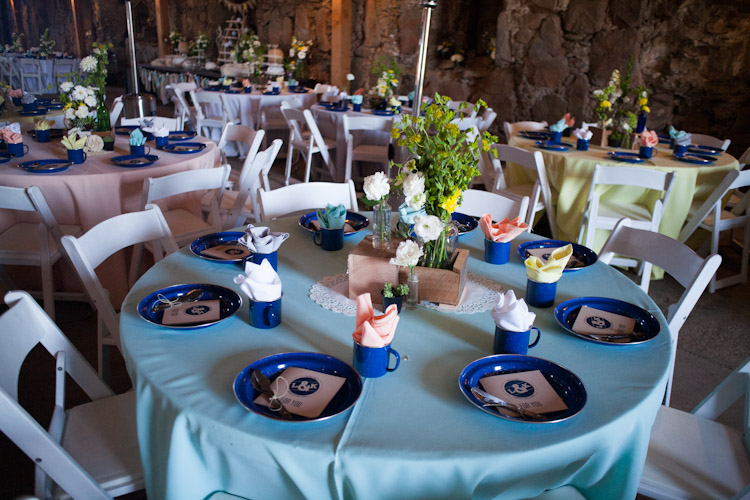
The place settings were camping dinnerware that guests got to take home with them.
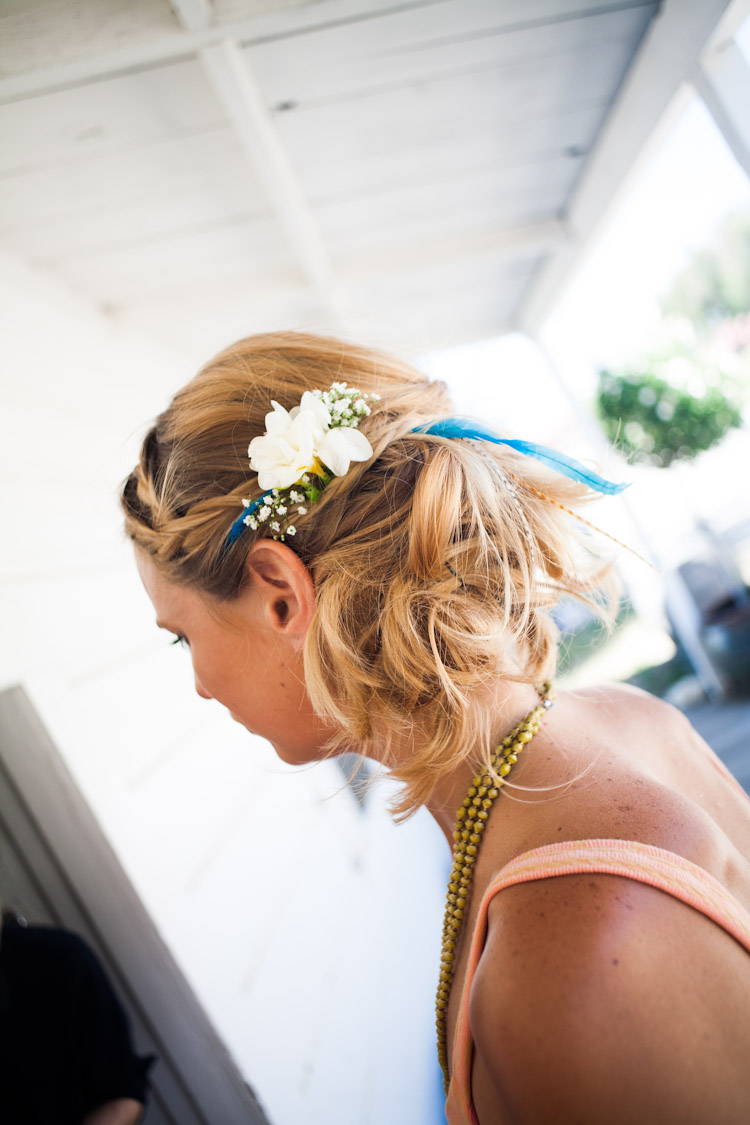
I put some feathers in a couple of the bridesmaids hair. Here is one of my favorites. She braided it in with her hair and it looked amazing! If you want to know how to do feather extensions check out my DIY. It is so easy and inexpensive.
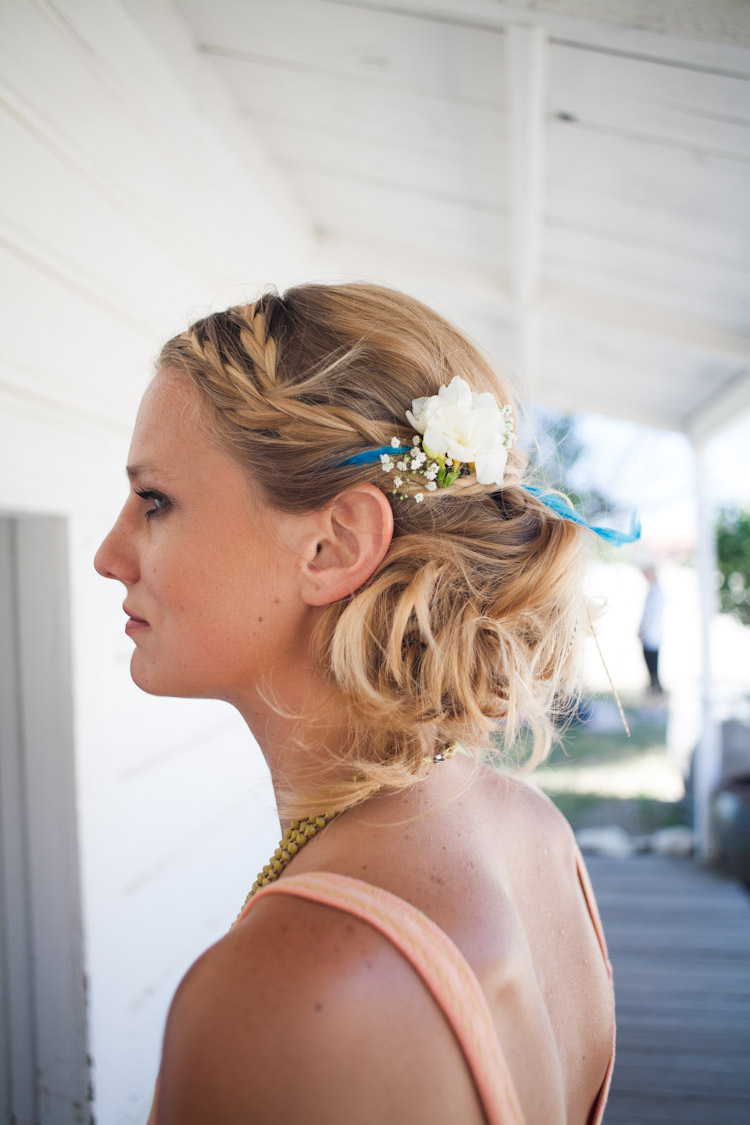
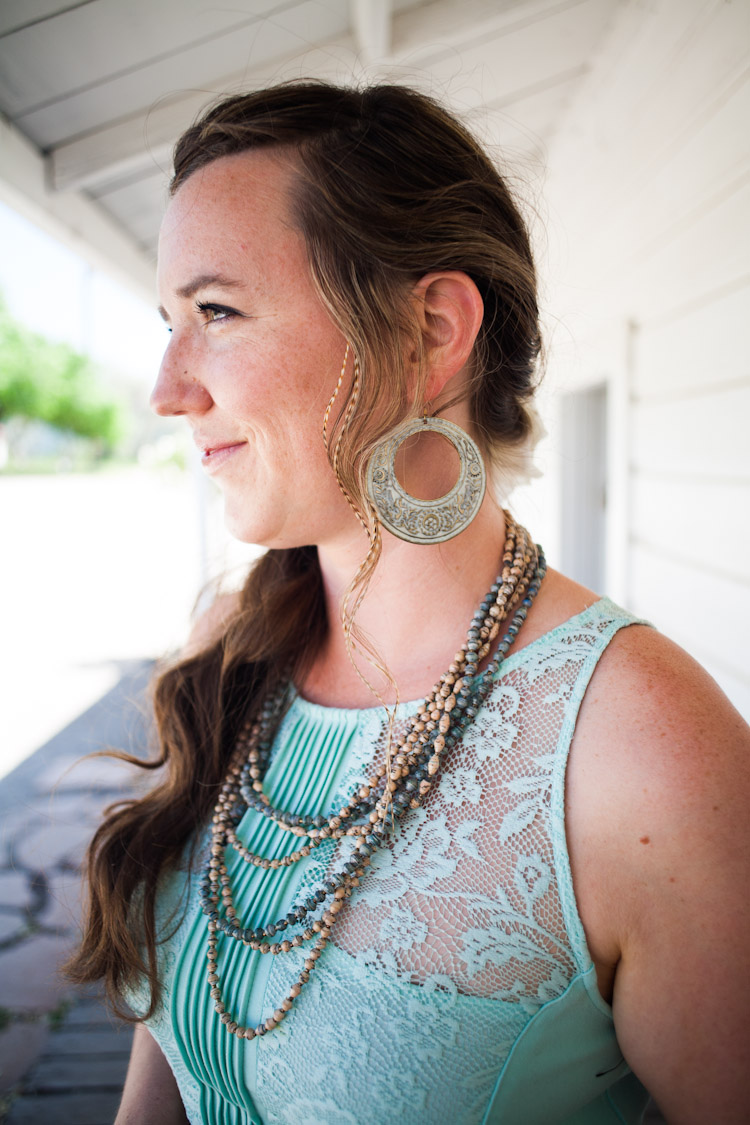
I put some extensions in my own hair also. It was fun to get them in again.
Here is a great shop to get extensions from if you are looking to purchase some.
https://www.moonlightfeather.com/
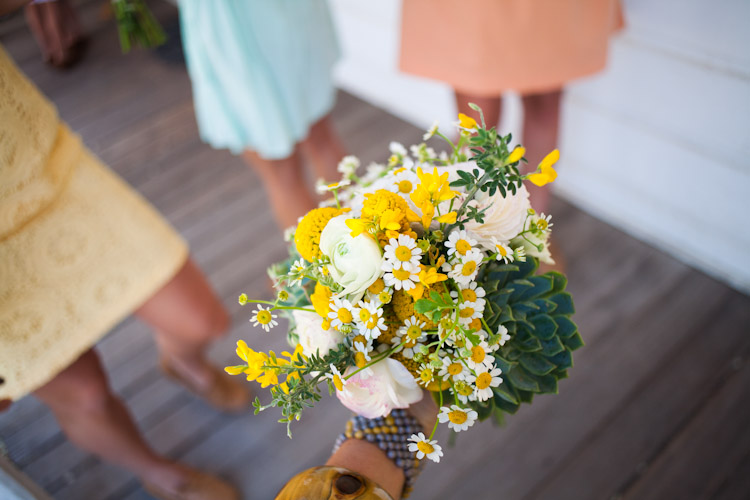
The bouquets were amazing. And the best part is several parts of them were salvageable.
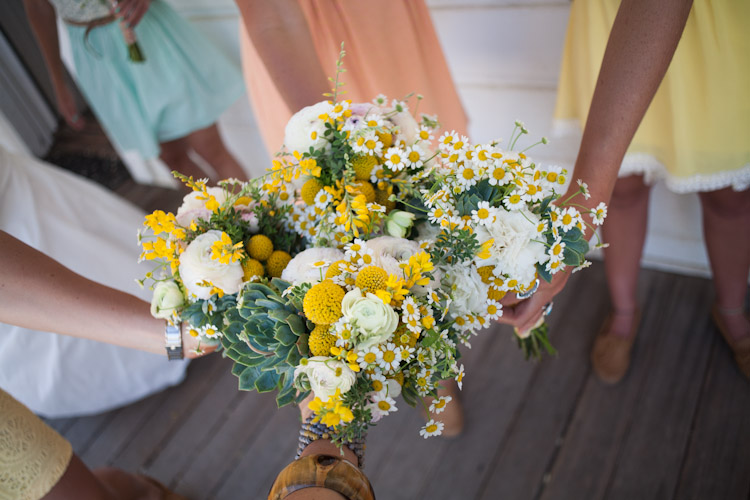
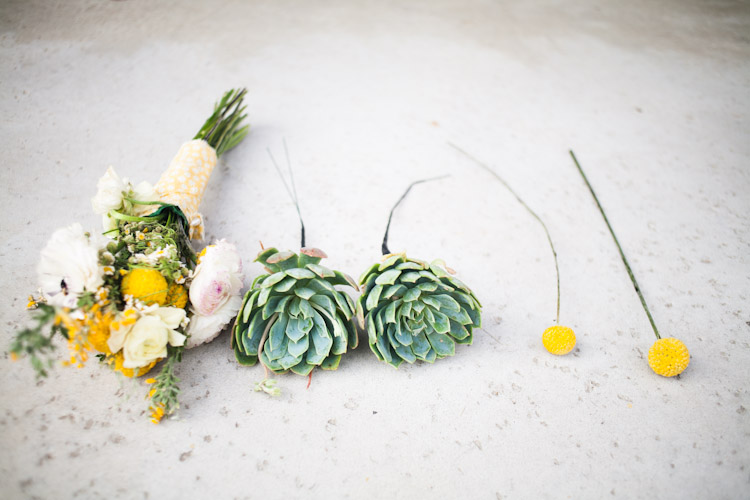
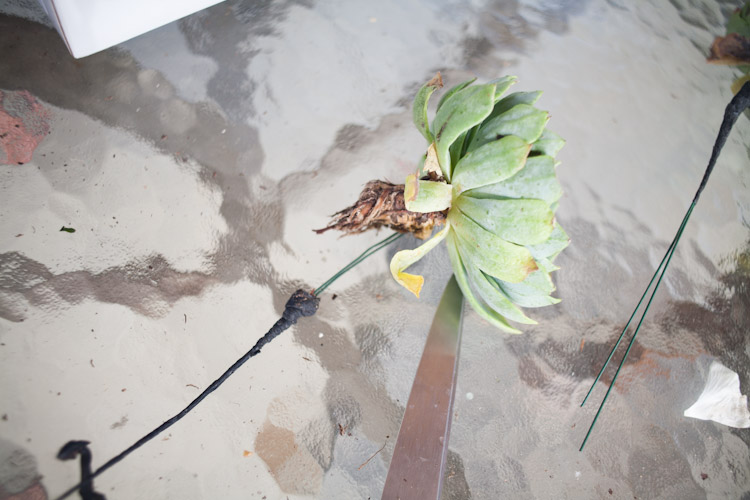
I dried the billy buttons (on the right) and I planted the succulents. Here is how just in case you ever want to reuse a bouquet like this.
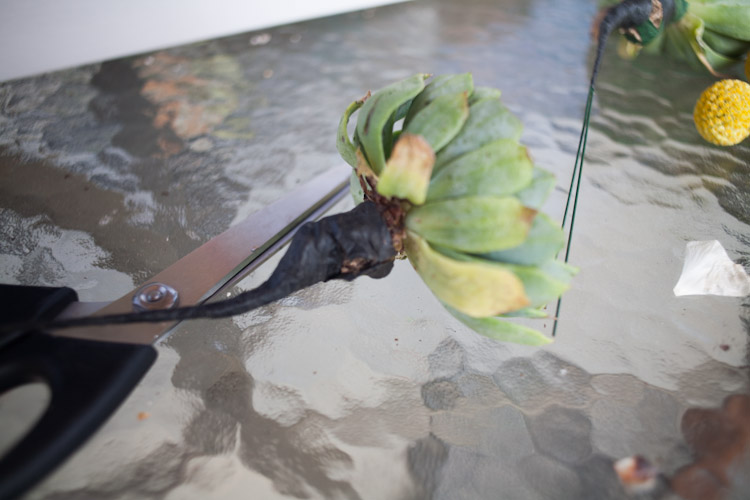
I cut the floral tape off the succulent and planted it in a little pot of dirt. It is thriving!


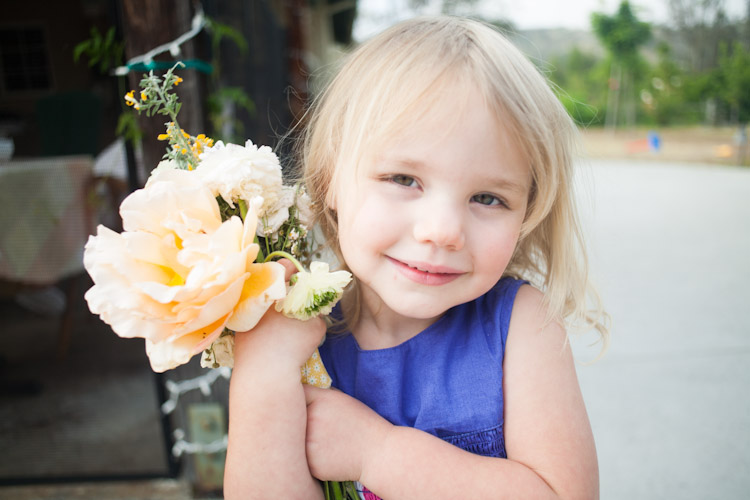
After I finished I put an extra rose from my garden in the bouquet and let my daughter reenact the wedding.
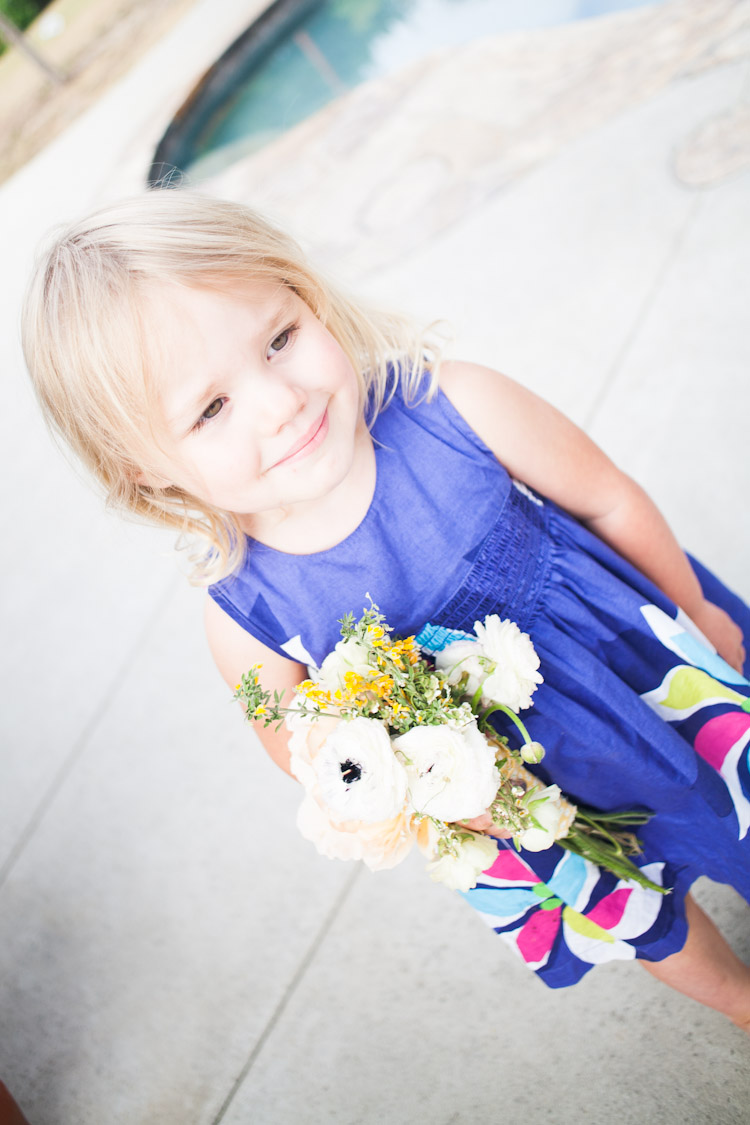
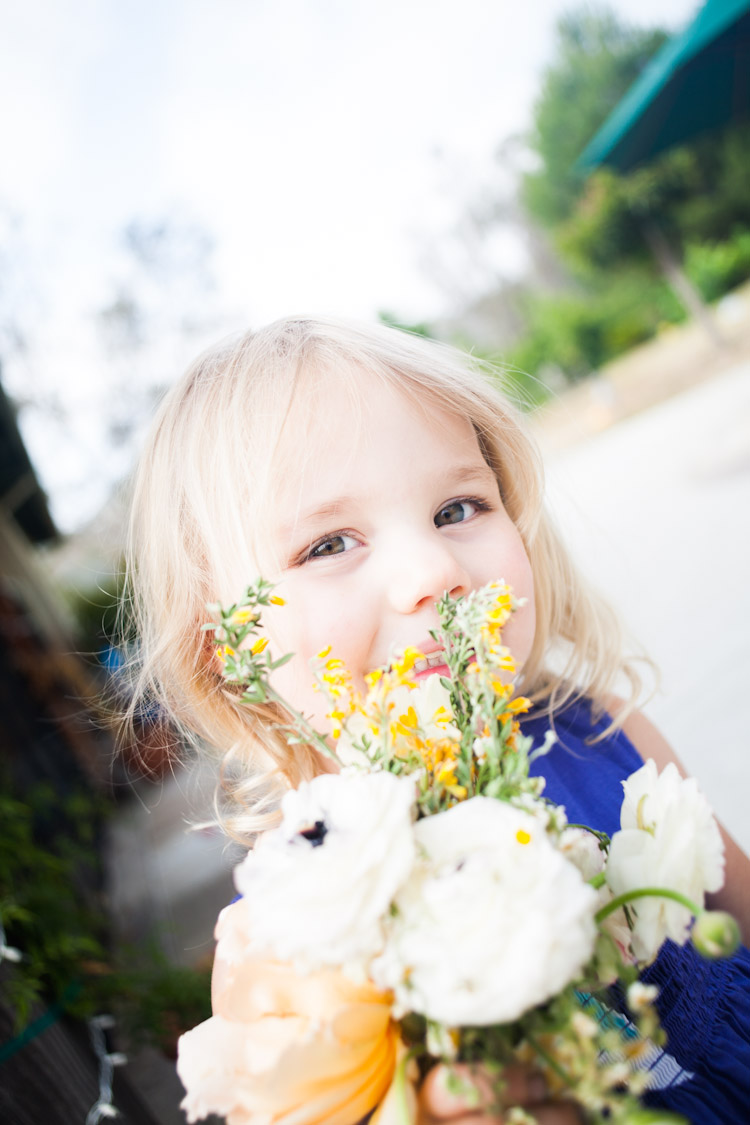
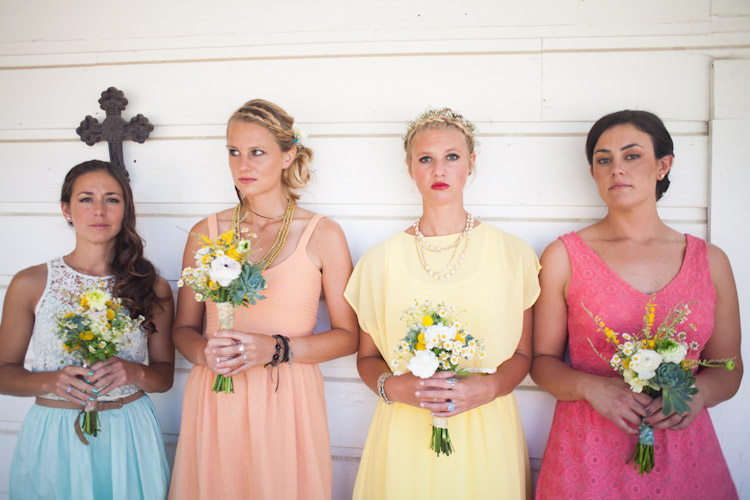
Here are some of the lovely bridesmaids from the wedding.
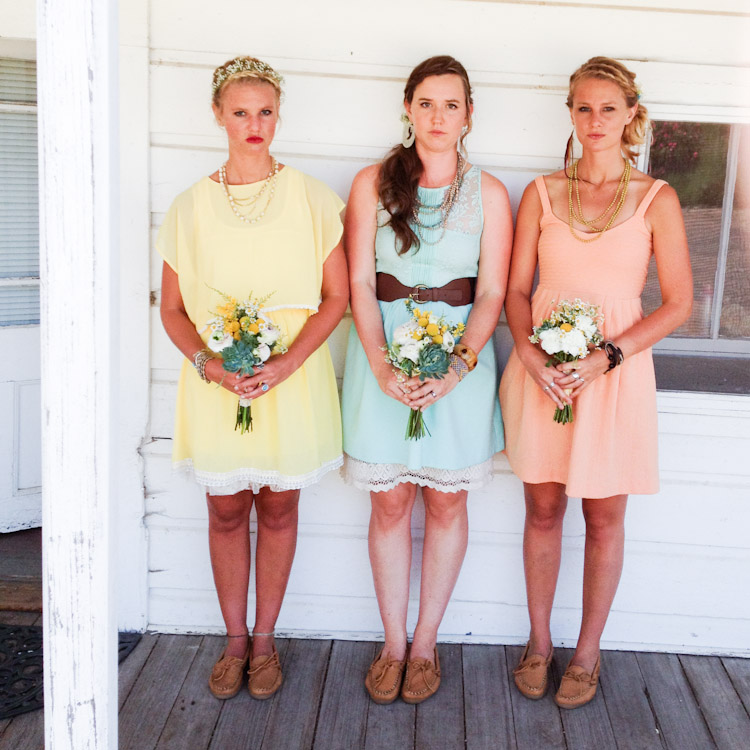
Here is a photo taken on my iPhone of me and the sisters of the groom. We went for the serious Norwegian look.
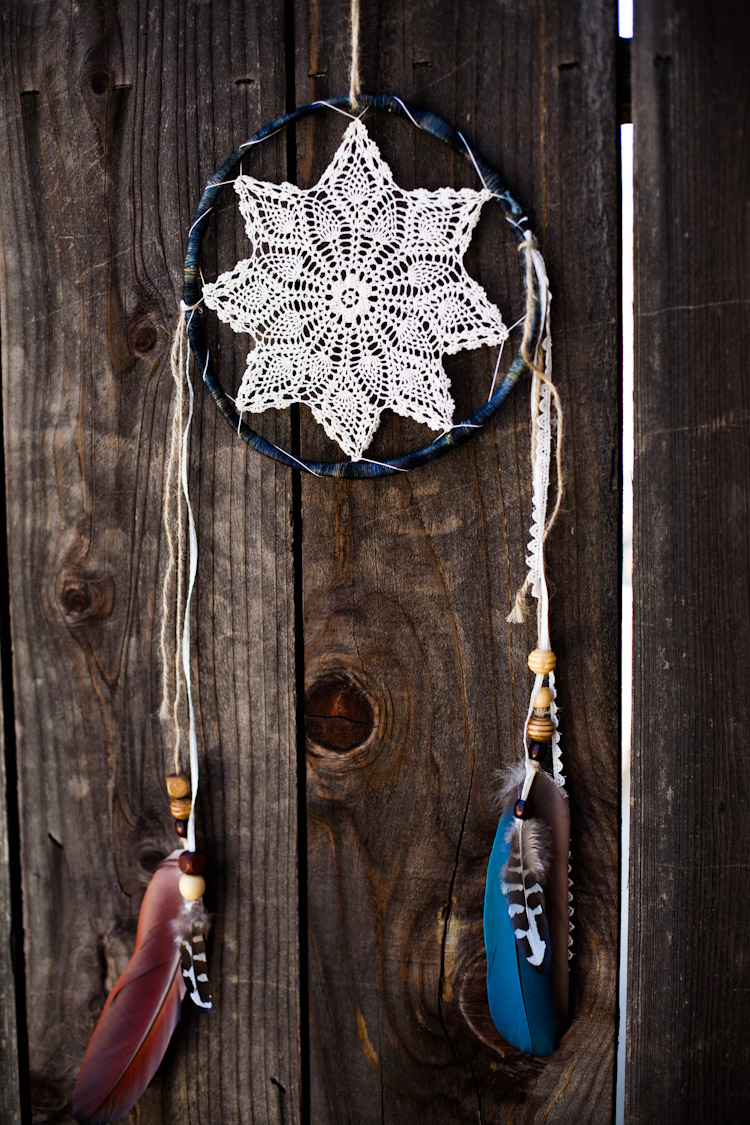
So here we go! First there are a few materials you will need to complete this project.

1. Feathers – I found the most amazing feathers at moonlight feathers.com Here are the links to the feathers I used for this project. I also recommend them for hair extension feathers.
Large Reeves Pheasant Feathers
Small Reeves Pheasant Feathers
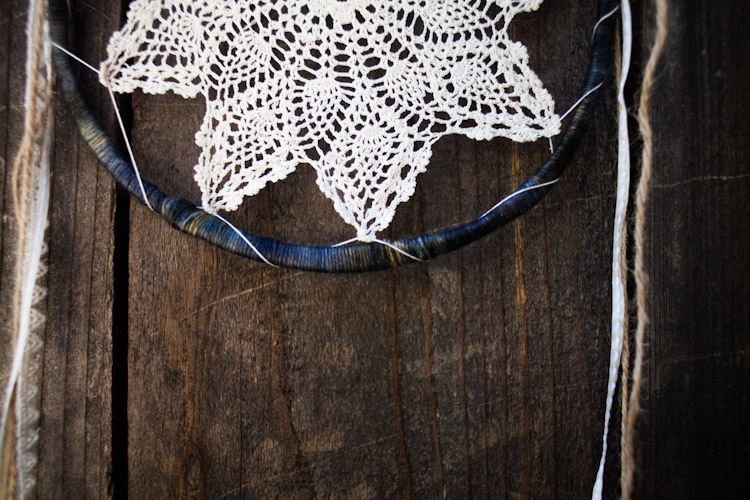
2. Vintage Doily – the one pictured is actually a new, purchased from JoAnn’s fabrics. The other doily I used was purchased from an antique shop.
3. Sticks – ok so this part is a little tricky, I found pliable sticks and I tied them in a circle so they would dry that way. You can use anything that is strong enough to hold its shape but pliable enough to shape into a circle.
4. lace and ribbon anything you want to use to hang from the sides of the dream catcher.
5. Hemp String – I used this to secure the doily. It works great because it is stiff and you can thread it though the edges of the doily without having to use a needle and thread or crochet hook.
6. Wooden Beads – These and anything else you want to hang from the edge of the dreamcatcher.
7. Yarn – (not pictured) I used remnants from knitting projects. The blue was sock weight and the yellow was DK weight.
8. Glue – (also not pictured) You can use whatever kind of glue you want to attach the feathers to the twine and lace.
Excuse the quality of the photos for the directions. I took them with my iPhone on my way to a wedding. The first thing to do is cover the sticks or secure them together. I tightly wound yarn around them until they were completely covered. If you like the natural look of the raw branches you can wind more loosely.
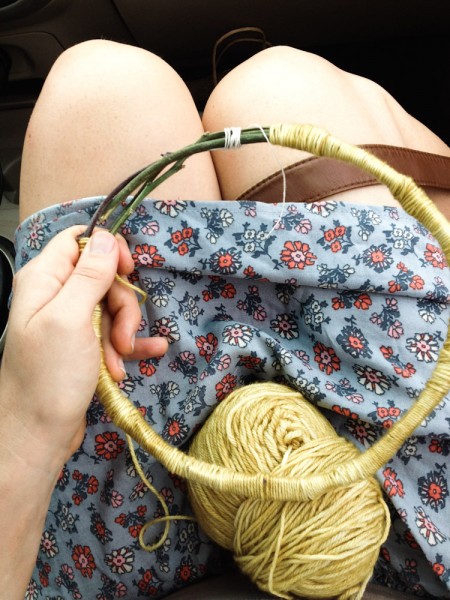
Once you have completely wound the sticks in yarn tie in the end and you can move on to the next step.
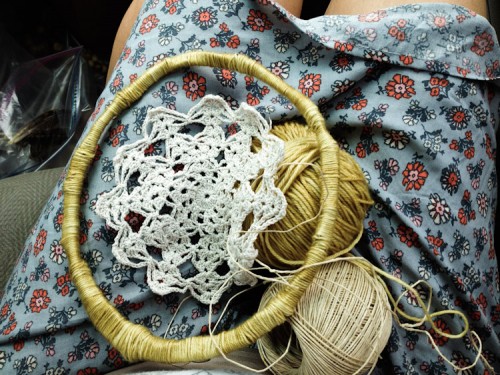
Place the vintage doily in the center of your ring. You can start wherever you want with the hemp string. Wind the hemp string around the outside and every time you wrap through the ring put it through the edge of the doily.
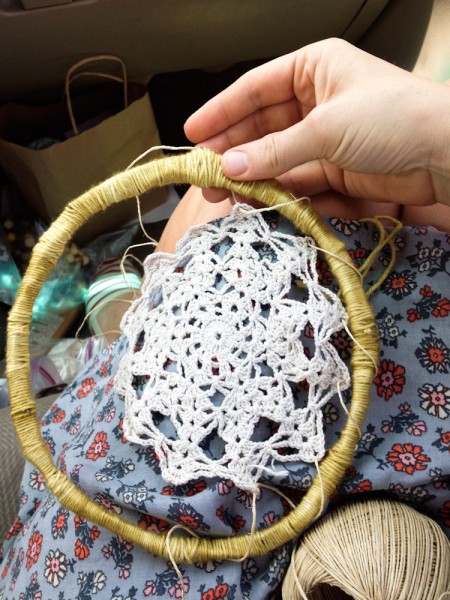
Once you finish tie off the hemp string. Next tie strands onto either side of the dream catcher. I tied lace and jute and hemp string all together on the either side. Also tie a twelve inch stand to the top of the dream catcher. The twelve inch strand will become the loop you hang your dream catcher from.

Tie beads to the bottom of the lace and twine and attach feathers. You can use glue to attach the buttons and feathers.
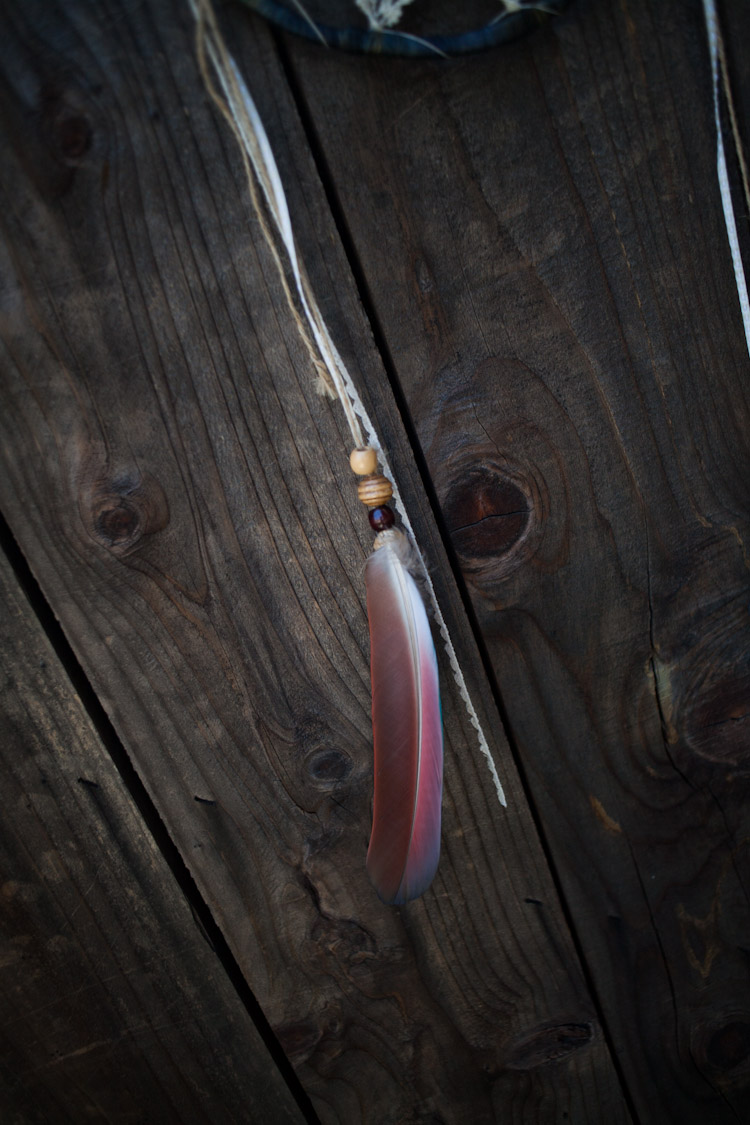
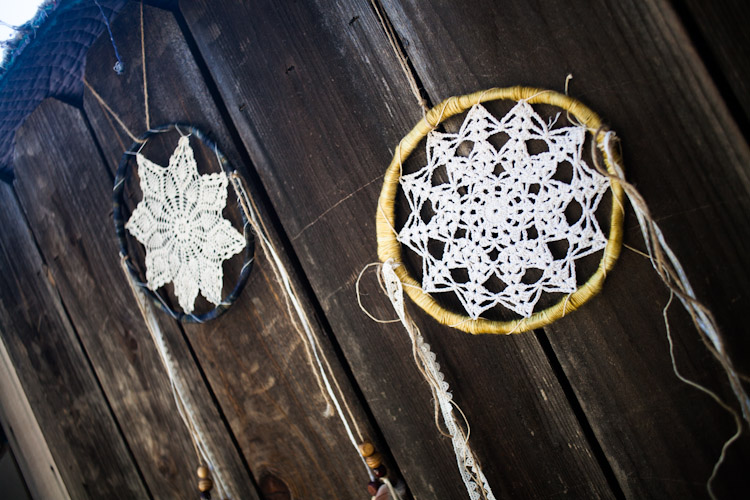
Here is the finished product. They will hang in my room somewhere, I just have to figure out where.
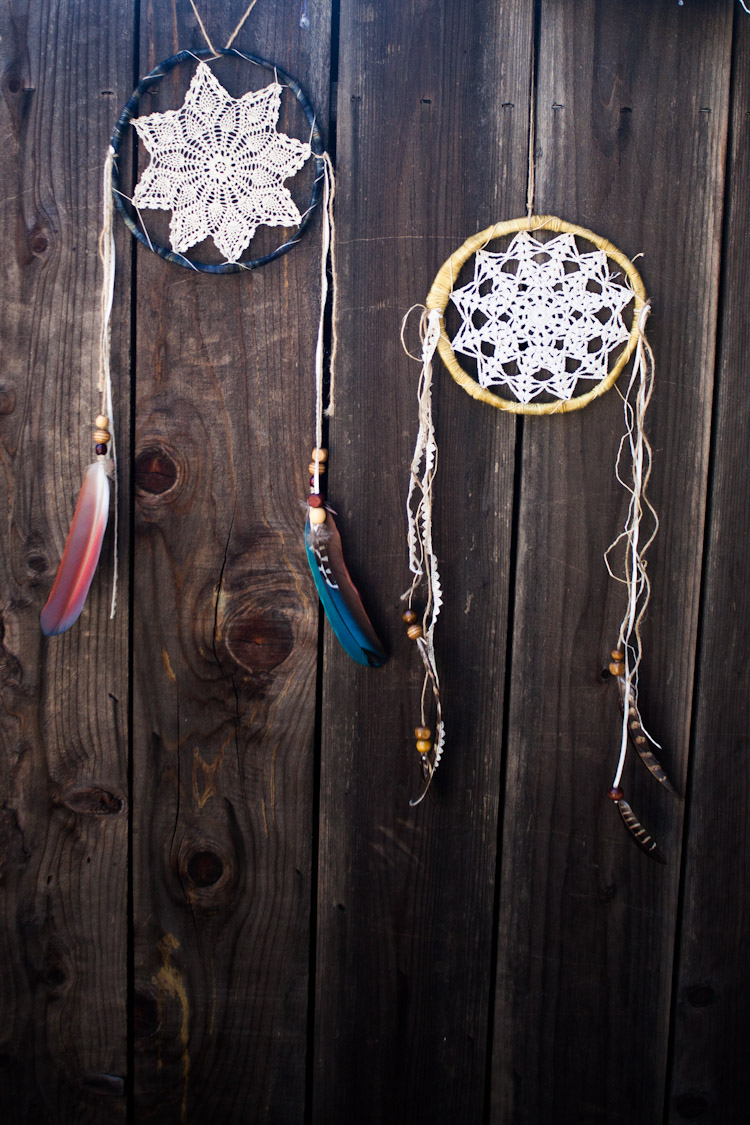
Hang them up and enjoy!
]]>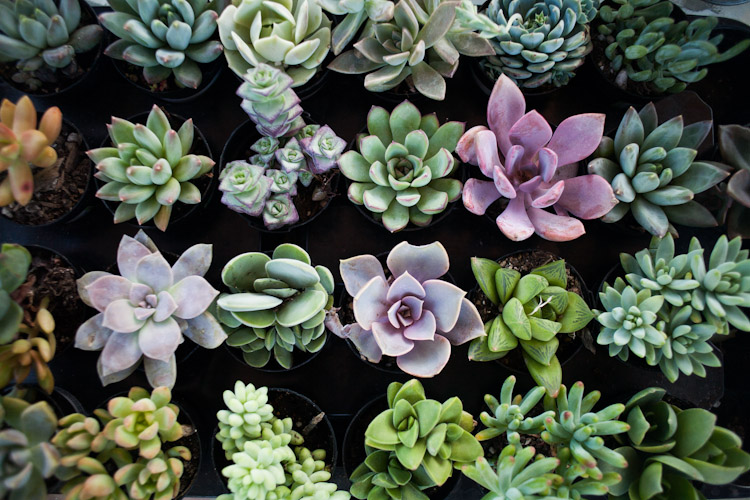
I took several of the plants out of their small pots and moved them into larger ones. This way they have room to grow and I can move them if they need more sun or less.
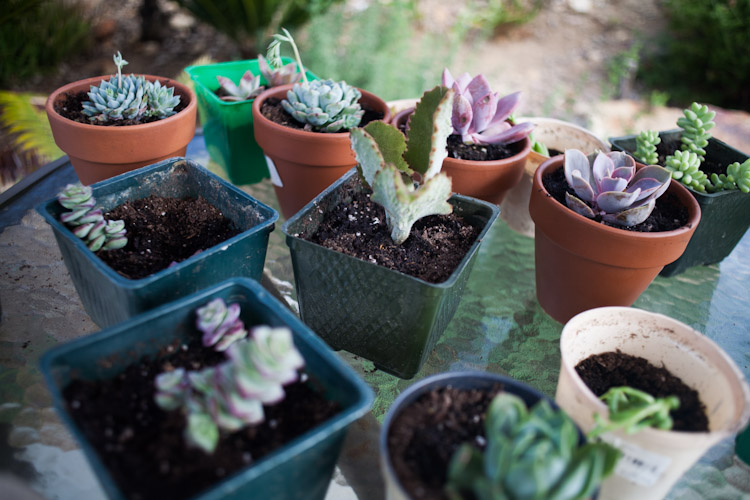
Each succulent comes with a label that explains how best to care for that individual plant. This is helpful information as not all succulents need the same amount of sun and water. Plant them in succulent specific dirt (purchasable at Walmart or Home Depot) to get good results.
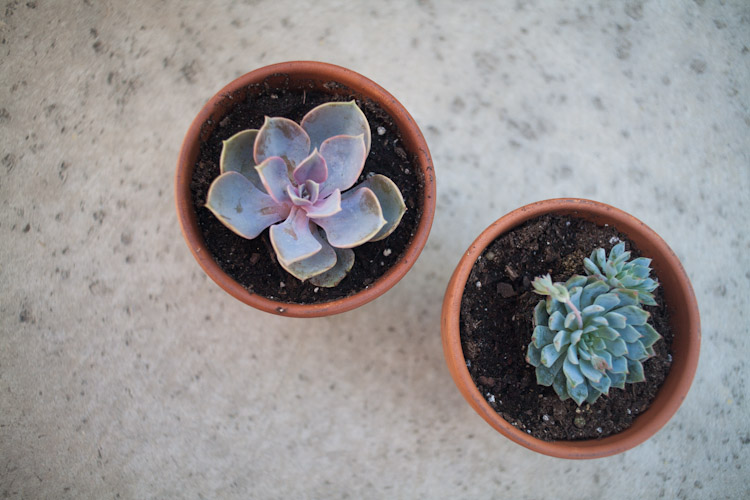
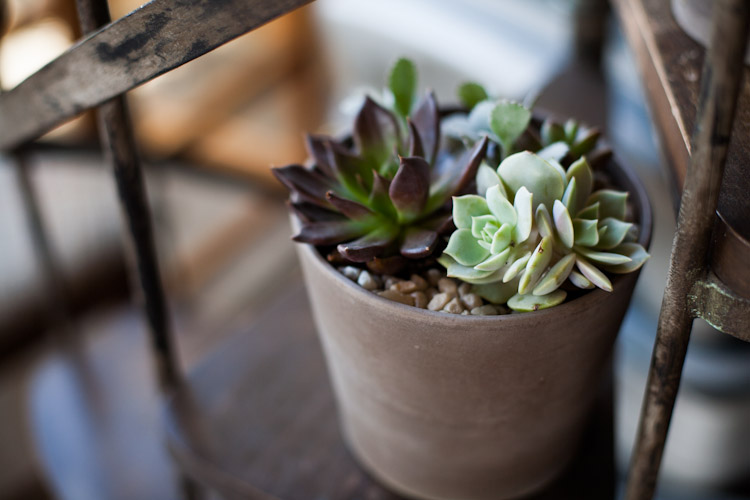
Some of the succulents I combined in larger pots to make smaller succulent gardens for my home. I love having them in my house it makes everything lighter and more peaceful some how. I guess plants have that effect on me.
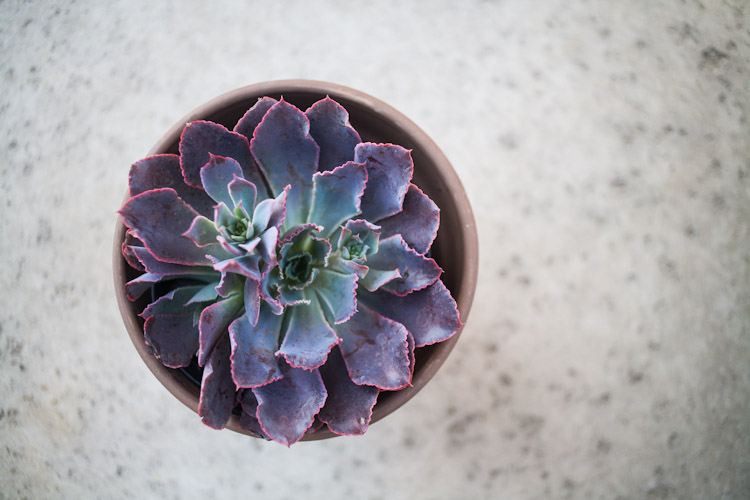
I have found so many unique succulents. They are so fantastically beautiful and I am horribly addicted. Here is my favorite of the day.
My other reason for potting all these succulents is I am going to use them in the new location of our coffee shop. I can’t wait to see how they look!
]]>I love the new Penguin Classic clothbound books.
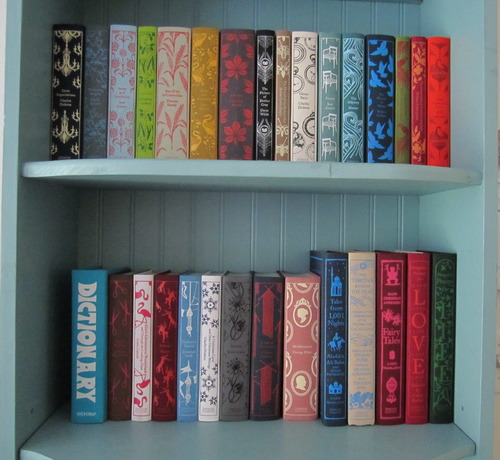
I have been on the hunt for decor items and furniture for the new coffee shop. I found these beauties at a thrift store for 2 dollars apiece.
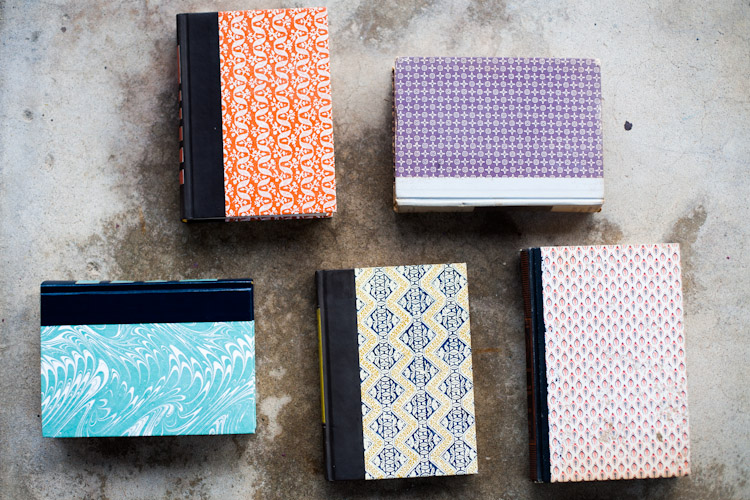
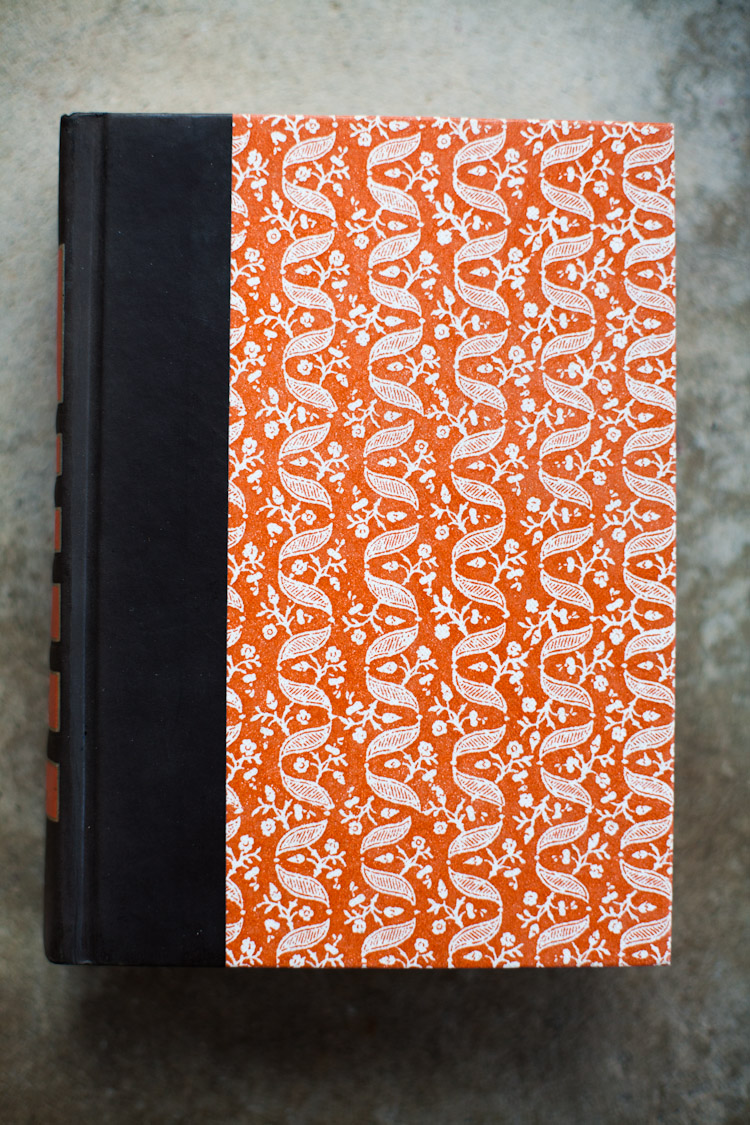
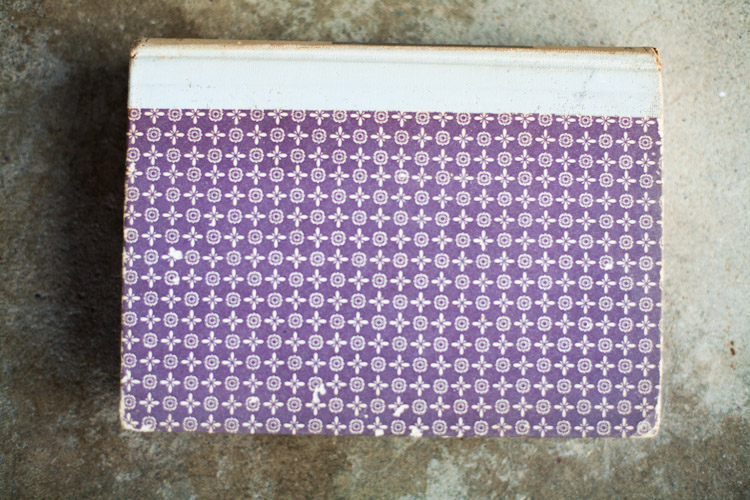
Here is a picture of the books I found. They are Readers Digest Condensed books. I have seen them before but I have never noticed how unique and beautiful they are. Now that I know to look for them I have been seeing them a lot. It is great because I can get ten for the price of one.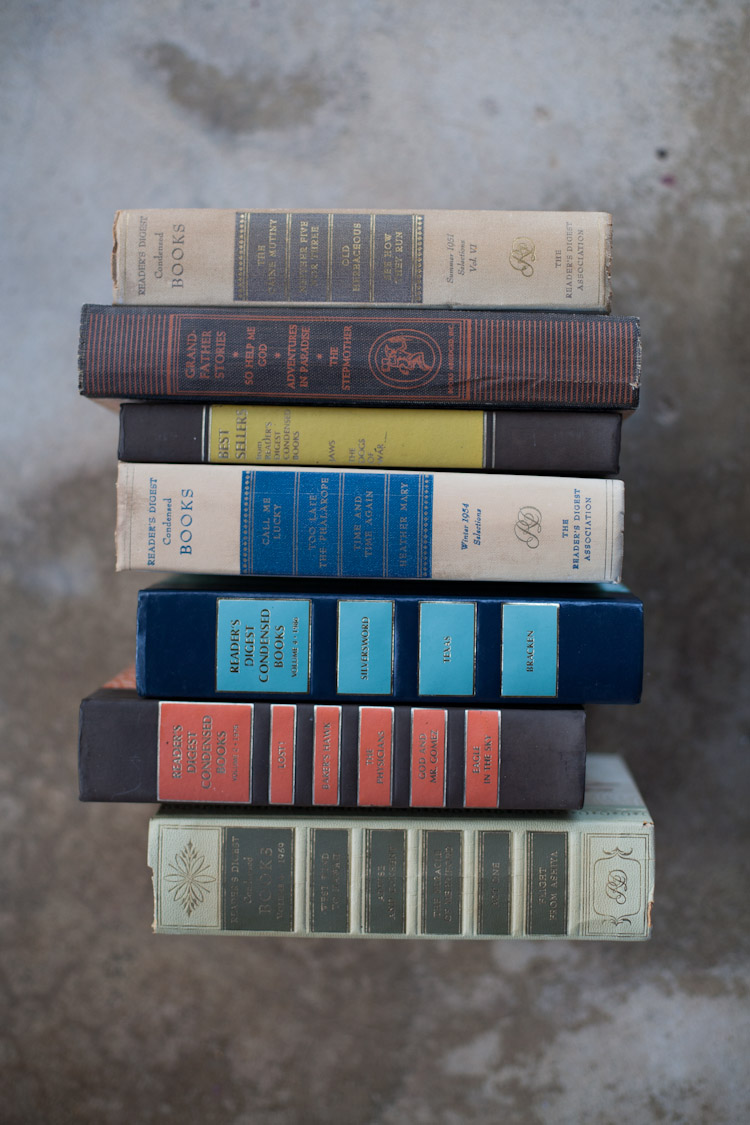
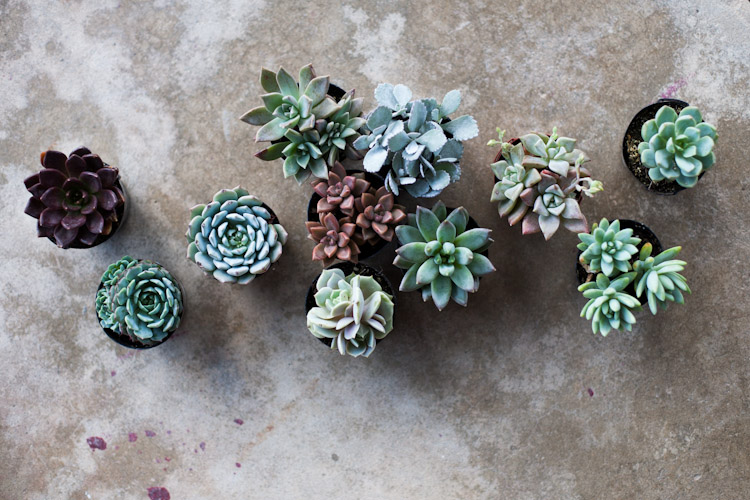
Here are a few more photos I took. I included pictures of some succulents I bought recently.
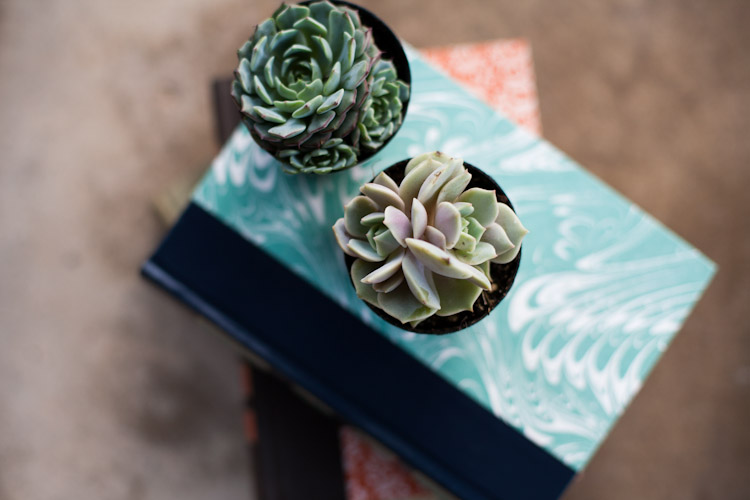
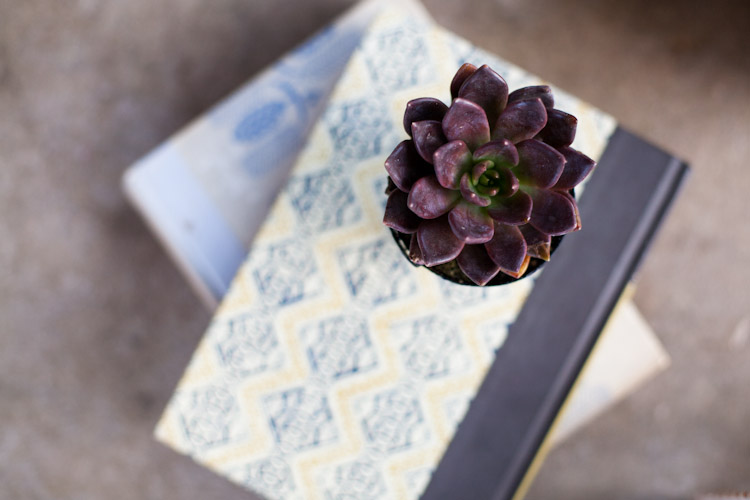
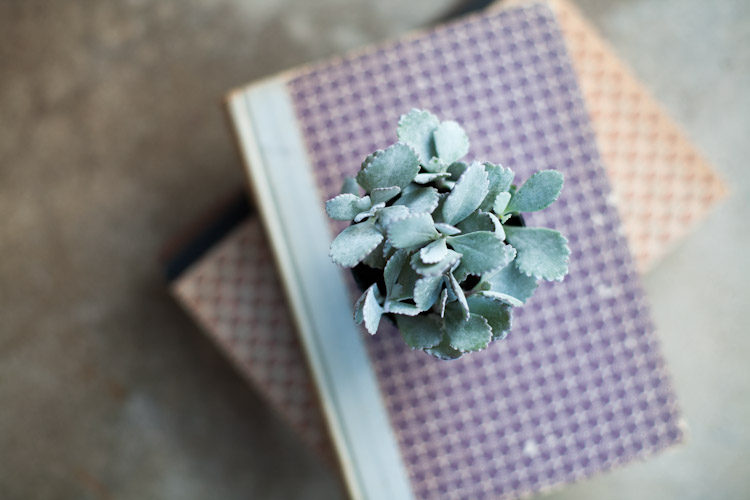
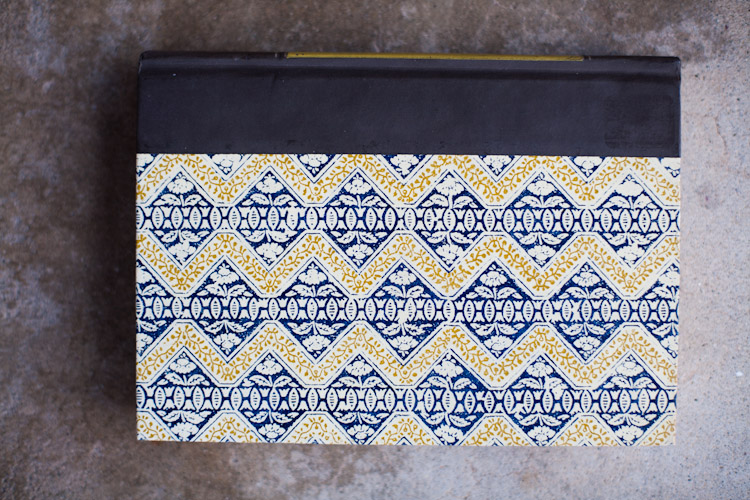
I have been searching for great unique inexpensive ways to decorate the new coffee shop. I have been wanting to do something with pennies ever since I saw this and pinned it on Pinterest. According to the blog I found it on it was used in the New York Times blog on a piece where they discussed story of the penny.
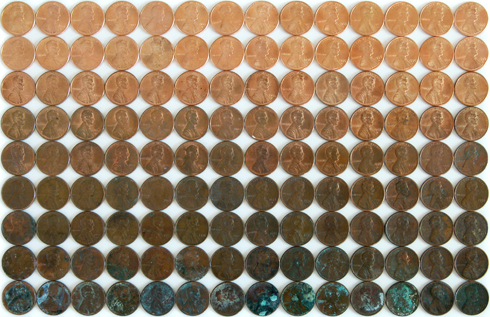
I didn’t quite get this same look but I am still playing around with what I want to do. Anyway here is how I went about creating these photos. I am planning on eventually attaching them to a canvas.
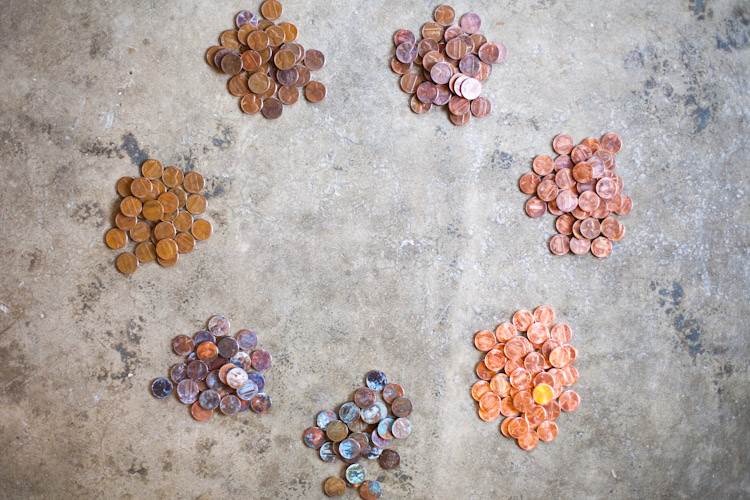
Start out with lots of pennies, obviously, because you want a lot to choose from when you are creating your color palette.
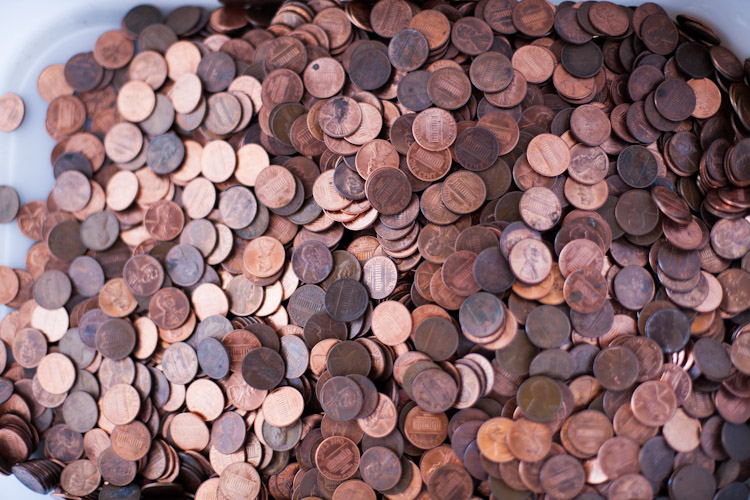
Start sorting pennies by oxidation and shade. The more you separate them the more shades you will see within each group.
Once I had my pennies separated I started organizing them in a gradation. As I organized them I started to notice even more variation and moved them around until I got them how I wanted them.
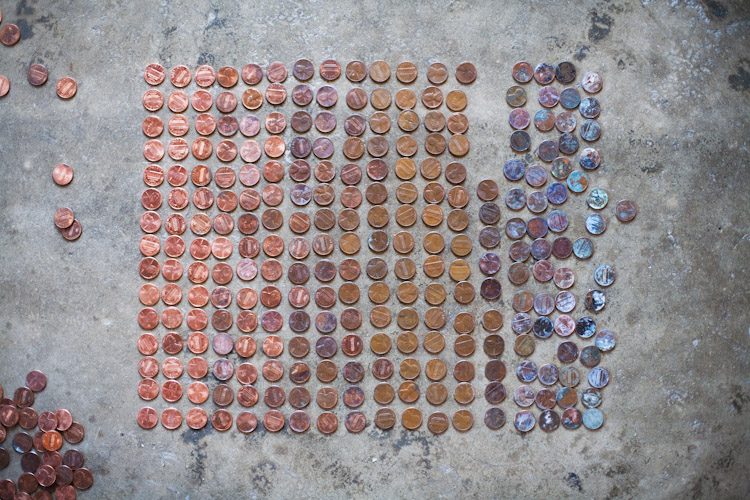
Each penny is different and has a story, a life it is fascinating how the color variation seems to be completely unrelated to age. I had four year old pennies completely oxidized and dark and older pennies that still looked moderately new.
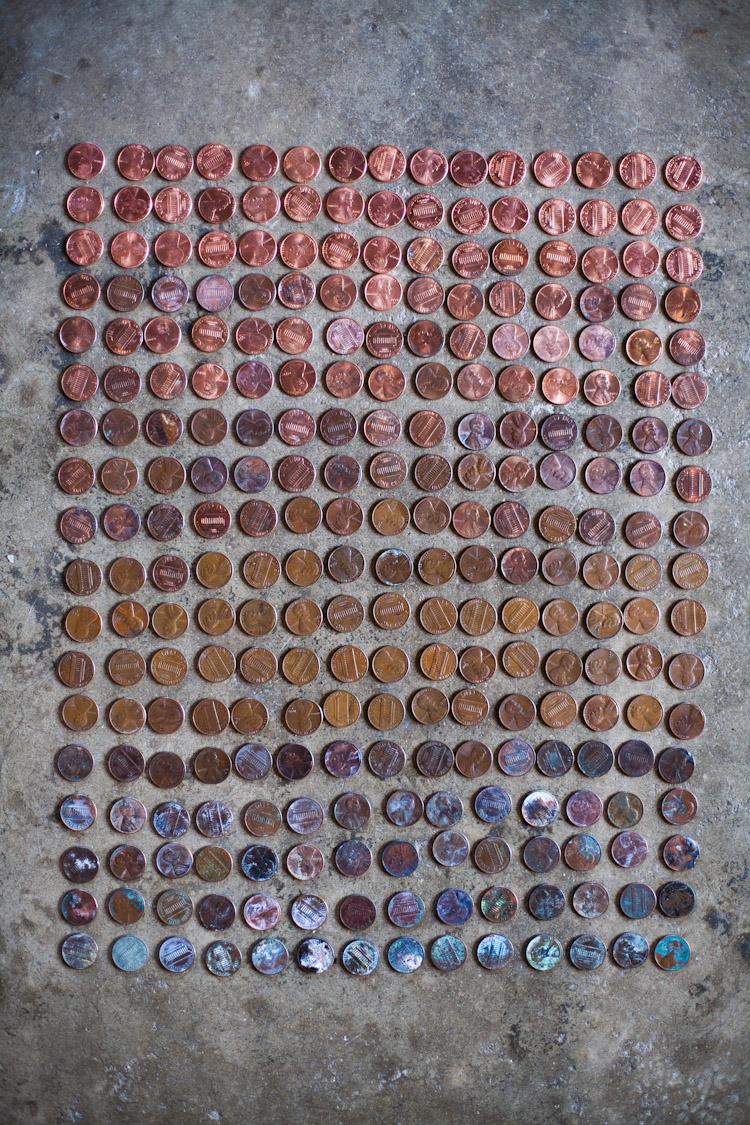
I had a hard time getting them completely lined up at first. However they were a fabulous photo subject!
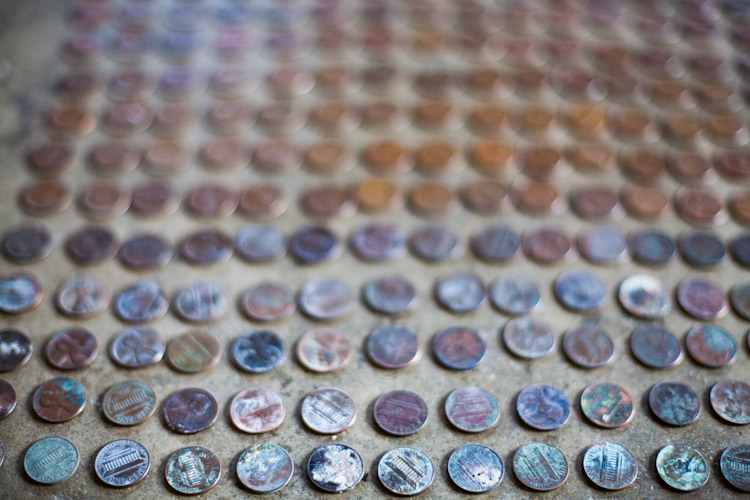
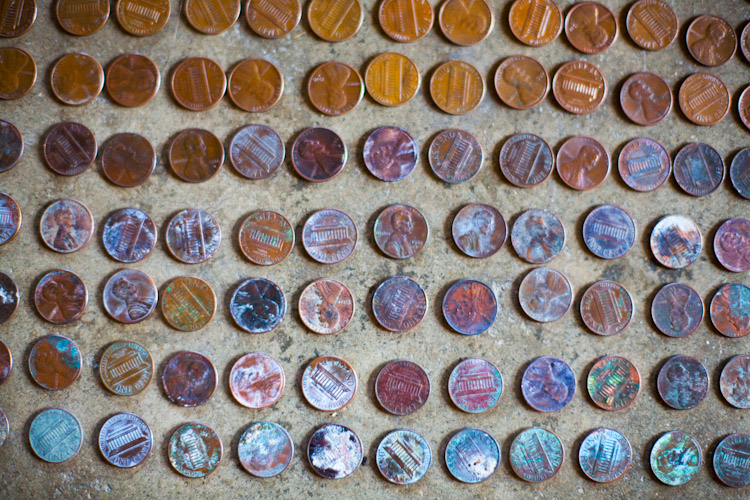
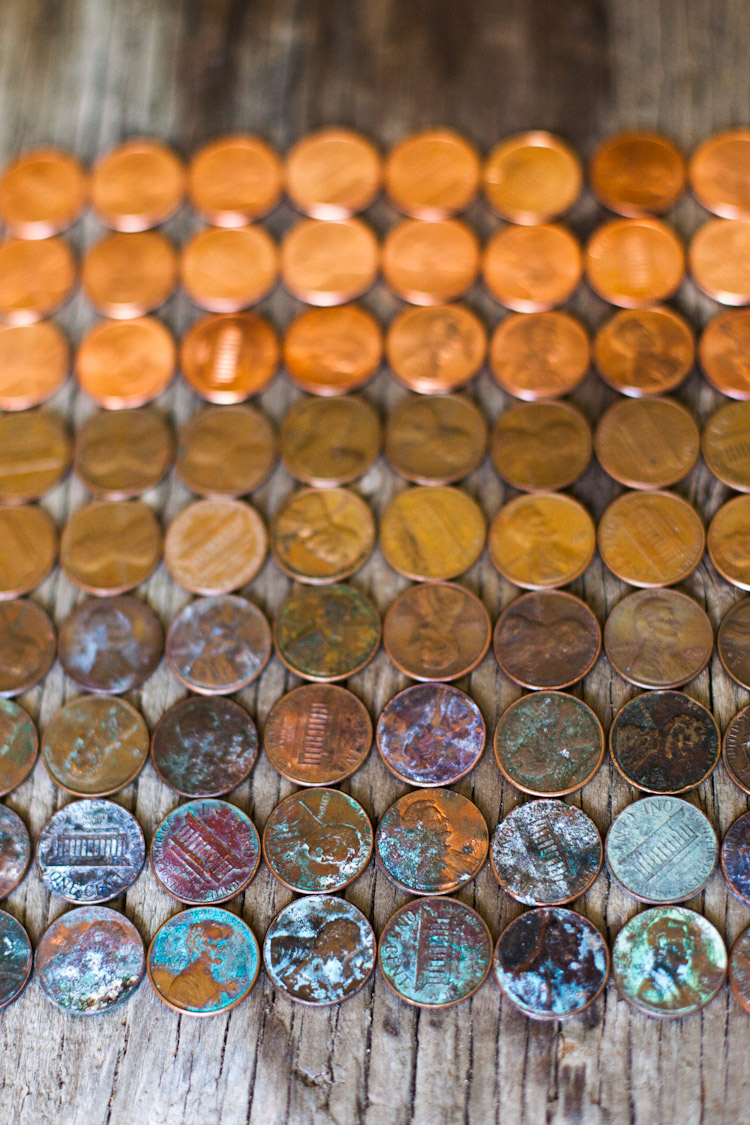
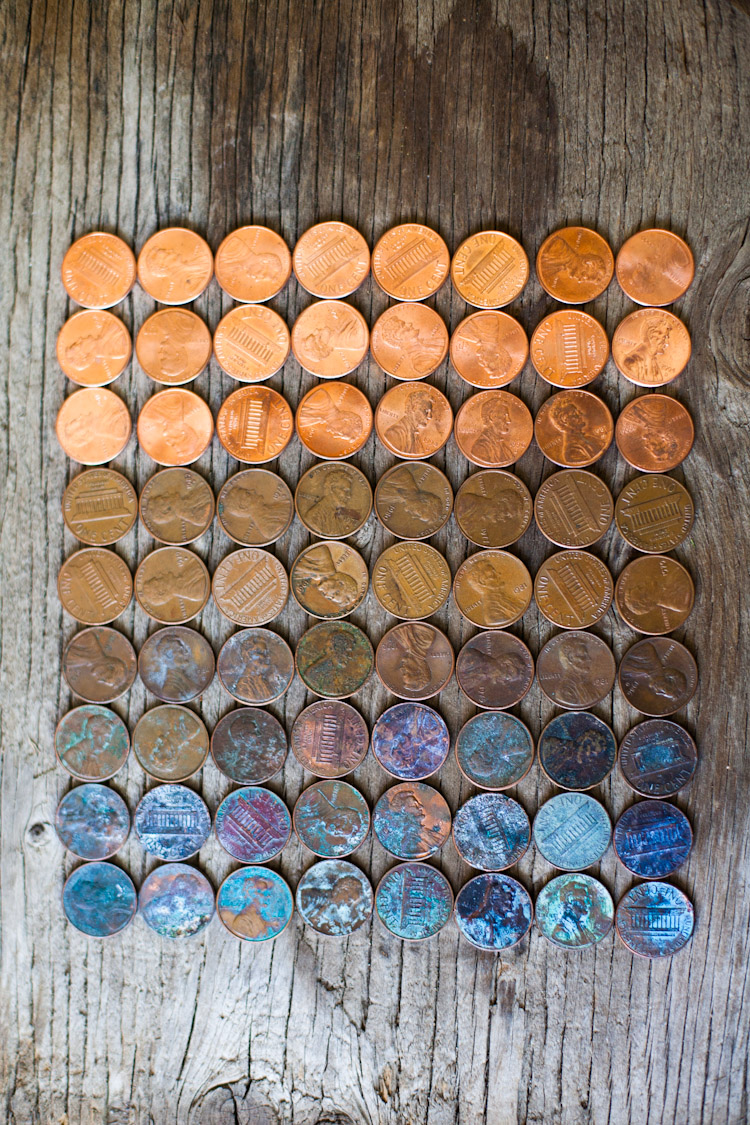
Next time I am going to go for a more geometric shape with the pennies. Chevrons or something similar. I am thinking I will need many more pennies if I want to do a more complex design. Also I used each penny just as it was. I am considering manipulating the pennies next time around, either adding oxidation or removing it with vinegar.
]]>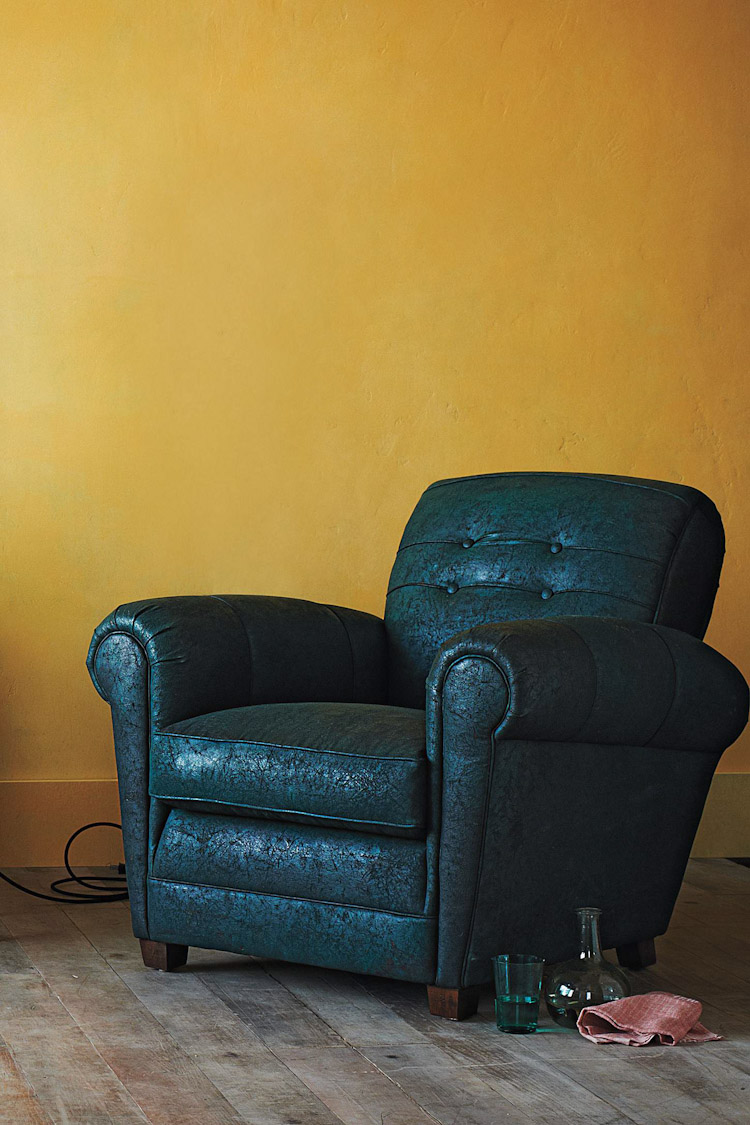
Or this gorgeous piece…
If you have an interest in following my musings and inspiration for the decor of our new coffee shop check out my pinterest board.
Since I do not have an unlimited budget here is what I am doing. I found this lovely upholstered chair at a local thrift shop for 40 dollars. I absolutely love it except for the greasy head stain. Here is an idea I came up with to cover the stain. It is so easy just grab a crochet runner, place mat, or even layer vintage crochet doilies over the top.
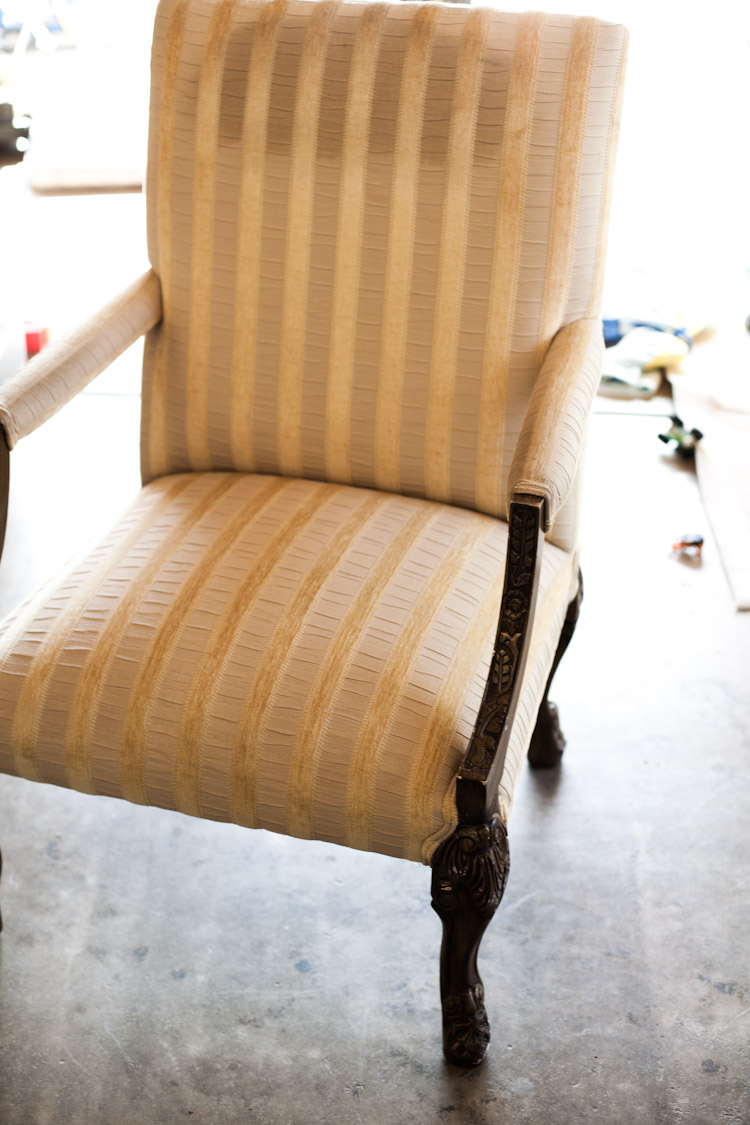
Here is the chair pre-doily.
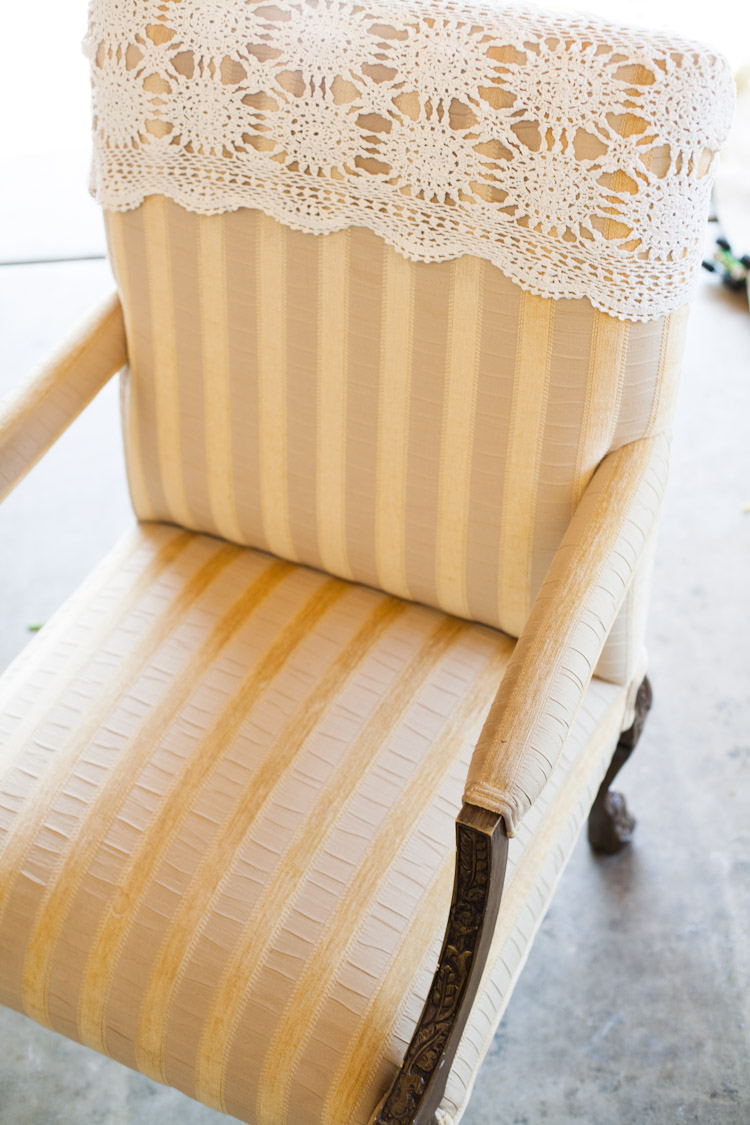
And after! I may try to get the stain out with dry cleaning solution or some other miracle worker. Until then I actually think I like this a lot.
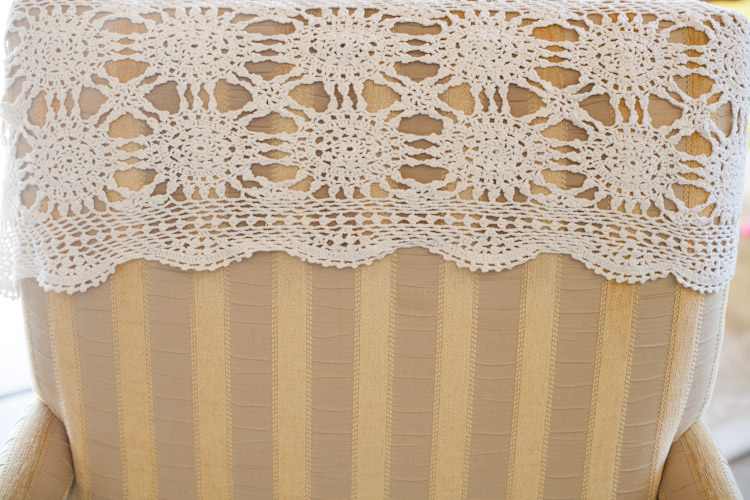
It adds a beautiful personal touch since I will be hand stitching it.
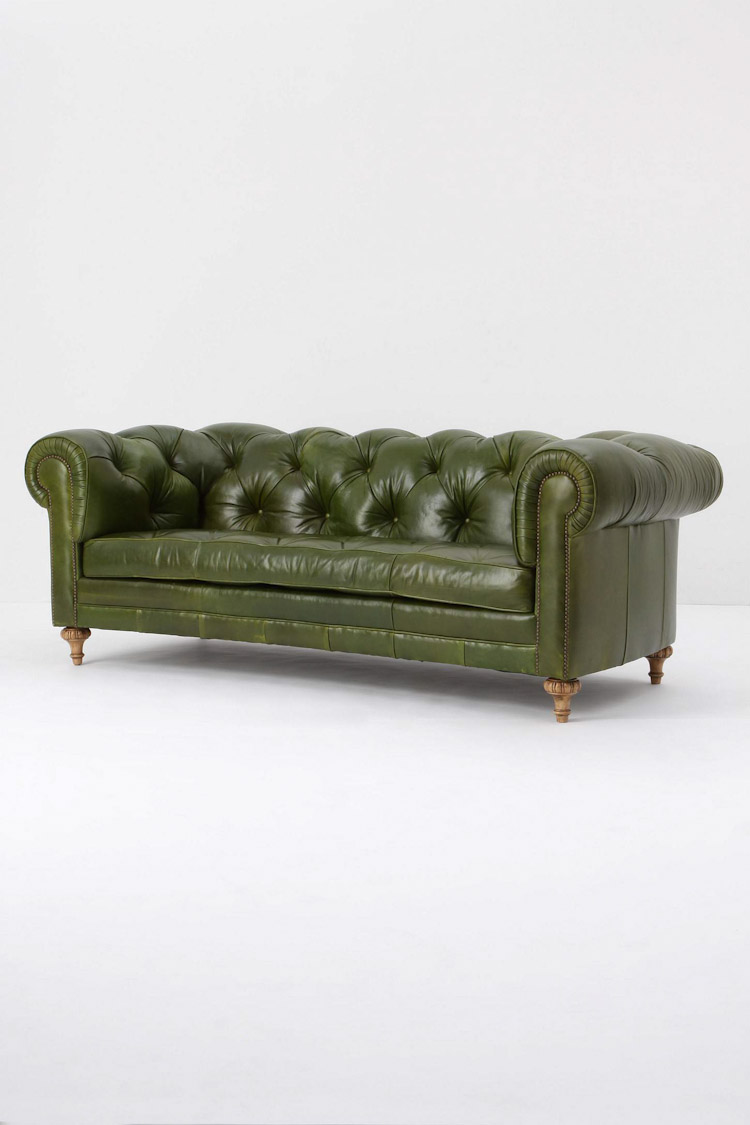
It makes me want to do a patch work piece of furniture though I think I lack the time. Here is one I found online.

This couch is a Squint Limited piece. I love the bohemian patchwork feel of their furniture. I am not incorporated such saturated colors in the shop but I love the idea of creating a patchwork cover for an upholstered piece.
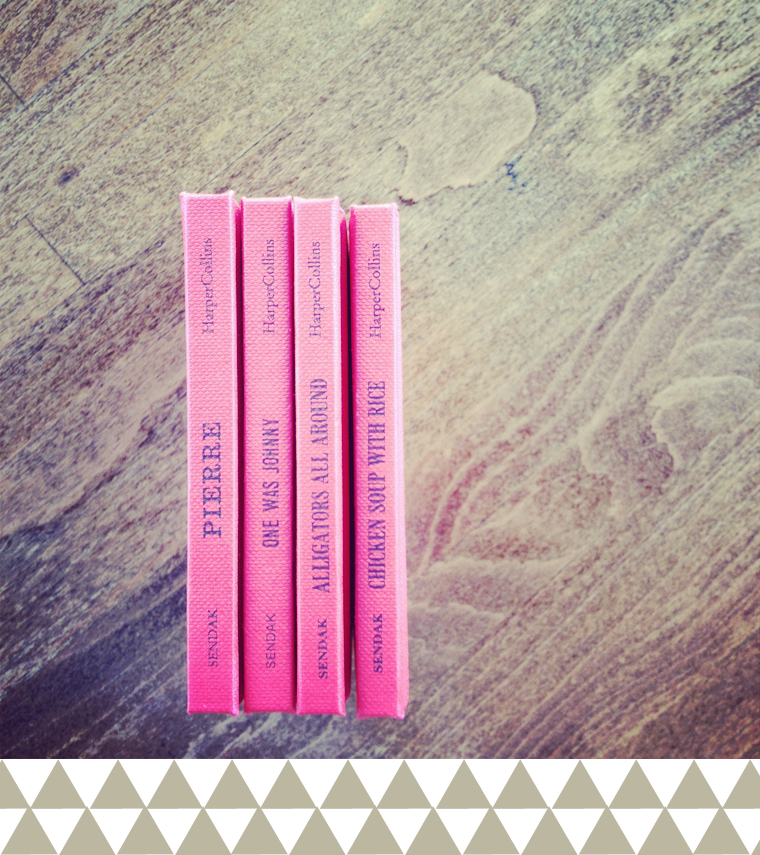
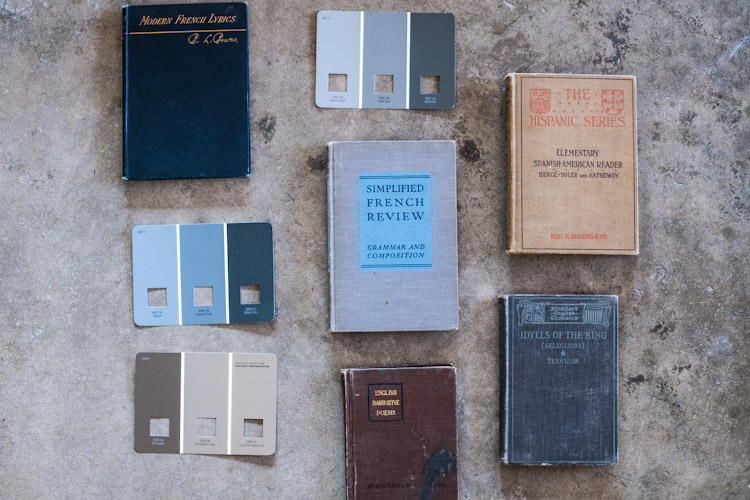
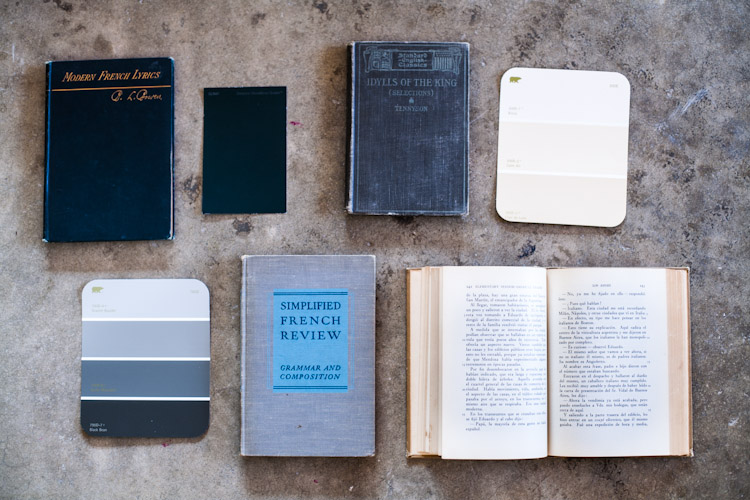
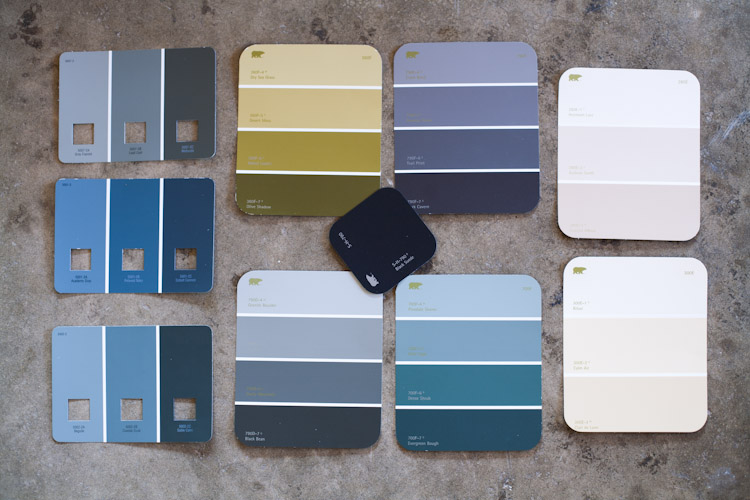
]]>This is a huge project and very exciting. I have been collecting paint chips and lighting ideas, whilst buying used and vintage furniture off of craigslist.com. Here are some photos of color ideas I have for the shop. I didn’t realize until I got home that the colors I liked matched up with my favorite cloth bound books.
I have been having a hard time adjusting to the light in Southern California vs. Northern California. This probably reveals what an amateur photographer I am. I find the light in my new home is so different, things feel so saturated and it is hard to get the contrast and clarity of the lighting in my old home. But it is a work in progress so I will keep practicing.
I find inspiration from everything around me. It is funny how much of that inspiration happens without my brain acknowledging it. I have always loved paint chips so once the colors for the new coffee shop have been chasen I am already looking for ideas of what to do with my leftover paint chips.
Here is an amazing idea that I found via pinterest.com for making a chandelier out of paint chips.

via heygorg.com
Here is another diy for paint chip wall art…

I also would love to use paint chips to top a table but I don’t know for sure if that will work out as of yet. If you live in the area and are looking for gourmet coffee, latte art, and baristas that care about you, come check out our current location. Kaffee Meister Coffee Bar and Drive Thru. Check out our Facebook page to see some pictures of the latte art our baristas have been pouring lately.
]]>